Making warm beds in the greenhouse: types of heating
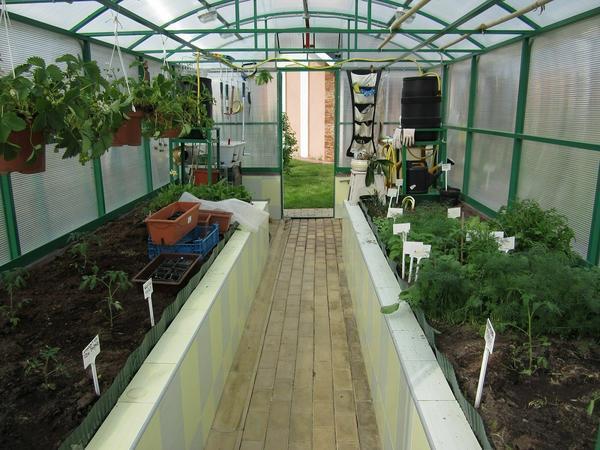
The sun's heat warms up the beds only by the beginning of May, in some regions and towards the end. The artificially heated soil is suitable for planting plants already in March, while the root shoots are in comfortable conditions, which contributes to their strengthening and plant growth. In addition, the heat generated by the ground helps warm the air in the greenhouse.
Advantages of warm beds:
- Early planting and reaching maximum yield in the first summer months;
- Getting a good result even on relatively fertile soil;
- Reducing the need for plant nutrition;
- Increased fruiting period;
- Reducing water consumption during irrigation;
- Weed control.
The preparation of a warm bed in a greenhouse is carried out in autumn or early spring. There are several options for heating the garden: electric cable, water pipes, biological compost. When using a cable, it is laid under the soil in advance and heated with the help of electricity. These designs are highly efficient but costly to maintain.
Water heating is used with the use of special pipes made of polymer material, which are laid under the ground.
Hot water flows through the pipes, which can heat the earth. For biological beds, plant residues and manure from livestock activities are used. The decay process becomes a heating element, as a result of which the temperature of the soil rises. This is the most economical way to heat your beds. Each method has its own pros and cons. The gardener selects the most appropriate option based on his own views on growing plants.
Heating the ground in a greenhouse using an electric cable
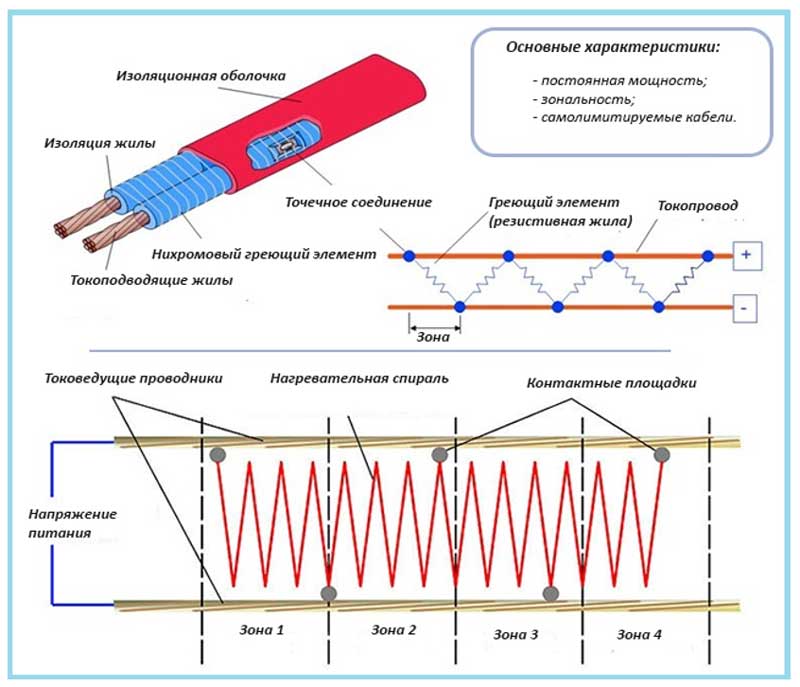
Cable heating of greenhouse beds allows you to maintain the soil temperature as accurately as possible, which makes it possible to effectively grow plants.

The main advantages of the electric heating system are:
- The ability to grow any, even exotic crops;
- Increased productivity;
- Possibility to regulate soil temperature;
- Ease of installation of the cable system;
- Long service life.
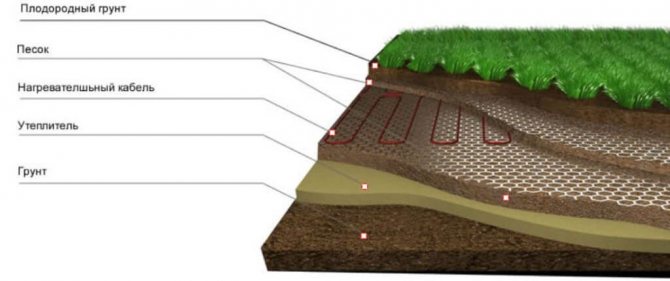
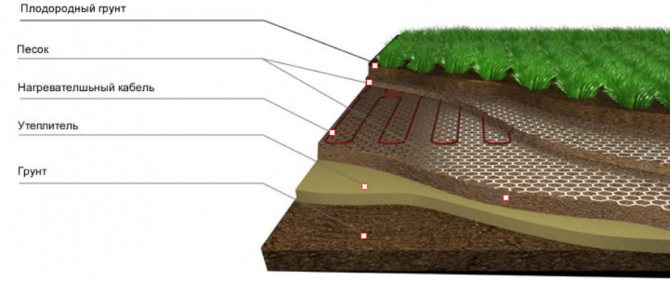
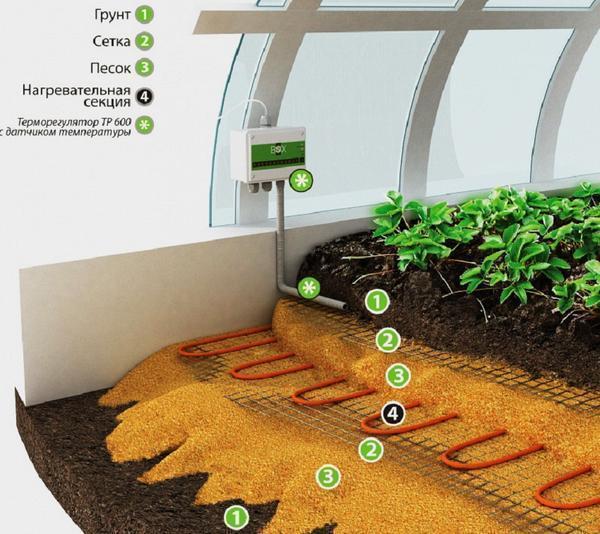
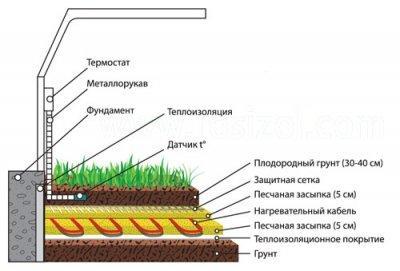
To arrange the beds, it is necessary to remove up to 40 cm of the upper soil. Next, lay the material for thermal insulation so that the energy does not go into the lower layers of the earth. Prepare a 5 cm pillow with sifted sand, spill with water and tamp.
To protect the cable from various rodents, you need to install a special mesh over the sand.
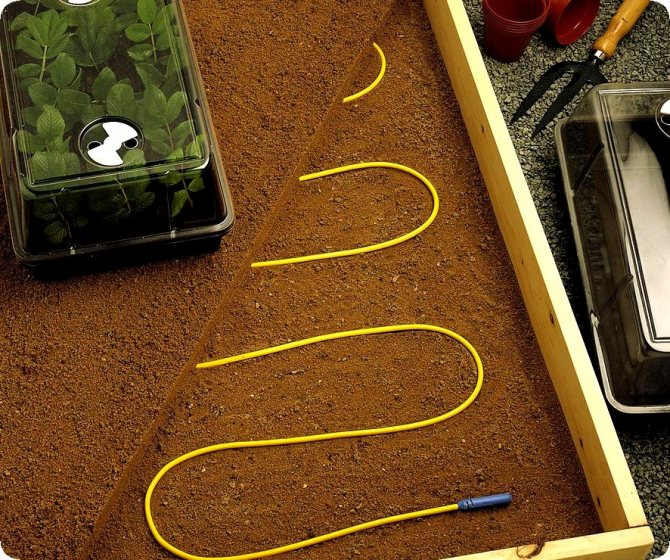
Next, lay the electric cable on the mesh with a snake. The laying distance between the tape should be no more than 20 cm. Using special clamps, fasten the wire to the mesh, fill it with sand and tamp it, creating another pillow. Further, in order to avoid mechanical damage to the cable during excavation work, put another mesh and cover the entire structure with earth. Thanks to such a device, plants can be grown in greenhouses regardless of weather conditions, using additional lighting in autumn and winter. In return, the family will receive fresh vegetables at any time of the year.
Features of using a heating cable
Understanding how profitable it is to heat the ground with a heating cable in a greenhouse, it is useful to additionally understand the features of the system's operation.
The owner of the greenhouse or greenhouse will not have to participate in adjusting the temperature regime. The system itself automatically controls the maintenance of the set temperature.
In particular, as soon as the temperature rises to the value that was set, the system will automatically shut down. Further, for some time, the temperature will gradually decrease. As soon as it reaches the minimum critical indicator, the system automatically turns on.
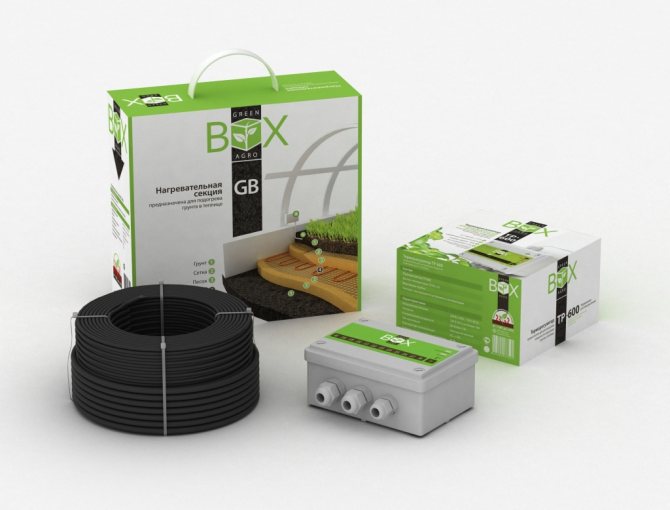

The automated operation of the system eliminates the need for human participation in maintaining a comfortable temperature regime. In addition, this feature of the system provides energy savings of 30% or more.
At different times of the year, the heating system is used with different frequencies:
- the most active period is spring, lasting from March to May (it is at this moment that the temperature outside is still insufficient for good growth and development of seedlings, and the probability of frost is too high);
- in the fall, the heating system is used only when you want to extend the fruiting period of vegetable crops;
- in summer, the system is used only in the most extreme cases, when the weather does not spoil sunny warm days, and heat-loving crops are planted in the greenhouse;
- in winter, heating is carried out if the farmer is interested in growing vegetables all year round.

When deciding on the installation of this type of heating system, it is important to familiarize yourself with the possible problems arising from improper installation or operation of the system:
- mechanical damage to the current-carrying component with garden tools (occurs when recommendations regarding the laying of a protective mesh made of plastic or stainless steel were ignored);
- electric shock (with proper installation, the risk of electric shock is excluded, if the cable is damaged or the electrical installation is incorrectly used, the probability of electric shock is high).
We must not forget that any electrical device, electrical installation can fail in the event of a short circuit or voltage drop. You can prevent such undesirable consequences if you install special electrical protection.

If you really want vegetables to ripen quickly on greenhouse beds at any time of the year, you need to provide them with a comfortable temperature. This problem can be solved by heating the ground with a heating cable in the greenhouse. This modern method of growing plants is distinguished by its ease of installation and low energy consumption.
Similar publications
- To read
How to make drip irrigation in a greenhouse
- To read
DIY irrigation system
- To read
We make beds in a greenhouse 3x6 m
- To read
The best varieties of bell peppers for open ground
- To read
What are the best pepper seeds for outdoor use?
- To read
Simple do-it-yourself greenhouse with heated soil
Water heated beds also have a number of advantages. Firstly, the condensate that forms on the pipes additionally moistens the soil. This design provides uniform heating of the air in the room. To heat the greenhouse, you will need a gas or electric boiler, you can also use a small brick or metal stove with wood.

You need to purchase a smoke outlet pipe for it. The selection is made in accordance with the configuration of the heater.
To install a furnace or boiler, it is necessary to prepare a foundation, for a brick structure - a concrete one. The metal boiler can be placed on a sheet made from a mixture of asbestos and cement. Further, the structures provide stability and attach the chimney, hermetically sealing the connection points.
Thermal insulation of beds with pipes, necessary work:
- Remove soil 35-40 mm thick;
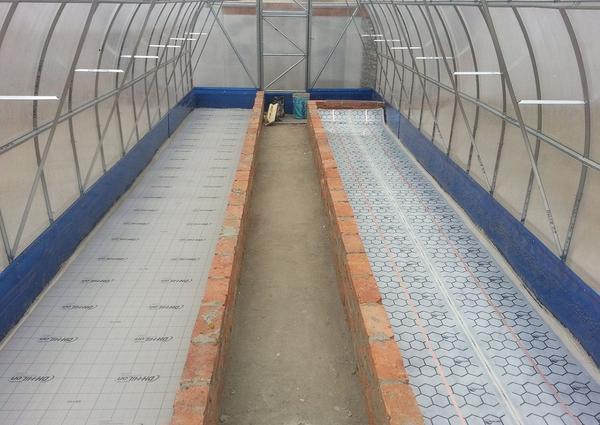
- At the bottom of the trench obtained, a material for thermal insulation is laid out, usually foam is used;
- Pipes for water are placed on top and connected to the heating system;
- Fertile soil is laid on top of the pipes.
This heating method is considered optimal, however, it is necessary to ensure that the water temperature in the pipes does not exceed 45 ° C, otherwise the roots of the plants can be burned.
Installation of soil heating system
- Stove or boiler can be installed both in the dressing room of the greenhouse, and directly inside, the main thing is to build a foundation for them. For a brick stove, a concrete foundation is best, and for a metal one, from a sheet of steel or a covering material made from a mixture of asbestos and cement.
ATTENTION: The most important thing is to provide the structure with maximum stability and comply with all fire safety measures. - Chimney... The seams between the parts of the chimney and the gaps at the joints with the furnace or boiler must be hermetically sealed to prevent smoke from entering the greenhouse. When sealing the joints with mortar, it is necessary to use clay, since it is the most heat-resistant.
ATTENTION: Regardless of the heating method in a winter greenhouse, an air ventilation system is required.
- Only metal pipeshaving the same diameter, and the length of the pipes may vary. Plastic pipes can be installed only at a distance (at least 1-1.5 meters) from the boiler.
- Before starting the installation of the soil heating element itself, it is installed expansion tank... It should be located at the highest point of the building, close to the stove or boiler, and an automatic air shut-off valve and pressure gauge are installed for maximum safe operation.

We proceed directly to the installation of the soil heating element itself:
- At the base of the greenhouse is laid heat insulating material... The most economical option is polystyrene with a layer of 0.5 cm. For maximum efficiency, it is recommended to lay insulators with foil: penofol, isolon, etc.
An alternative option is special mats, they are used to make warm floors for the greenhouse. They not only protect against heat and energy loss, but also allow the most reliable fixation of hot water pipes. - Plastic water pipes are placed on the film.
ATTENTION: Do not use steel tubes, as the moisture in the soil will corrode them, leading to the destruction of pipes and soil contamination.It is also best not to use pipes with low heat transfer rates, as such pipes emit a minimum of heat. It is necessary to lay pipes starting from the walls, gradually moving towards the center of the room.
With this arrangement, the processes of cooling and transfer of energy from the pipes to the ground will occur evenly throughout the entire area of the greenhouse.
- The pipes are connected to heating system... It is also recommended to install a thermostat on the heater so that the water temperature can be automatically adjusted.
ATTENTION: A safe and beneficial temperature for plants is 35 to 40 degrees Celsius. - Water heating pipes are covered with a layer of soil about 40-50 cm. This thickness is optimal for plants, as it prevents thermal damage to the roots.
At first glance, heating greenhouse soil may seem like a daunting task.
Naturally, the installation of such structures will require certain tools and skills, but by applying all your perseverance and information from our article, you will certainly achieve success and receive a reward in the form of a summer-blooming greenhouse garden in the winter cold.
Also read everything about how to make a winter greenhouse with soil heating here.
A warm bed in a polycarbonate greenhouse: a biological method
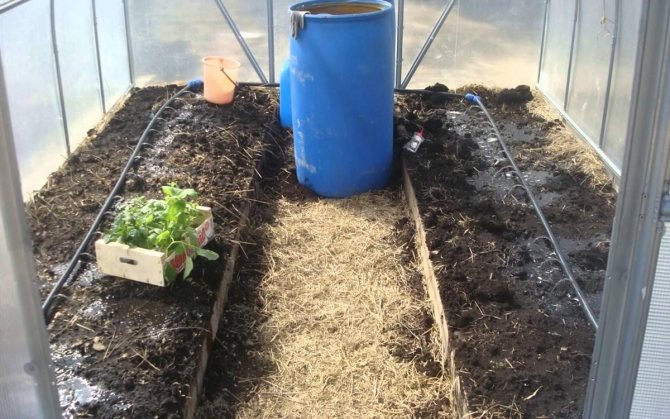
The biological method of heating the beds is made using natural biofuel, laid in the subsoil. As a filler, plant residues, sawdust and manure are used, which is shed with water for the decay process. Such beds are the most economical design.
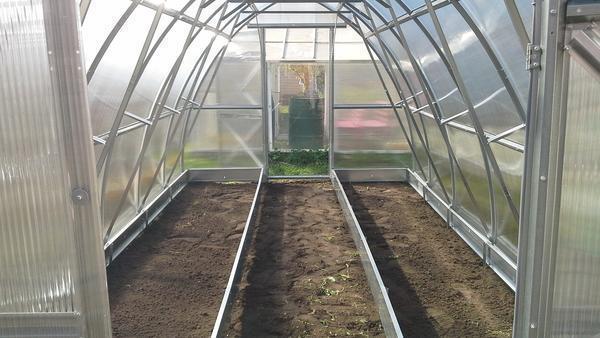

Warm beds powered by natural fuel are usually divided according to the type of construction:
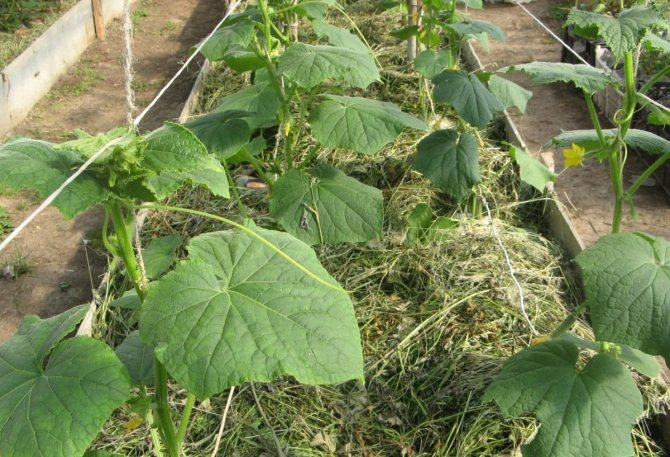
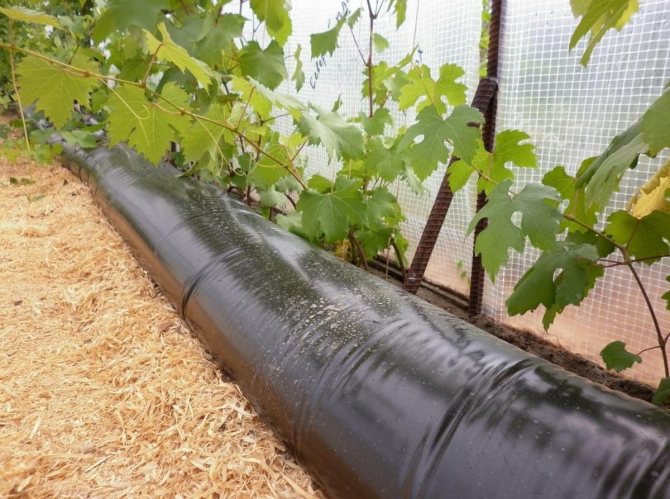
- Buried, when fertile soil is removed, a trench is pulled out, compost is laid and filled from above with soil so that it is at the level of the total mass of the earth;
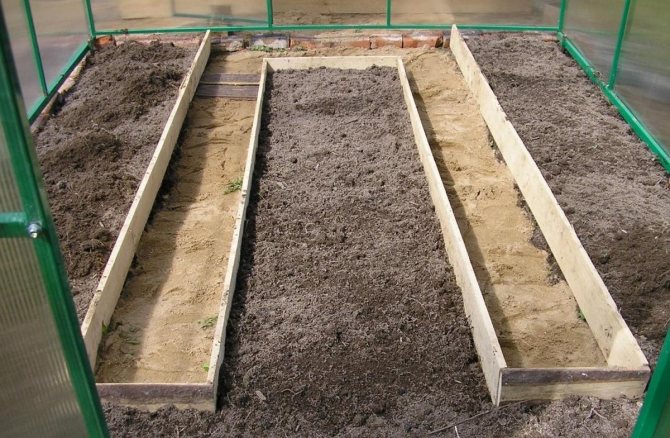
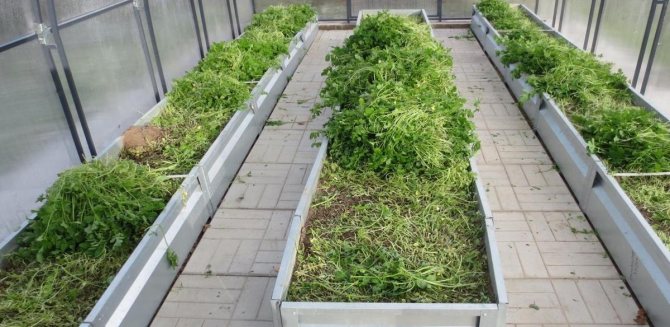
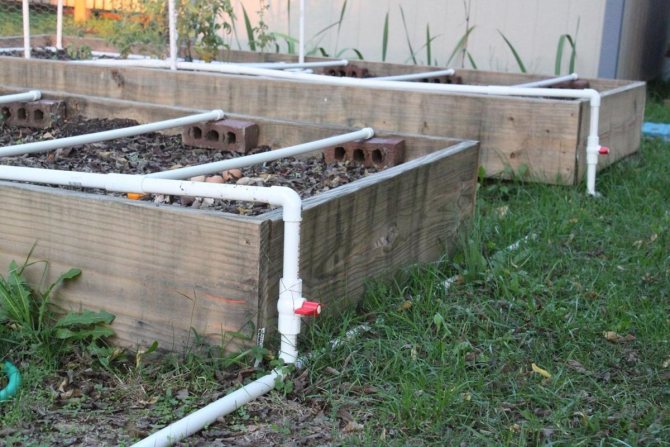
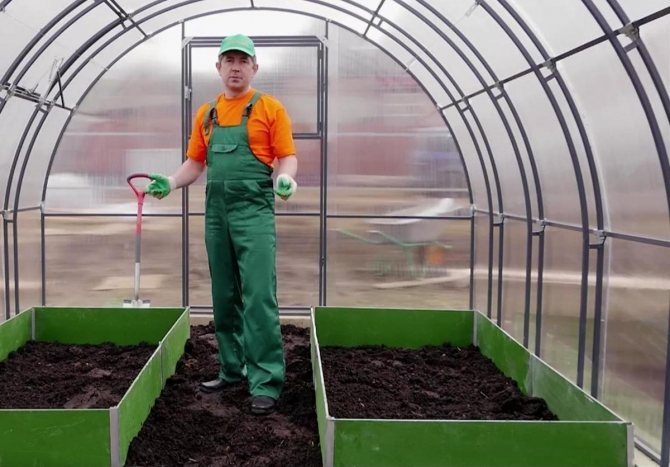
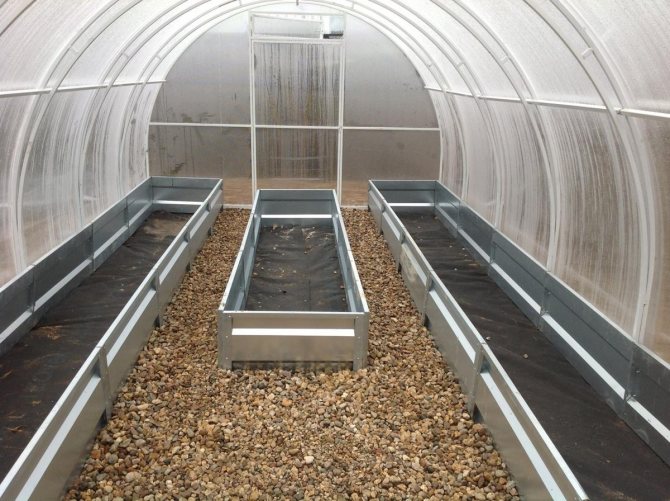
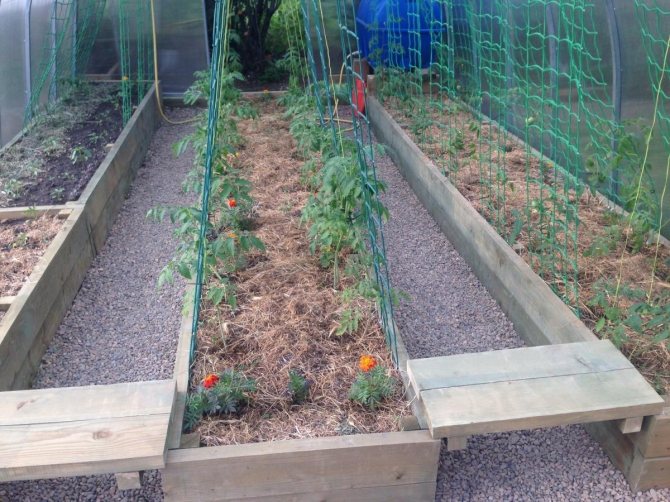
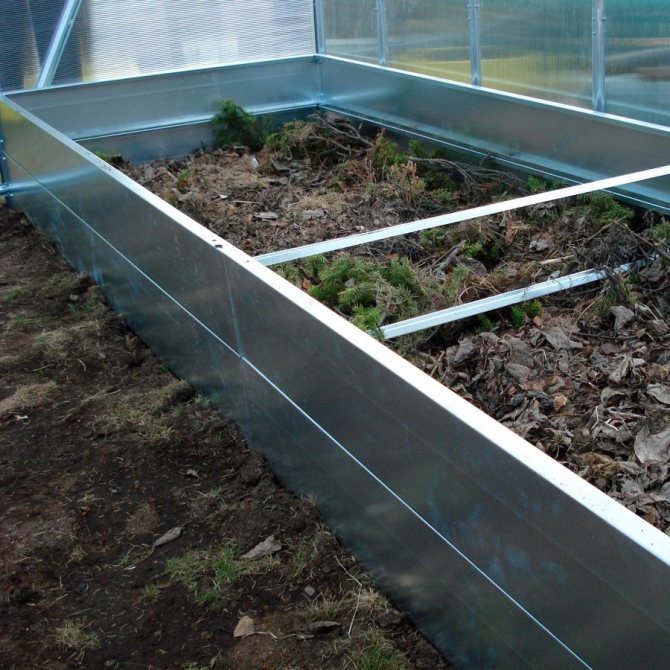
- Raised beds, the top layer of earth is removed from the surface and placed in special wooden boxes, which serve as protection against crumbling and leaching of the earth during operation;
- Hilly bed, laid without a box on top of the main platform;
- A combined option, when the lower layers with organic matter are laid at ground level, and the fertile soil layer is fixed with a box.
To make the construction of a combined warm ridge, it is necessary to mark places for future plantings. Then carefully remove the sod layer, setting the fertile soil aside. Next, you need to dig a trench up to 60 cm deep. To protect it from freezing, foam plastic or a closed plastic container is placed on the bottom of the trench. Next, the first layer of organic matter begins, consisting of large branches, wooden chocks, large objects of plants.
This layer will play a drainage role. Then a paper backing consisting of waste paper is laid.
After that comes a layer of finer organic matter, food waste, tree leaves, small stems of grass. Next, we fill in ready-made compost, or semi-rotted manure, to start the decay process. We install a pre-prepared box into which we will pour fertile soil. Each applied layer must be well shed with water. We cover the last layer with fertile soil. Organic soil is perfect for planting tomatoes, pumpkins and cucumbers. The decay process is able to warm the ground for 2 months.
How to warm up the ground in a greenhouse in spring
Having a polycarbonate greenhouse, I want to start sowing plants in early spring. To do this, it is necessary to warm up the soil and air in the greenhouse.
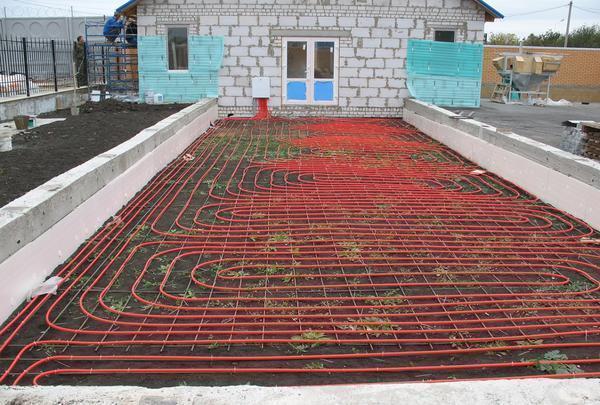

There are various ways to increase soil temperature:
- Electric heating by air, a simple and affordable method, you need to purchase a heater-fan and connect it to electricity;
- Electric heating of beds with a cable, an easy-to-install system that allows you to heat the soil to the required temperature and maintain it in this state;
- The infrared method, using special lamps, a feature of this option is the ability to heat only plants without increasing the air temperature in the greenhouse;
- Water pipes serve as an excellent heating element for the ground, beds and shelves while moisturizing the soil with condensate.
Why do you need soil heating in a greenhouse?
Heating the soil in the greenhouse has a fairly large number of advantages:
- Rapid ripening and growth of the crop;
- The possibility of thermoregulation, creating a special microclimate necessary for growing new crops, more fastidious or thermophilic;

- Growing seedlings in colder seasons;
- Extended harvesting period;
- Heating the soil accelerates the development of roots, rhizomes, tubers and other underground organs, which significantly strengthens the plants;
- Many soil heating devices are also capable of producing a slight bactericidal effect;
- Energy saving: most modern heating systems have an extremely high efficiency (about 90%).
Soil heaters perform their function without reducing the oxygen content in the air, which significantly saves ventilation costs, so that a heated greenhouse is not only convenient, but also profitable. Moreover, heating the soil in the greenhouse with your own hands is available to everyone.
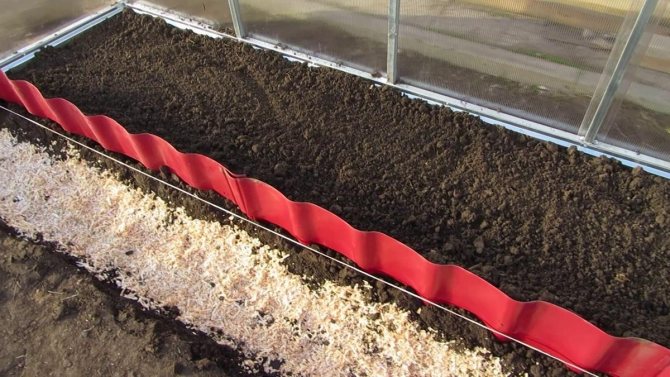
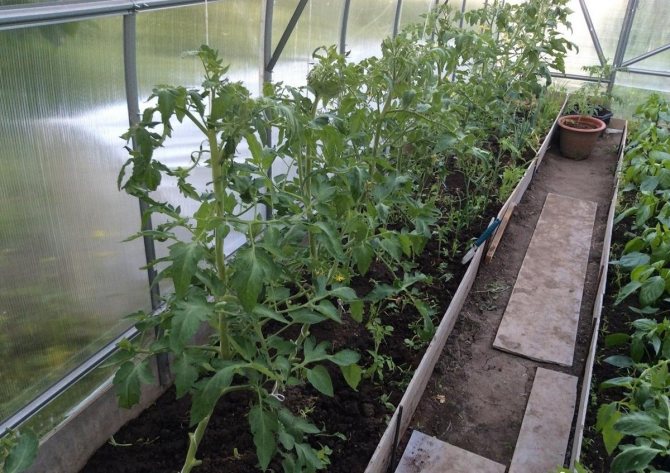
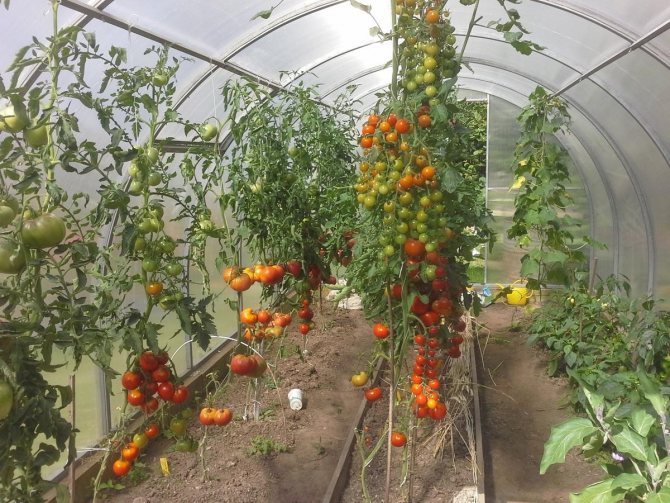
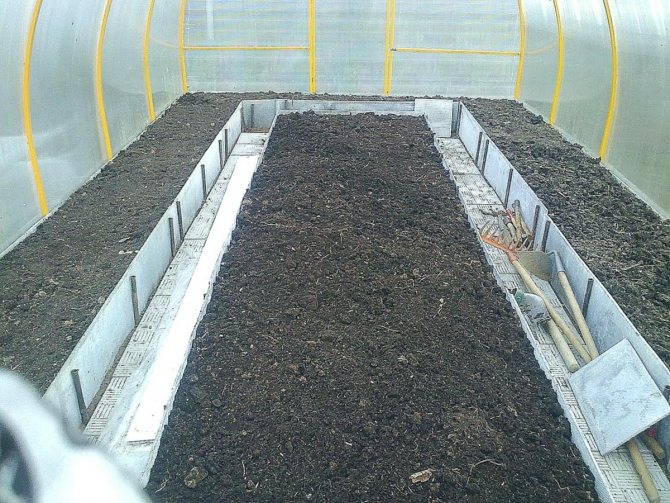
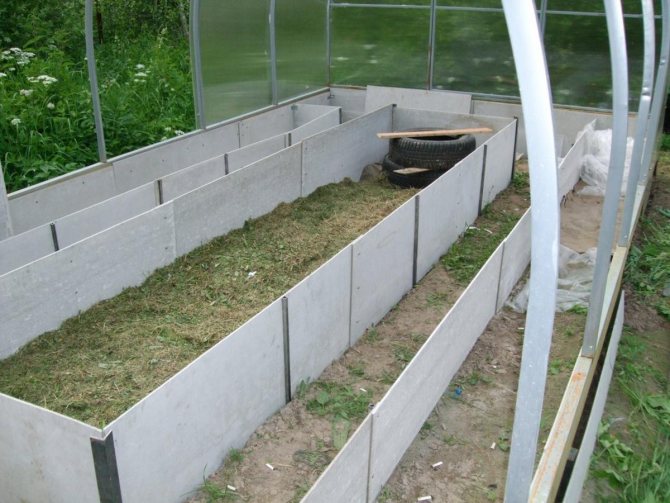
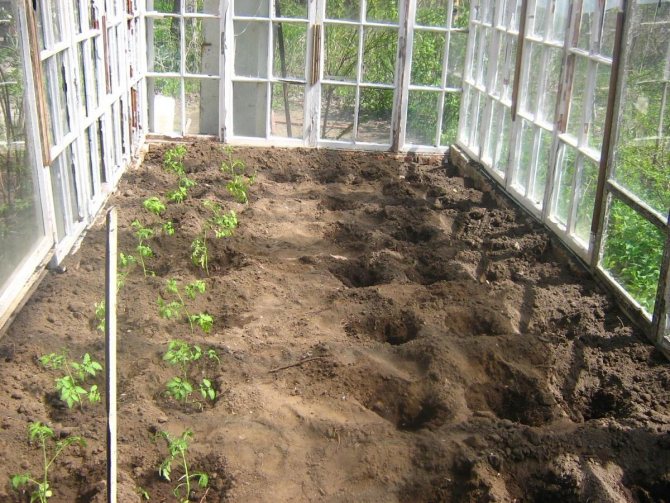
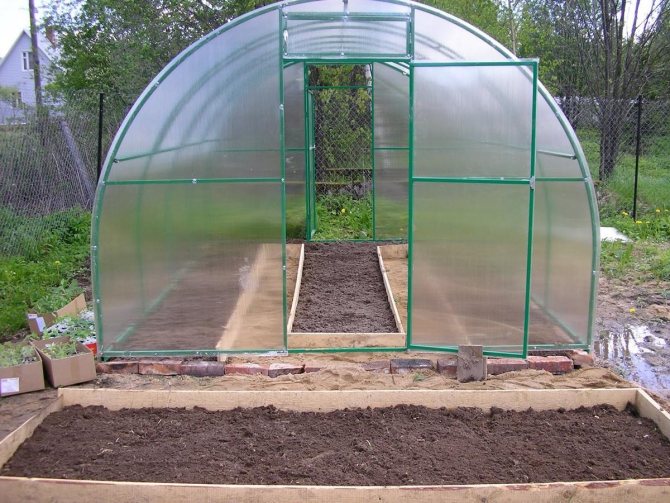
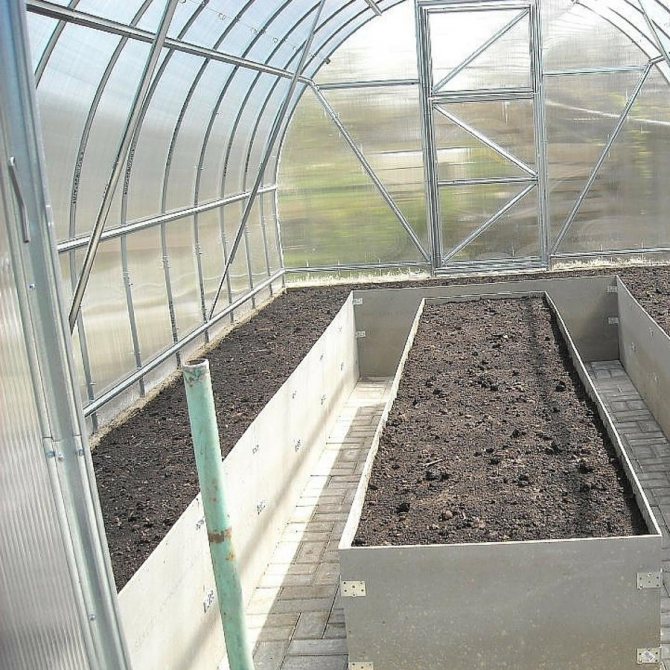
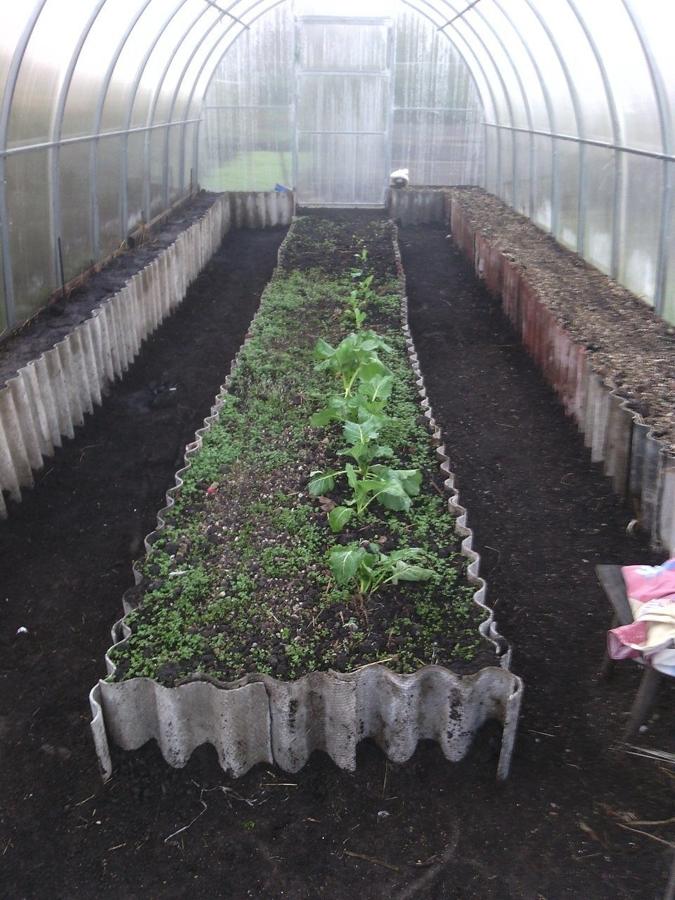
Examples of warm beds in a greenhouse (photo)
- Author: admin
Rate the article:
- 5
- 4
- 3
- 2
- 1
(2 votes, average: 5 out of 5)
Share with your friends!
