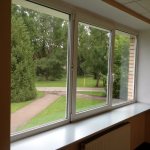
High-quality installation of windows implies not only the correct installation of the profile and double-glazed windows, but also the fastening of numerous slopes and window sills. Such finishing can be done both by specialists and by the homeowner independently, which will significantly save on repairs. Installation of window sills and slopes on plastic windows is not particularly difficult, therefore, it is quite possible to carry out such work with your own hands.
Mandatory preparatory activities
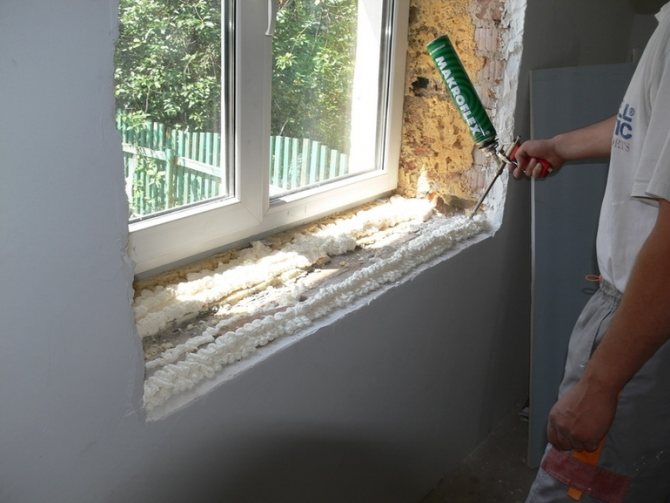
Immediately after the installation of plastic windows, it is necessary to perform mandatory measures, only after the completion of which you can proceed with the installation of the window sill and slopes. The gaps between the opening and the profile are foamed with polyurethane foam. Such work is carried out as accurately as possible using special pistols, which ensure high-quality uniform filling of the space, while excluding the skewing of the window frame.
When installing the window sill will need to be aligned horizontally... Accordingly, even before proceeding with its installation, it will be necessary to check the horizontalness of the base with a building level. If necessary, significant protrusions are removed with a chisel, and the existing recesses must be additionally filled with cement mortar, leveling the surface. It is prohibited to install the window sill by eye without using the appropriate tool.
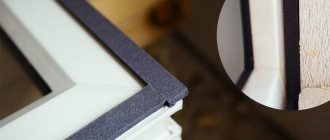
Additionally the so-called jointing is done, which allows you to correctly install plastic slopes with their subsequent decoration with tiles or putty. Special additional elements are used, which are installed in the corner of the opening and attached to a sealant or cement mortar.
Joining openings in the future will greatly simplify the installation of the window sill and slopes, excluding cracking of the putty and other problems with the finish.
Advantages and disadvantages
Benefits of plastic finishing:

- environmental friendliness;
- durability;
- giving a neat appearance;
- variety of choice;
- reliable adhesion to the window frame;
- perfectly flat surface;
- heat and sound insulating properties;
- reasonable price;
- high speed of installation;
- the possibility of self-installation;
- additional steps are not required to level the surface of the opening after dismantling old windows;
- moisture resistance;
- ease of use;
- the ability to use on arched structures;
- prevention of fogging, freezing of windows;
- small amount of dust, dirt after installation.
Among the shortcomings are noted:
- tendency to mechanical damage;
- poor quality of additional elements;
- inability to replace part of the panel if damaged.
Self-repair benefits
Today, the cost of the services of professional installers and builders is so high that many homeowners decide to independently carry out certain repair work. The use of ready-made plastic elements or drywall allows you to simplify the fastening of window sills and slopes. As a result, the homeowner's costs are reduced, while he does not lose in the quality of the repairs carried out.
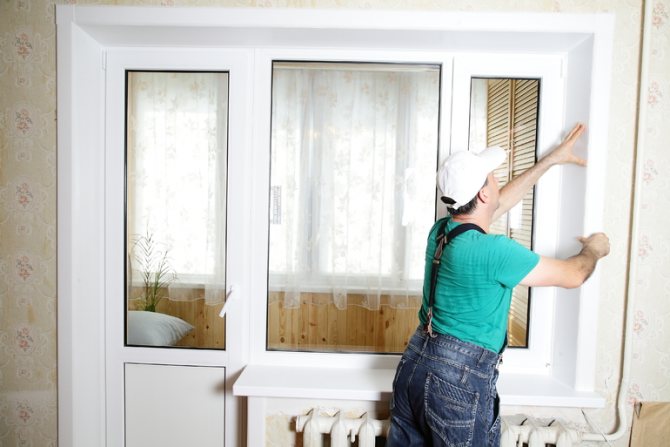

The advantages of self-finishing windows include the following:
- excellent quality of the work performed;
- ease of finishing window openings;
- the possibility of significant savings;
- the homeowner can choose one or another material for decorating windows.
You only need to act strictly in accordance with the technology for working with this or that material, and the use of ready-made plastic slopes can significantly simplify the repair. Therefore, the homeowner, even without the relevant experience, can save money by doing the window decoration with his own hands.
Plastic panels
The most popular is the cladding of slopes with plastic panels. This method is simple, fast, and long lasting. Some other factors can also be considered advantages:
- Plastic slopes are similar in structure to the window frame. No resistance of materials due to no difference in expansion.
- The performance characteristics are maintained for up to 20 years.
- Easily withstands temperature changes.
- Ease of maintenance. A damp cloth is sufficient to remove dust and dirt.
Order repair of plastic slopes
Installation of window sills
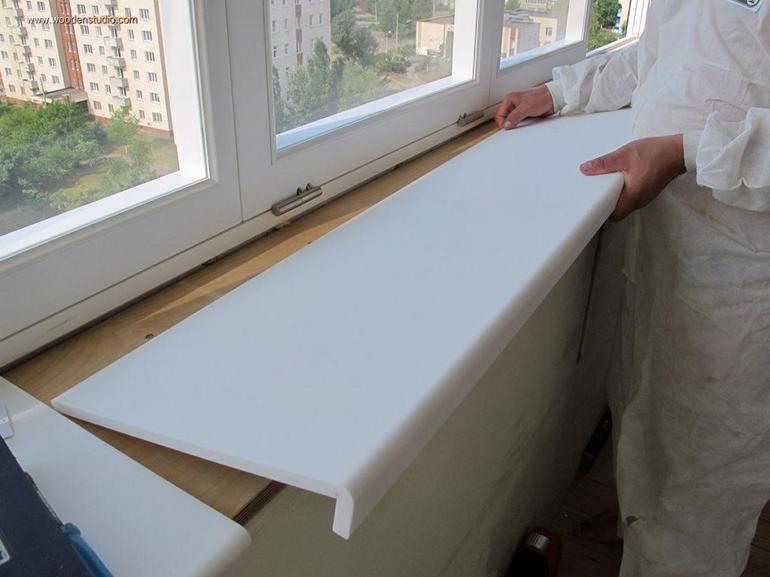

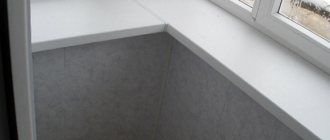
Immediately after installing the windows and carrying out the relevant preparatory work, you can proceed to the installation of the window sill, which should protrude 10-15 centimeters from the opening, leaning against the wall. The width of the protrusions will depend on the size of the starting slope strip, which is measured with a tape measure and then a plastic structure is ordered.
Installation work is not particularly difficult, and for their implementation you will need an electric jigsaw or a simple hand saw. You just need to be careful when cutting a plastic sheet, which will allow you to independently perform a high-quality installation of the window sill, saving on contacting professional installers.
To install the window sill, you will need the following:
- manual jigsaw;
- level;
- gun for polyurethane foam.
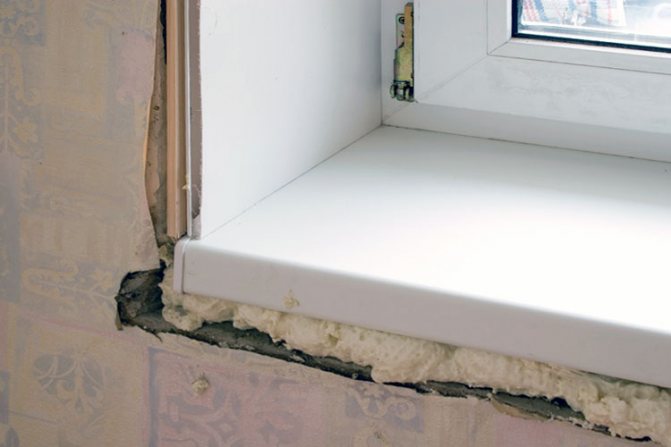
The window sill is fastened to foam, which fills all the voids. It is an excellent heat insulator, it bonds well the plastic surface with the slopes and the concrete base. You just need to take care of high-quality hydro and thermal insulation: this will exclude the formation of condensation, which can subsequently flow down and spoil the finish, forcing the homeowner to carry out expensive repairs.
When needed
Repair pads on the windowsill can be installed in different cases:
- damage, cracks in slabs of stone, concrete;
- the appearance of chips at the corners;
- white plastic surfaces turn yellow and fade;
- damage from hot objects;
- traces that remain from flower pots, water that dries up;
- spots that appeared from various effects;
- accidental mechanical damage;
- scratches;
- the need to refresh the look of the surface.
Correct work sequence
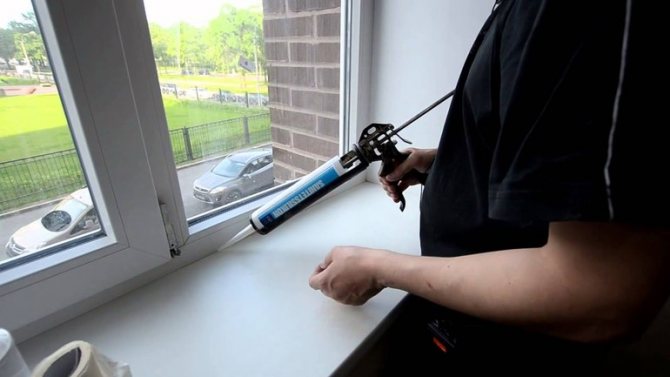

Before proceeding directly to the installation of the window sill, it is necessary to prepare the materials used and clean the space under the window. If the installation is carried out using a vapor barrier, then it is preferable to choose a material with an adhesive base on one of the sides, which will ensure the quality of fixation, simplifying subsequent repair work.
Having installed the vapor barrier and preparing the base for attaching the window sill, you can start foaming the cracks. The entire space is filled with foam, which is filled with lines, as tightly as possible, leaving no voids. It should be borne in mind that in the future the sealant will expand, respectively, its thickness will increase by about 25%. A standard size window sill usually takes two cans of polyurethane foam, which is enough to seal all the cracks and firmly fix the plastic sheet and base.
On both sides of the opening for additional support, wooden blocks are laid, the thickness of which should subsequently allow the window sill to enter the space under the window without gaps and cracks. The bars are fixed strictly according to the level or with a slight inclination of the plane towards the room.The installed supports can be additionally foamed with polyurethane foam, ensuring their high-quality fixation.
It remains to carefully put the window sill on the bars, and then additionally fix it with a sealant. All gaps above and below are foamed, which will eliminate the appearance of drafts and the formation of condensation. A load of 5-6 kilograms should be placed on the windowsill, which is removed after about a day.
What it is
The appearance of the frame and the surface underneath may deteriorate over time and need restoration. Therefore, it is useful to learn how, without removing, to update a plastic window sill. For this, special products are used. Helps to eliminate surface imperfections and signs of wear. Large selection of shapes, shades.
The restoration process is new, consisting of the selection and installation of a professional window sill cover. Small reconstruction provides an opportunity to economically refresh the appearance of the window, return the shape, taking into account the functionality of the slab.
This does not take much time, the process will not damage the window structure and finishing elements (wallpaper, paint). Advantage - you can install it yourself. But the restoration process of this type is only possible if the base plate is up to 6 cm thick.
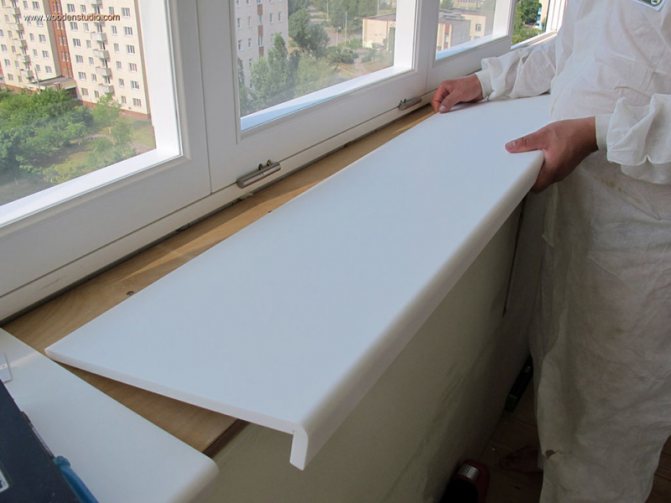

The materials used are thin profiled sheets for finishing, surface repairs. The blank is used for coating at the finishing stage.
The use of a metal-plastic base allows you to maintain the strength of the structure. The surface is tough, yet strong and thin at the same time.
After such work, the window sill becomes resistant to fire, sunlight, moisture, temperature changes.
Installation of slopes
After installing the window sill, you can start fixing the slopes. These are window openings, which are located inside and outside along the perimeter of the window. The main purpose of slopes is to hide frame fasteners and joints. At the same time, cooling of the room and the formation of condensation are prevented, which can provoke ice and force subsequent expensive repairs. High-quality slopes will be marked by excellent sound and heat insulation. They are easy to use, durable in operation, and their installation does not present any particular difficulty.
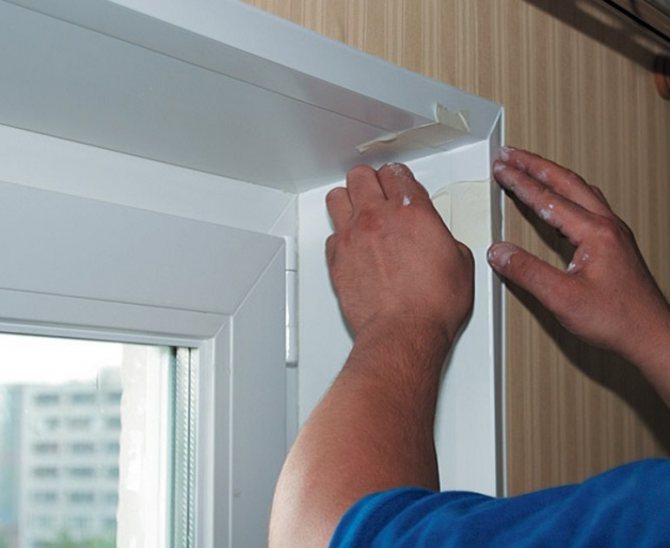

On sale, you can already find plastic slopes or make them yourself from a PVC strip, which is cut out according to the cut, and then fixed on self-tapping screws or glue directly in the window opening. To carry out the installation of the window sill and PVC slopes with your own hands you will need the following tools and materials:
- white silicone;
- fasteners;
- scissors for cutting metal and plastic;
- heat insulator;
- level;
- puncher;
- stapler with staples;
- wooden slats 15 millimeters thick;
- plastic F-shaped and U-shaped strips.
Until the installation of the slopes is completed, it is not recommended to remove the protective film from the plastic windows: this will keep the parts neat and clean. A rail is attached along the outer edge of the perimeter of the slopes, for which a drill, self-tapping screws or dowels are used. To get a straight line, you will need to constantly monitor the geometry with a level. The presence of such a base rail will subsequently allow the plastic element to be given the necessary strength and rigidity.
Along the edge of the window, a starting strip is attached with self-tapping screws, into which the slope panel is inserted. Such a bar should fit snugly to the opening, while it is imperative to check its horizontality and verticality. Only then can you start attaching the F-shaped strip. Such a bar is measured exactly according to the dimensions of the slope, and the remaining shanks are cut off with a saw or grinder.
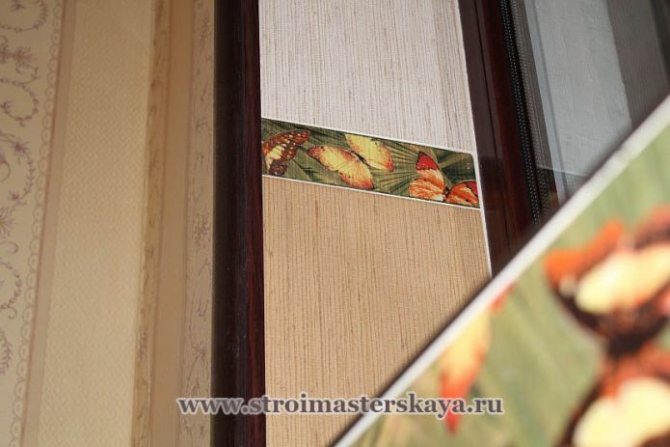
The starter bar is stapled using metal staples.If additional insulation is planned, then the space between the open bar and the window opening is filled with a heat insulator, after which it is closed with a plastic strip. All that is left for the homeowner to do is to carry out the finishing. For such work, plaster, non-woven and paper wallpapers or any other plastic panels can be used.
On sale you can find ready-made plastic slopes for windows, the use of which can significantly simplify the installation and subsequent finishing of the opening. You just need to choose them for the specific frame dimensions, which guarantees the quality and durability of the work performed.
Prefabricated slopes are assembled and then glued into the window using sealant or any similar adhesives.
Why do we need slopes and a window sill for a plastic window?
First of all, the installation of window sills and slopes will help you make the structure more airtight. You will avoid drafts, you will be able to protect the foam from external factors, which will allow the structure to last longer. Slopes will make the window more neat, you can decorate it to match the overall style of the room.
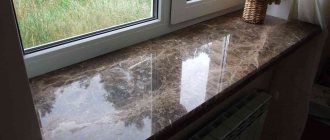
The window sill also serves not only for beauty: its primary task is to isolate cracks. In addition, the window sill distributes the warm air correctly if a heating radiator is placed under it. In this case, it is important to choose the right size and shape of the element. Another useful feature is additional space. You can put flower pots on the windowsill, store books, use it instead of a shelf. Some particularly wide and sturdy models can even be seated.
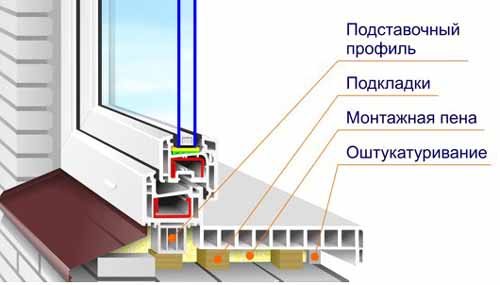

After installing the slopes, you need to think about platbands for metal-plastic window structures. They will complement your plastic windows. For do-it-yourself slopes for plastic windows, read the link https://oknanagoda.com/okna/plastik/otdelka-otkosov-plastikovykh-okon-svo.html.
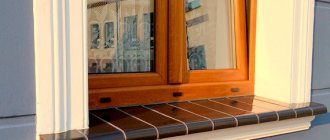
Do not forget to install ebbs for plastic windows. Without this, windows will not last long.
