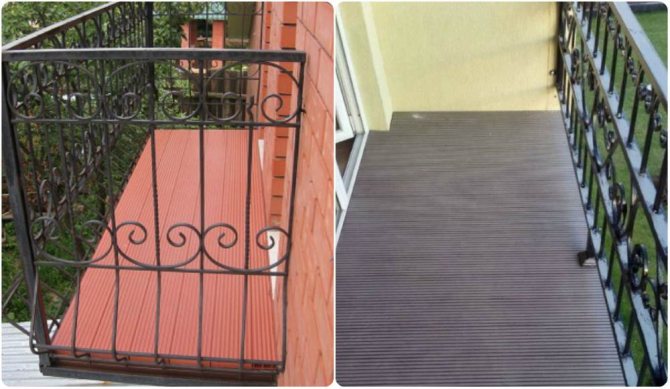
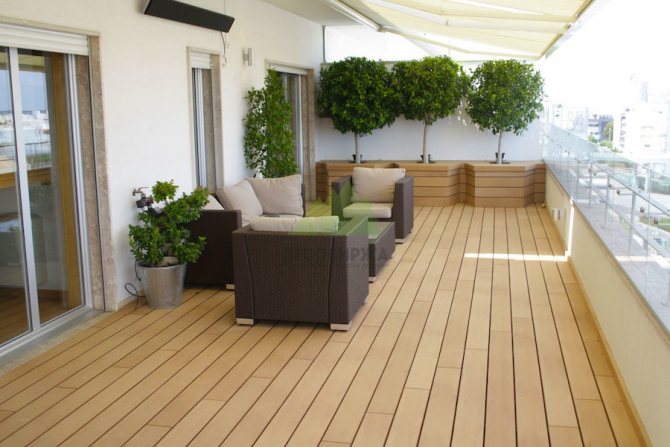
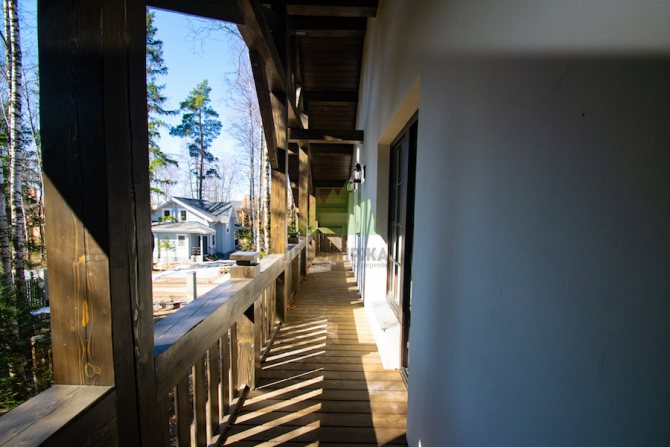
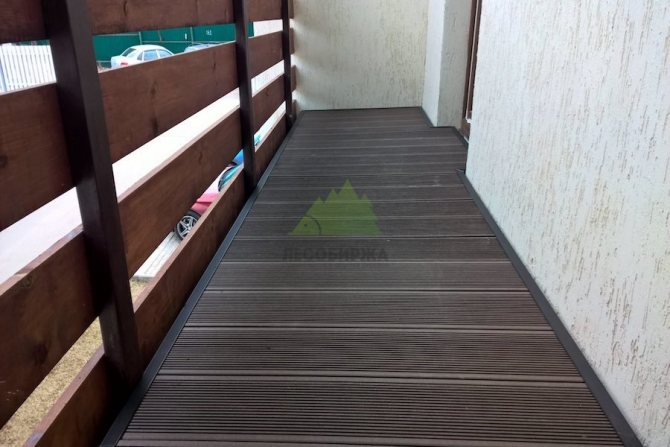
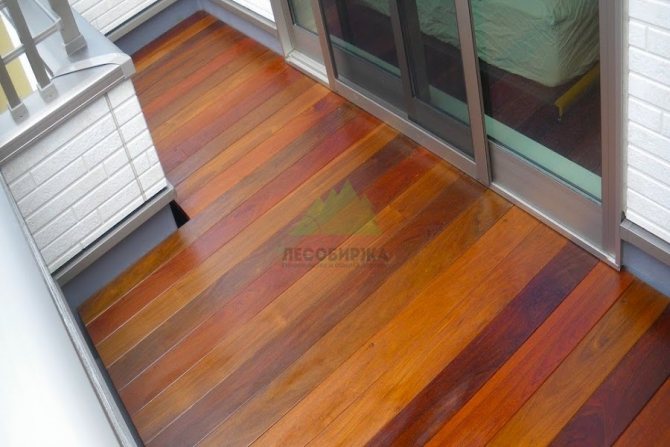
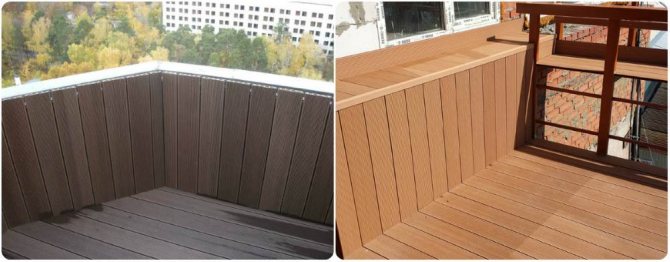
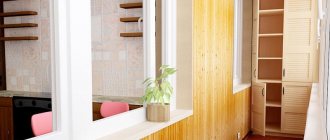
Decking on the balcony is a finishing material that is very suitable for this type of room. Balconies are different:
- open;
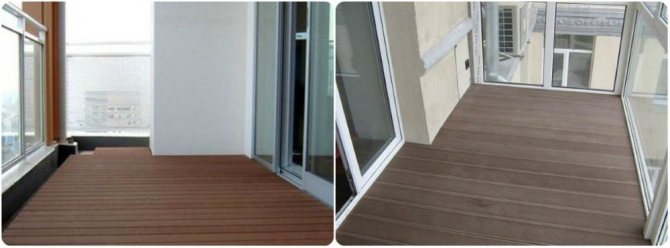
- closed;
- along the perimeter with a blank fence;
- with lattice balustrades made of various materials.
There are also loggias that are heated or have no heating source. Depending on this, the installation method is selected. About this, as well as about what is good for a decking board and what its disadvantages are in more detail in this article.
Benefits, features of choice
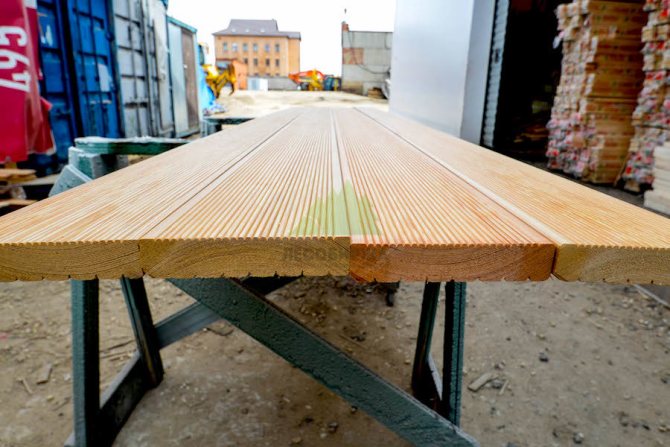
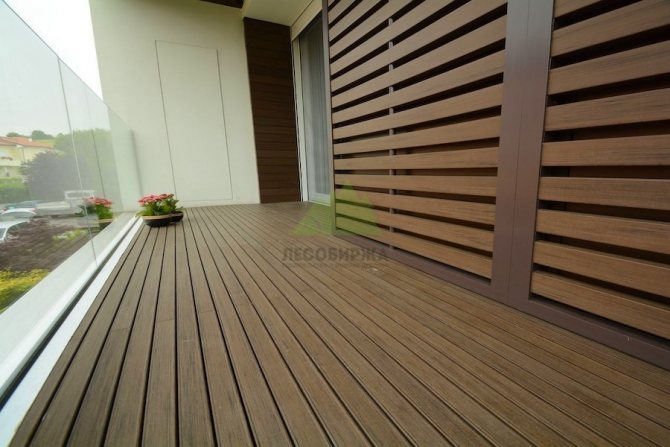
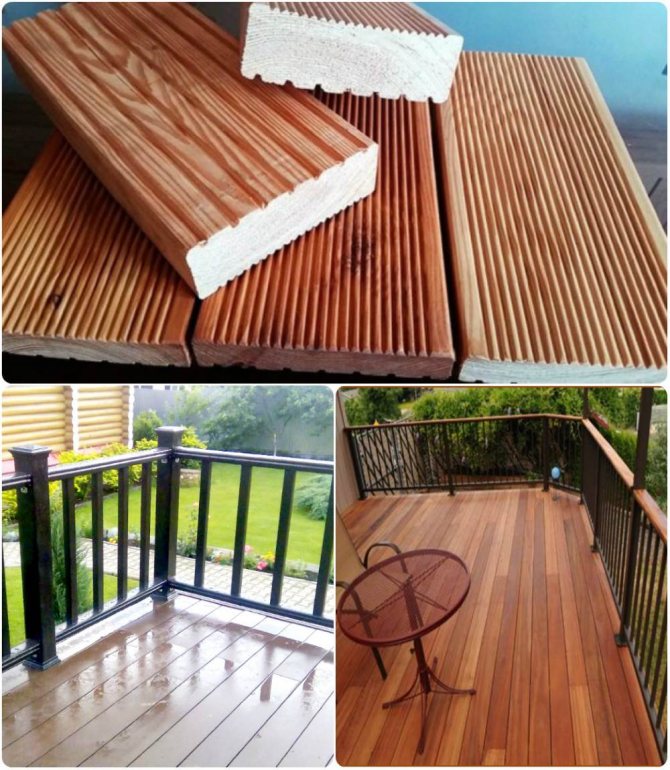
Decking is a weatherproof and versatile board. In the assembly, it visually looks like a panelboard parquet, a deck.
Suppliers are made from:
- natural wood (cedar, pine, ash, larch);
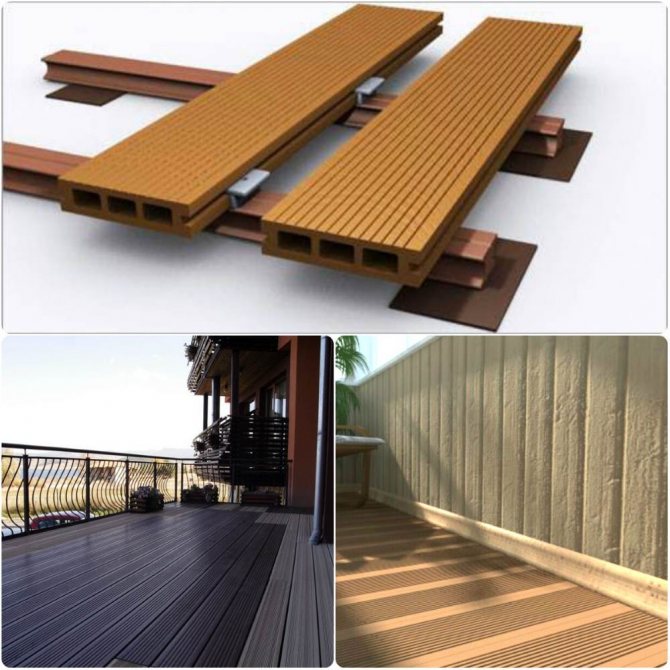
- wood-polymer composite (WPC) containing a plasticizer, wood flour with excellent resistance to cold.
If initially decking was intended for arranging open unheated rooms like gazebos, today, thanks to its decorative properties, it has become in demand for open rooms with a blank fence around the perimeter, lattice balustrades.
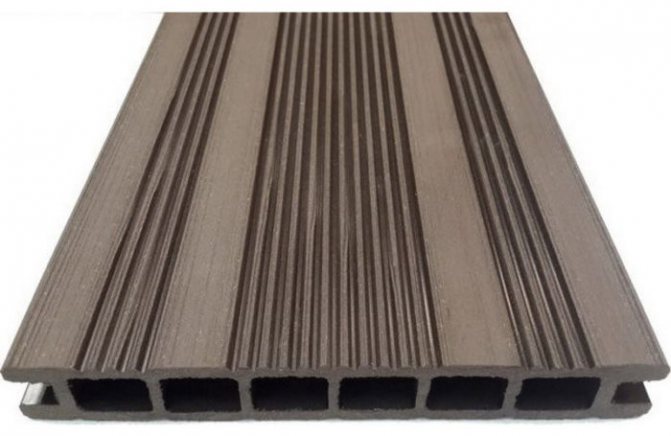
Decking
Advantages of the panels:
- resistance to abrasion, stress, climatic changes, mechanical stress;
- high decorativeness;
- uncomplicated installation;
- low thermal conductivity;
- non-susceptibility to rotting, insect damage due to and impregnation of the top layer with an antiseptic;
- high aesthetics due to the external nobility of the material;
- the presence of an anti-slip surface, which is important for open balconies;
- no delamination;
- fire resistance due to fire retardants in the composition;
- increased strength. The board will withstand up to 500kg per 1m2 of area;
- maintainability;
- long service life of 10-50 years with careful operation.
The cost of the material is too high. This is a disadvantage when many users are sheathed with cheap wooden clapboard, plastic (for more details, see the article: “Sheathing the balcony with plastic panels”). But decking is a better material. For example, a wooden lining is covered with mold, plastic is short-lived and burns.
If we talk about the manufacture of a terrace baluster, then first the wood is painted, dried with a moisture content of 8%. Next, defects are cut out. Lamellas are split, calibrated, acquiring precise, ideal geometric dimensions with the help of modern equipment.
Then the workpieces are processed on lathes to ensure the accuracy of the given pattern and improve the quality. Shrink film is applied. The result is an environmentally friendly, durable, practical, inexpensive, durable balusters with a structured surface that do not need additional processing after installation.
Reference! Dumping is one of the best materials for finishing open balconies. not afraid of humidity, sunlight, cold weather, temperature extremes.
Decking - modern flooring on the terrace
Floor arrangement on a balcony or terrace can be a lot of hassle. First of all, it is necessary to decide on the floor covering, and there are a great many of them in the modern construction market, and by no means every material is able to withstand temperature extremes, excessive humidity, precipitation. on a terrace, a decking floorboard is best suited.
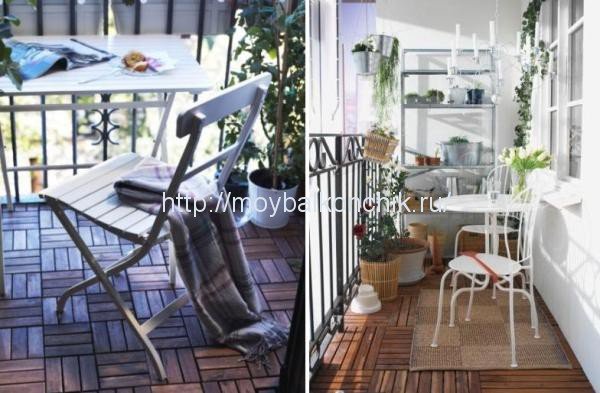

How to sheathe a balcony with a board: basic principles
The room can be different: open, closed, cold, warm, which determines the choice of the option for arranging a terrace board. If the loggia is heated, then the lamellas are laid end-to-end. No gaps are left. In rooms without heating, it is important to provide a 3 mm thermal expansion joint between the boards.
In open areas, the gap should be at least 4 mm.
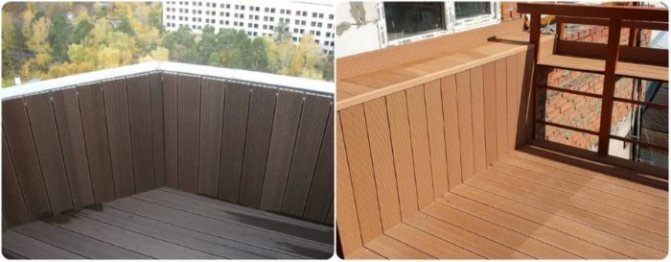

Basic principles for installing a terrace slab:
- Leveling the black base, checking the strength.
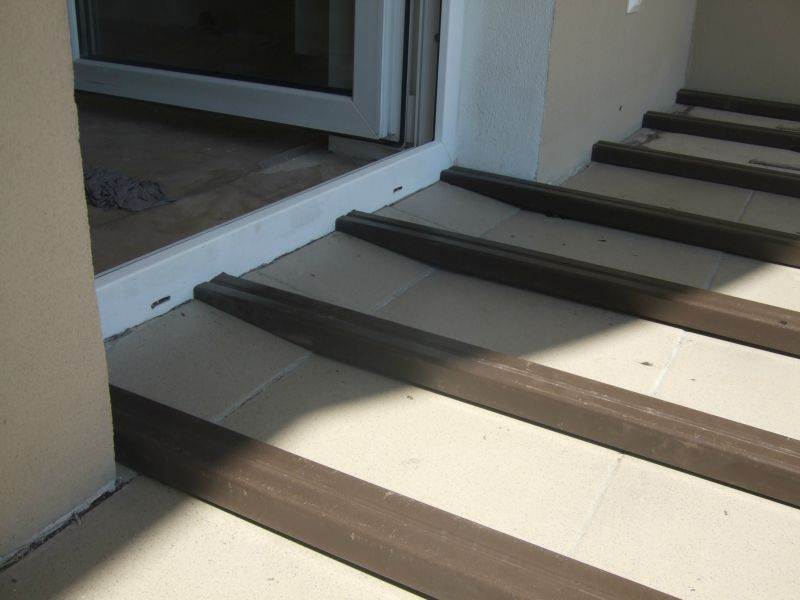
- Installation of a log from a bar, aluminum profile or composite material on a prepared surface.
- Laying boards parallel to the longest wall, especially with a spacious balcony room.
- Leaving for 2 days after laying in order to acclimatize the material.
- Directly laying boards with an indent from the walls of 10 mm. A gap of 30 cm is left between the bars.
- Carrying out work, starting from the longest solid wall with the imposition of a cladding on the joists in order to avoid deformation.
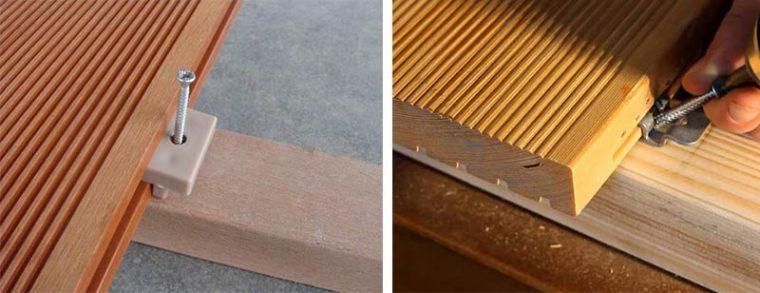
- Attaching lamellas to corners, clips, clamps.
- Fitting and fixing all subsequent boards.
- Fastening the final profile to the last lamella.
- Covering with decorative clips if there is a gap near the wall.
- Treatment with a hydrophobic primer or colorless impregnation to increase the service life, which is important in the presence of an open, non-insulated loggia.
What you need to know about laying decking on concrete
When arranging a decking adjacent to the wall, it is necessary to take into account a number of important nuances. Firstly: concrete base
(screed) may be uneven. And first, it should be marked. Also follows before
installation of decking
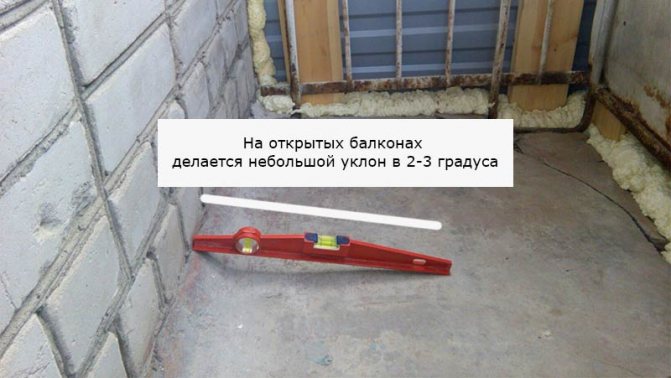
to attend to the solution of the issue of the outflow of rainwater - for effective drainage, a slope of 1-2 degrees is enough.
Secondly, one should take into account the fact that the walls of the cottage can be uneven. But do not compensate for the curvature of the wall due to the indentation from it - the best option would be to trim the initial floorboard.
Floor finishing
Even beginners can equip a terrace board. The main thing is that the floor is even, crevices and cracks are filled with cement mortar. If you can see that the old screed is crumbling and unstable areas have formed, then it is worth dismantling by pouring a new cement layer (how to do this correctly, read the article: “How to fill the floor on the balcony”).
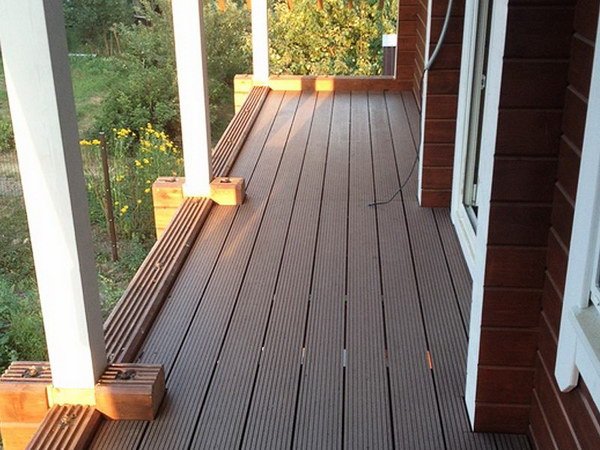

Further:
- wipe the appeared irregularities, bumps with a construction trowel after the screed has dried;
- wait 2-7 days until the solution is completely set;
- install wooden logs from a bar with a section of 50x50 mm across the balcony slab, maintaining a step of 50 cm;
- soak the boards with an antiseptic or treat with linseed oil.
Reference! It is necessary to lay out the bars so that they are in a single plane. For insulation, a heater (mineral wool) is laid between the logs. On top - a layer of film when fixing the board on self-tapping screws or raising the floor to the level of the door frame. The lags are selected with the appropriate section. The height of the terrace panel should not be higher than the lower door edge.
Sequential work:
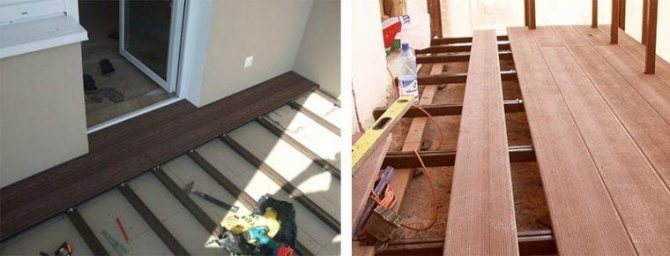
- Laying the initial lamella along the wall. Fixation on self-tapping screws or fasteners invisible.
- Installation of subsequent boards so that the end sides at the joints when joining are on the joists. Fixing with mounting clips, and the last lamella to the lags - with self-tapping screws.
- Installation of a wooden plinth around the perimeter of the loggia.
The main thing is to leave gaps between the boards for thermal expansion, which is important when working with wood. Otherwise, the panels laid close to each other will begin to swell, interfere with each other, warp, pull out the fasteners.
If the balcony is heated and a stable temperature is maintained, then you can fix the boards on self-tapping screws with a beveled head at an angle of 60 degrees.The material should get used to the microclimate, take the outside temperature, therefore after laying it is left for 1-2 days.
First, logs are mounted on the roughing at intervals of 50 cm, from the wall - 1 cm. Then - boards, leaving small gaps and fastening to self-tapping screws. Although the first decking plate is best attached to the anchor.
Installation procedure
When the boundaries of the future flooring are marked out, we proceed to calculating the number of supports for the logs. For the calculation, you need to divide the marked area into squares of 50x50 cm in size. In the corners of the squares, adjustable supports for logs with a height of at least 54 mm are mounted and fixed. With an uneven screed, you need to pay maximum attention installation
linings: they should form a straight line, while observing the slope. Deviations from the norm "by eye" are almost impossible to determine, so when installing, you need to use the building level.
Lay logs on concrete base
follows perpendicular to the facade, attaching them to previously mounted supports. The joining of the lag is performed exactly in the center of the support, while it is forbidden to perform the joints of all beams in one line. For fastening wooden structures to each other, cross bars and galvanized steel corners should be used. Since the main load from the entire flooring will fall on the extreme logs, they must be made double.
In addition, one should not forget about the treatment of wood with protective agents that prevent rotting.
Then the terrace board is mounted and fixed. For its installation, special fasteners are used:
- galvanized steel (Gvozdek Pro, Twin-mini, classic, etc.);
- clips made of composite material.
Depending on the type of fastening chosen, the installation procedure changes slightly. decking
... But in general
terrace board
fits as follows:
- The first plank is mounted and fastened with dowels.
- Then the fasteners are installed, after which the next board is mounted.
- To maintain the gap between the floorboards (about 5–7 mm), A-spacers should be used. Depending on the mount, decking
must be hammered into spikes or inserted into grooves. - The following proverbs are mounted in a similar way.
It is important to take into account that the joints of adjacent rows decking
should fall strictly to the center of the lag.
Wall covering
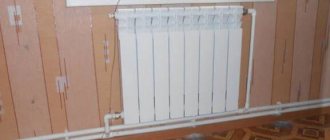
Terrace lamellas are designed for floor mounting, but in order to increase comfort and insulation, they can be mounted on walls.
Main rules:
- Surface preparation, removal of old paint.
- Wind insulation check. Installation of the lathing if necessary.
- Installation of wooden slats for the frame.
Attention! The best board for walls is cedar, larch.
The work will require small nails, self-tapping screws, a building level, wall and ceiling plinths, fasteners, plinths to hide the gaps between the panels. Laying of the decking begins with the installation of the battens and the flooring of the windproof layer. Then boards are attached to the frame and small nails (screws). The joints with the floor and ceiling are covered with a beautiful plinth.
It is recommended to purchase panels from the same batch so that the wood trim of the balcony does not differ in color and texture. If they are located horizontally, then the installation of the battens is carried out in a vertical position.
Advantages of decking
Panels of both types for floor and wall decoration, according to the manufacturers, have a list of positive qualities:
- high resistance to moisture and sudden temperature changes;
- rotting, expansion and deformation are excluded;
- high wear resistance for a long time;
- the source material is of natural origin, while it is resistant to fire;
- the laid decking on the balcony will not let the cold from the concrete slab pass through (cedar and pine trees do the best with this);
- external sophistication and ample opportunities for design ideas.
In addition to the above, it can be mentioned that such a coating is able to withstand temperature drops from -40 to + 70 ° C, and WPC panels are designed for a load of up to 500 kg per square meter. And, despite the fact that it has only a conditional relationship to wood material, decking has a special scent of wood.
Balcony decoration with stone
The construction of the stone is massive, durable, and shock-resistant. Details in the article: "Decorating the balcony with stone".
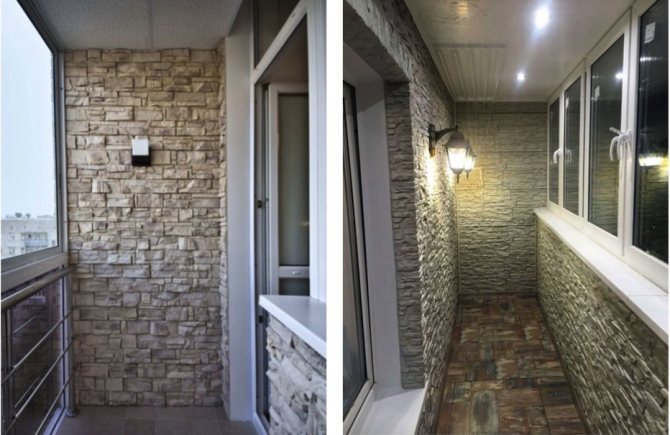

Although during installation it is important:
- comply with the requirements of SNiP;
- take into account the maximum permissible load.
Reference! Stone railings will be appropriate if the balcony is spacious and the terrace is open.
Balcony finishing with laminate
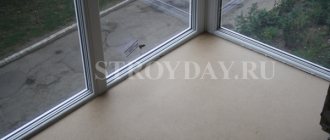
Laminate is used everywhere. Balconies, loggias are no exception.
The material is characterized by durable characteristics, excellent appearance. Conditions to comply with when using:
- Pre-glaze and insulate the room, otherwise the temperature minus 5 and below will quickly lead to damage.
- Prevent condensation from entering the floor covering, i.e. when laying, keep the balcony closed with blocked windows,
- Select a moisture-resistant material in the composition with polyvinyl chloride, which is important for the durability when decorating a balcony.
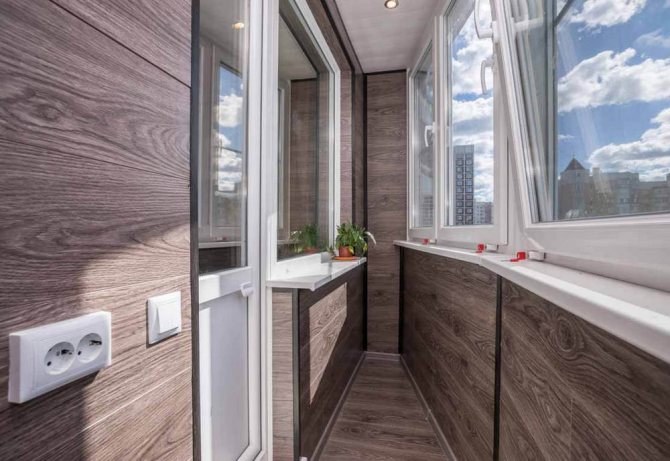

Installation is as follows:
- laying a heat-insulating substrate on the floor, because the heat-insulating properties of the laminate are low;
- perform initially cement screed to level the surface;
- lay the material in dry warm weather on a flat surface leaving a technological gap of 15 mm in order to avoid deformation during expansion;
- withstand 2-3 days to get used to new operating conditions.
If the walls of the loggia are trimmed with a laminate, these sheets of laminate should be tightly joined together and without deviations from the norm on the locks.
We considered this topic in great detail in the article: "Finishing a balcony with a laminate"
How to care for decking
The ribbed texture of the material assumes that the floor will be carefully cared for. Used for cleaning brush with soft bristles and non-aggressive detergents. If stains are found, they should be washed off as soon as possible so that grease and oil do not have time to absorb into the wood. During cleaning, the seams are inspected for dirt, not allowing debris to clog the grooves.
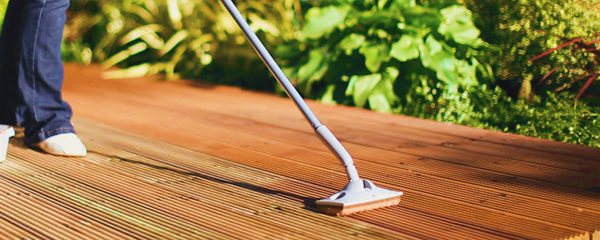

Advice. Furniture and flowerpots should be rearranged and swapped from time to time. This will help to avoid structural deformation of the material, as well as its uneven aging.
Wood tends to wear out, so every It will need to be updated for 3-4 years. It is not recommended to use paints and varnishes that create a film on the surface. Since the floor will change parameters with changes in humidity and air temperature, the paint layer will crack and peel off.
For coloring impregnating compounds are suitable. First of all, it is drying oil - a natural material that preserves the wood grain and protects it. You can also use wood oils to accentuate the texture and reduce slipping on wet floors. Although the balcony is glazed, moisture still penetrates through the windows, so they choose a sunny, not rainy day for painting.
Decorating the balcony with decorative plaster
Plaster strengthens, protects, transforms the surface. This is one of the best finishing materials, in contrast to wallpaper, panels, lining for balconies, loggias consisting of 1-2 layers. The basis is made up of gypsum, lime, quartz, white cement. As additives - adhesive plasticizers, colorants to increase aesthetics and practicality.
The topic is disclosed in detail in the article: "Decorating the balcony with decorative plaster"
Decorative plaster:
- fire and environmentally friendly if the amount of additives does not exceed 3%;
- will not accumulate dust;
- will contribute to the penetration of air and the creation of natural ventilation;
- will prevent the formation of fungus and mold due to the content of antiseptic substances;
- will last a long time;
- has many colors and textures to create a unique interior.
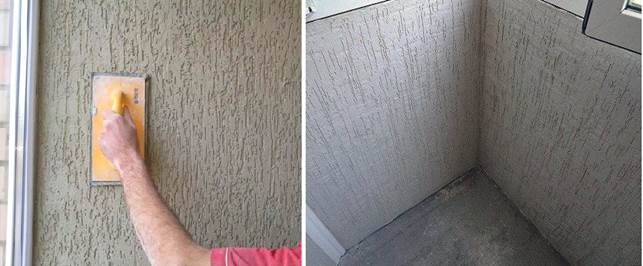

Types of plaster:
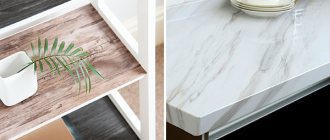
- Venetian, created on an acrylic base with the addition of a special color pigment to imitate marble, pearls, silk;
- structural with the content of quartz, mica for the formation of chaotic scuffs, scratches after application, imitation of the moves of the bark beetle;
- textured with marble and granite fractions, organic fibers like cotton, flax.
Attention! Venetian plaster looks rich. Although it may suffer from precipitation on an open balcony. Another option is a silicone mixture that is resistant to adverse external factors and retains brightness. When choosing a material, it is important to take into account the decorative and technical characteristics so that natural components with fungal properties prevail in the composition.
Laying the decking board on a concrete base
The use of wood as a material for flooring will never lose its relevance. During construction, more and more attention is paid to natural materials, which is especially reflected in the construction and improvement of terraces.
A stylish and eco-friendly wooden terrace will become a real decoration of your site. In addition, there are many solutions available:
- open and glazed terraces;
- being part of the roof or balcony;
- erected next to the house.
Installation
each type of terrace has its own specifics. In this article we will deal with all the nuances of arranging open terraces on
concrete base.
