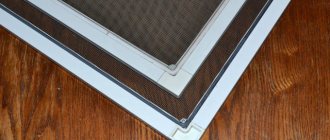
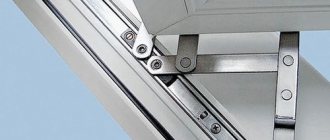
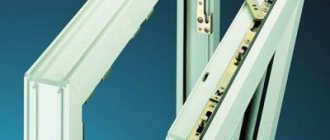
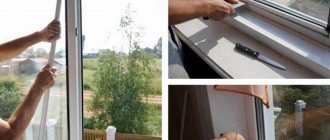
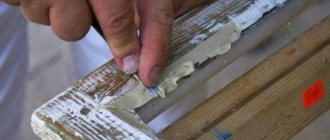
A plastic window is an extremely stable and very reliable thing, but at the same time the mechanism is quite fragile, and problems still exist. They can be associated with careless use, with the shrinkage of the house, with the fact that the debris accumulated in them interferes with the normal operation of the mechanisms. Yes, one thing, how many times and with what force we open and close the windows, already prepares us for the upcoming breakdowns. The good news is that almost all of these problems are the same and can be eliminated without any special preparation. Let's try to understand this simple mechanism and learn how to repair the mechanism of plastic windows with our own hands.
Tools Needed for Repair
The plastic window has become commonplace
To deal with certain whims of the window, you will need the very minimum of adaptations that are available to every owner and almost every housewife:
- screwdrivers (both flat and Phillips);
- a set of "stars" (screwdriver attachments);
- a hexagon (necessarily 4 mm, it is also a furniture key, it can usually be obtained from any cyclist's repair kit).
Less often, you may need WD-40 aerosol, but more on that later.
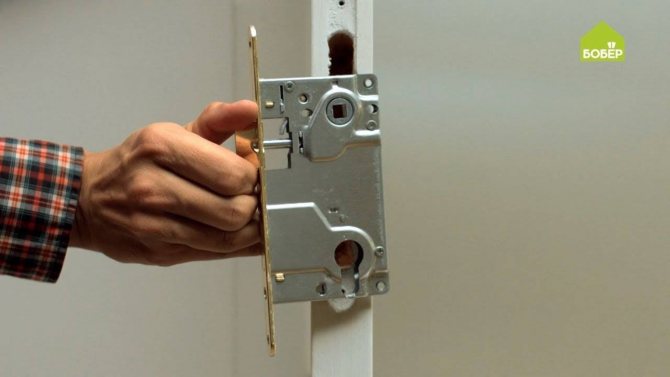
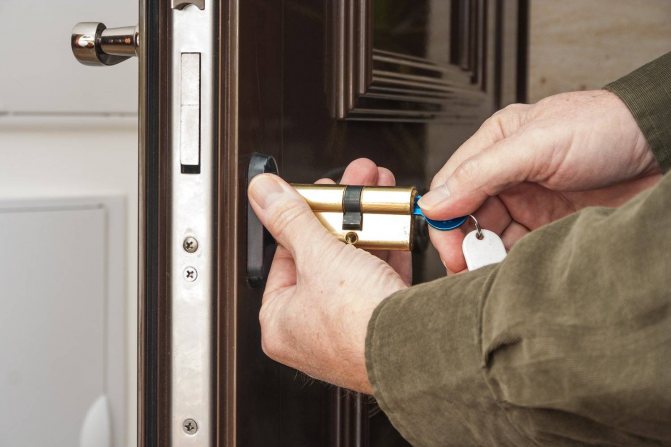
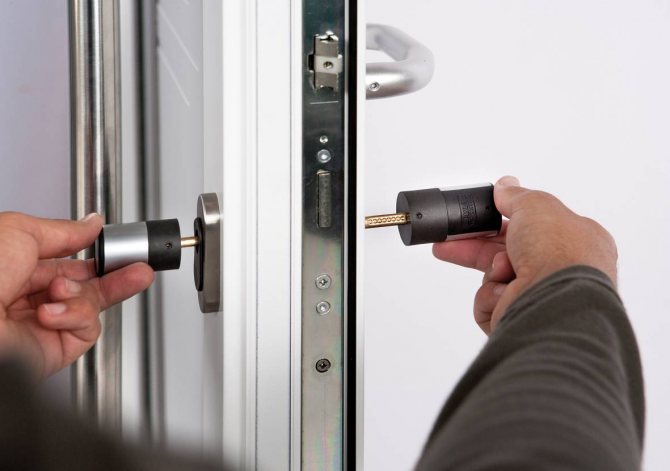
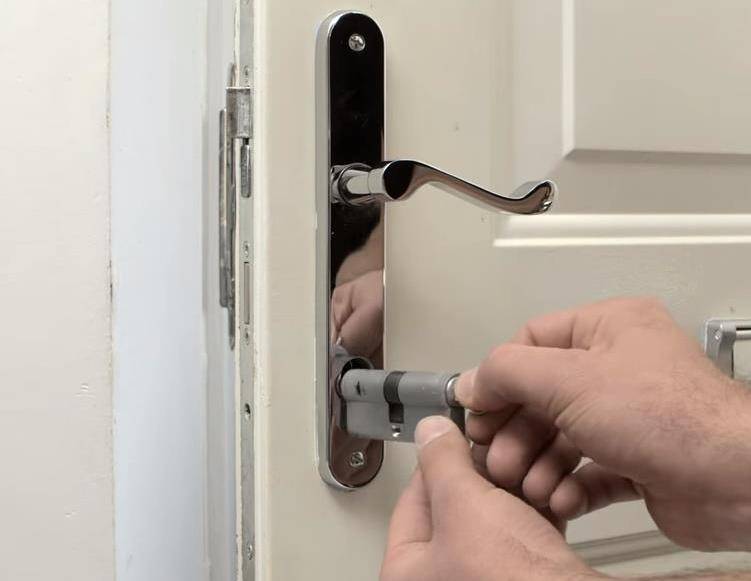
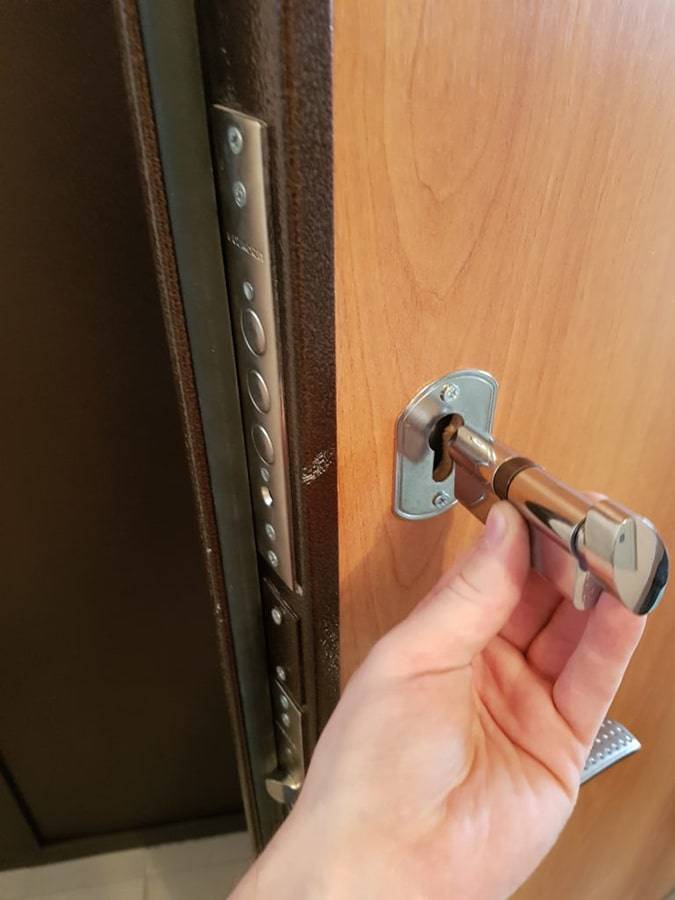
Replacing the lock on the balcony door
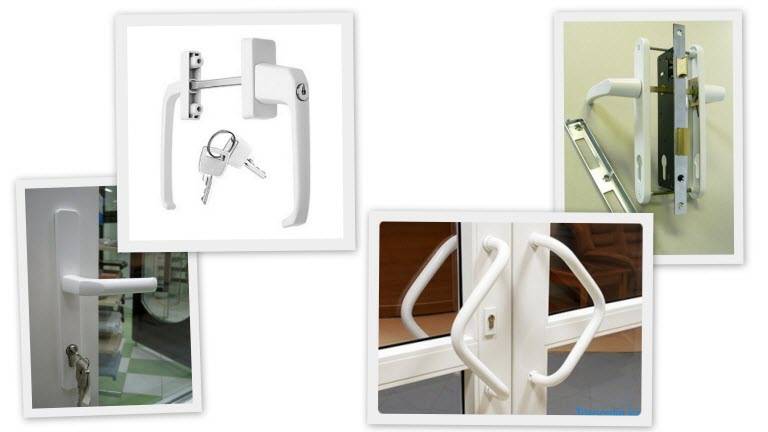
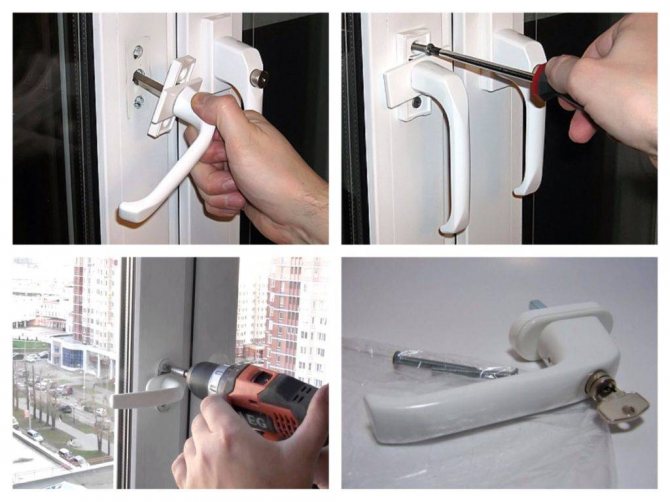
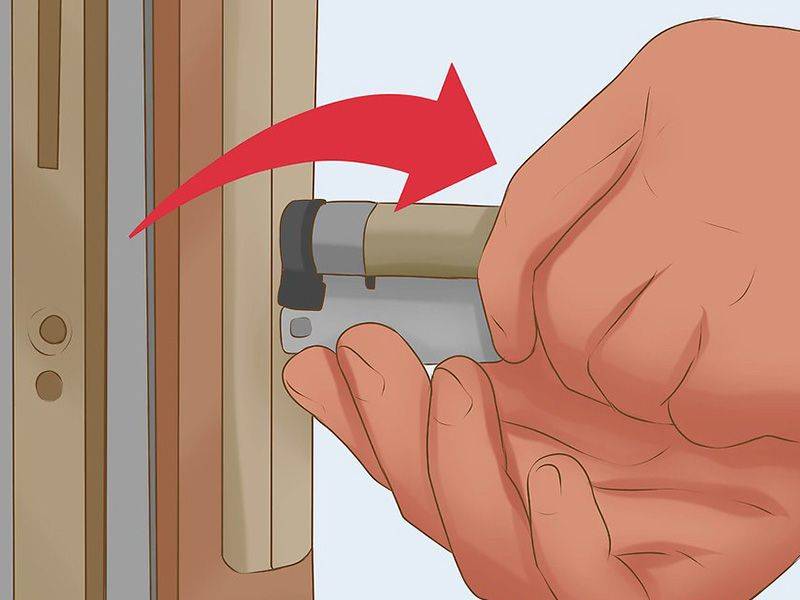
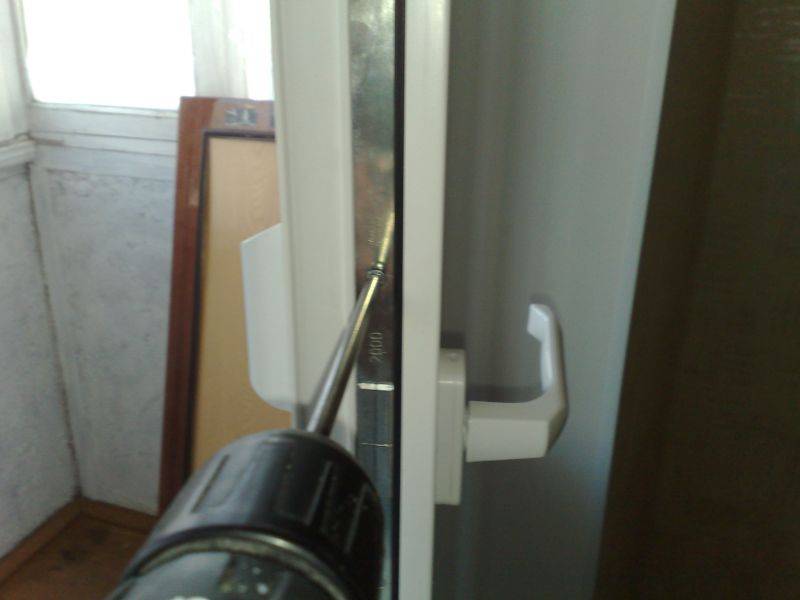
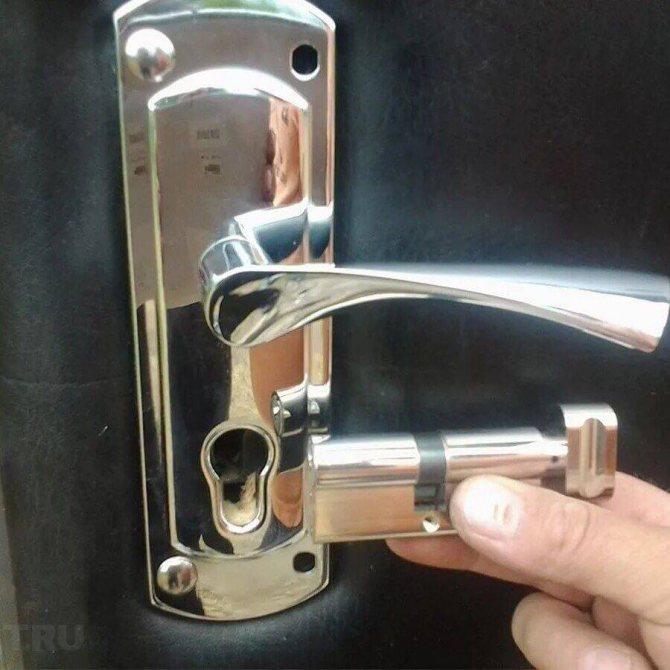
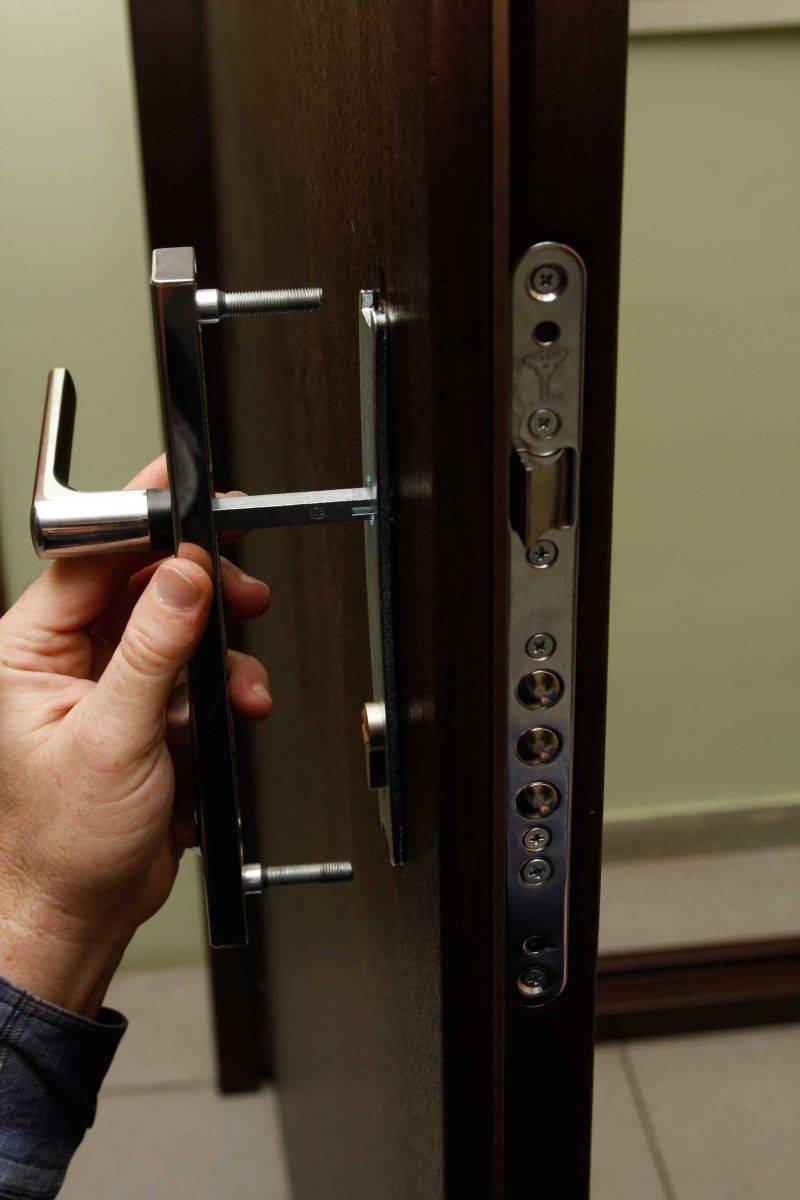
We change the lock and handle with our own hands. Stages of replacing the lock for plastic doors:
- We open the sash, unscrew the screws.
- We turn the decorative plug horizontally at the base of the handle, unscrew the bolts holding the handle.
- We remove the lock, the handle.
- We measure the length according to the old drive, align the holes for the handle pin.
- We prepare the lock, install it in the groove, you can hammer it into the hole with a rubber hammer with not strong blows.
- Install the handle, tighten with bolts, close the fasteners with a plate.
After installing the lock, the first turn of the handle is always forceful. For information on how to repair locks on a plastic door, see this video:
We lubricate the necessary elements of the lock and fittings. The door is ready for further use.
Key window adjustment points
To understand how to repair a plastic window, you need to know how it works. Almost any plastic window inserted in an average apartment has three levels (or planes) of adjustment. This, first of all, makes it possible to be the window part itself in the optimal (tightly pressed and not skewed) position to the frame, plus it provides a reliable abutment to the seal. All the "magic" is in the loops. The lower hinge is responsible for the vertical position of the sash and the lower vertical angle; the upper part of the sash is responsible for adjusting the upper hinge; the clamping force directly depends on the eccentrics. That's all the tricks.
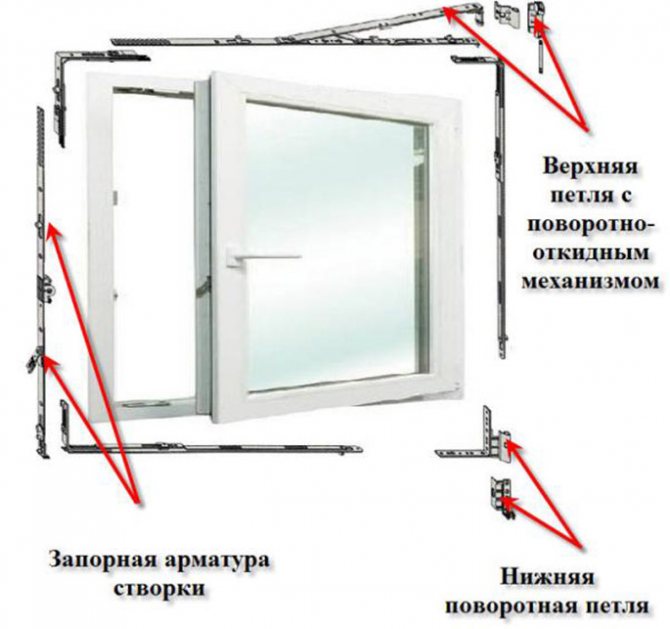

Plastic window
The main problem here is the well-known displacement of the mechanism, which does not allow the sash to open and close correctly, or do it at the right angle. This is the so-called "sagging", due to which the window touches the frame and, in the end, may simply stop closing at all.
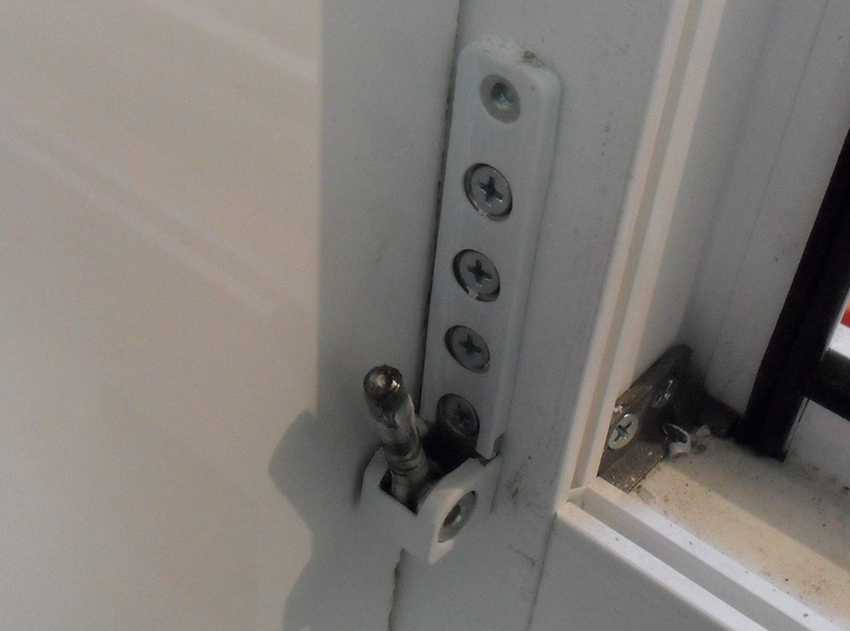
In this case, we are interested in window canopies. We do not take into account the lower one, here it does not play any role. It is necessary to open the window and at the very top of the window find two screws, adjustable with a hexagon. The lower one is slightly loosened, and with the upper one we work: with the help of a hexagon we turn it back and forth until it gets into the desired position.
Selection criteria to be considered
Burglary resistance is of four classes:
- The first is the simplest, most burglary, used for interior doors. It takes less than 5 minutes to open these.
- The second one is opened within 5 to 15 minutes. They can be installed in internal and external doors.
- The third one has increased protective qualities, and it will take more than 15 minutes to open them.
- The fourth one is the most reliable; they are opened in at least 30 minutes. Installed in doors for rooms that require increased protection.
The price for metal doors depends on the class of resistance to burglary, which implies the use of especially durable materials and devices with a high level of secrecy.
In addition to resilience, there is also secrecy. The number of possible combinations in it and the key can reach enormous values.
But it must be borne in mind that secrecy is a complex concept that includes:
There are three levels of secrecy:
Highest: In this case, the secrecy exceeds 100,000 possible combinations. There is protection against pick picks and mechanical stress. The key profiles and pin combinations are very complex.
The materials used to make the devices are acid resistant and the assembly is carried out with great precision.
Average. The number of possible combinations ranges from 5,000 to 5,000,000. Sometimes in designs there is no protection against the effects of picks and mechanical protection, but a complex combination of pins is necessarily used.
For manufacturing, durable and wear-resistant materials are used, with an average quality of parts. Usually, in such locks, the locking bolts of the mechanism are of high quality, and the body and handles are made of low-grade materials.
Low. The number of possible combinations ranges from 10 to 10,000.
The devices have no protective elements against mechanical stress. The location of the pins in the lock and the key profiles are fairly simple. Materials for manufacturing are not of high wear resistance and low strength, and the quality and workmanship are not very good, which is determined even by eye.
Troubleshoot handle problems
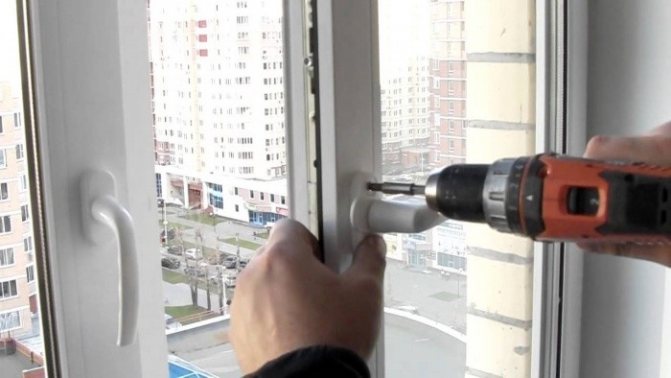
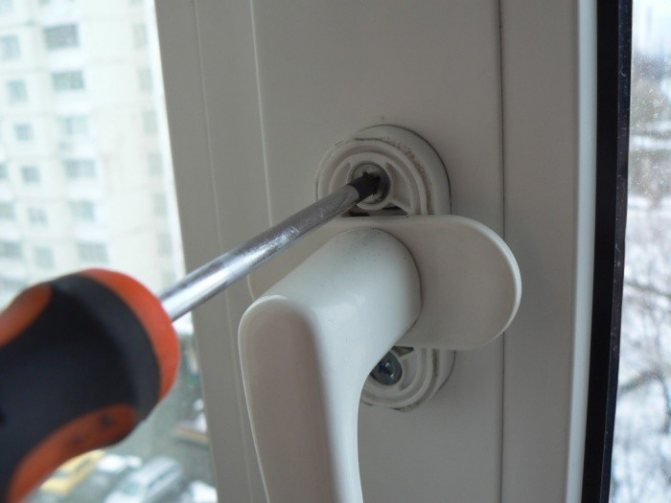
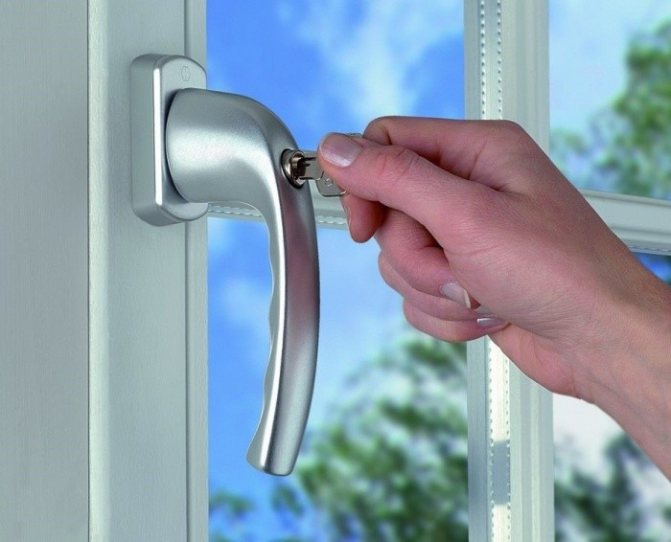
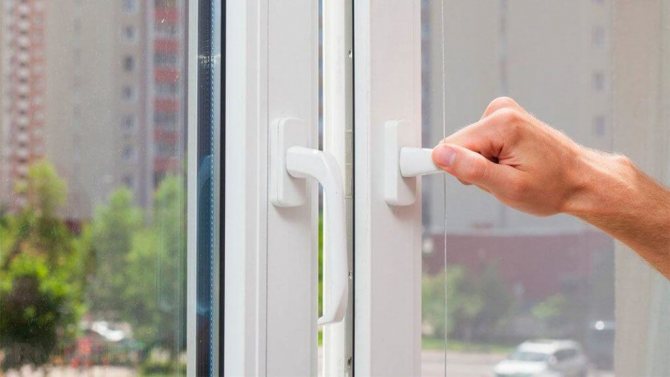
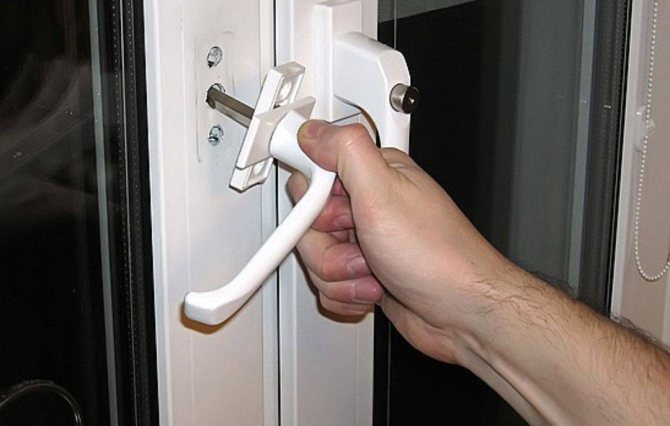
The problem of repairing the handle of a plastic window is the most frequent and usually the first thing that worries happy owners of a plastic window. For example, the handle is loose and, as a result, does not close as it should. It seems like there is nothing to approach: neither you bolts, nor you springs - almost a monolithic contraption. It was not so: the plate at the very base of the handle rotates, and already under it there are just two screws.
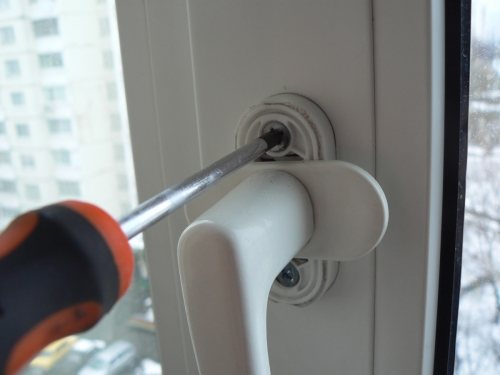

The screws are under the plastic panel
If the handle just dangles, tighten the bolts; if the handle is broken and cannot be restored, we simply replace it with a new one and use it. You can buy such a handle in every construction market or from dealers and sellers of plastic windows. In a word, one of the few problems that can be solved without the help of a specialist.
Another problem: the handle may just stick. If it feels “tight”, roll it up, remove dust and debris, and spray with WD-40 spray.
What is glazing bead and why is it needed
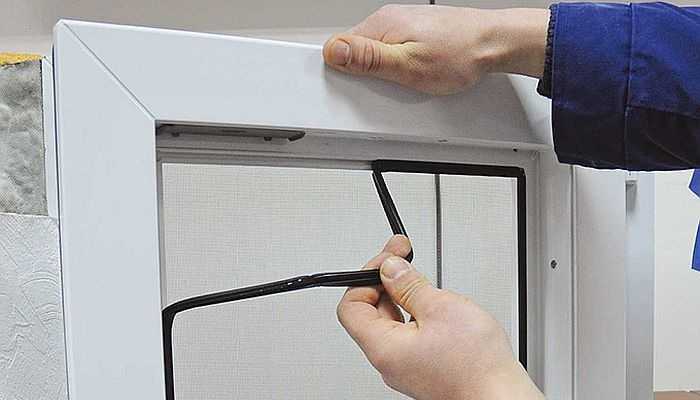
A staple is a narrow strip usually made of a material corresponding to the profile (PVC plastic, wood, aluminum, fiberglass), which holds the glass or glass unit in the window frame (door) and gives it constructive completeness. The plastic glazing bead has a figured shape and, when installed, enters the grooves of the profile, where it is securely fixed with teeth due to the elasticity of the material; for a tighter fit, the bar is equipped with a welded or glued seal.
The outer surface of PVC glazing bead has a different shape and, depending on the design solution, can be round, rectangular, curly.Another feature of plastic glazing beads is a different width, which allows you to put glass units of any standard thickness into the window opening without changing the design or replacing the window sash.
In addition to hermetically holding the glass unit in the frame, the glazing bead prevents dust from entering the room, isolates it from street noise and reduces heat losses, acting as a kind of plug.
Plastic glazing beads - types
Setting the pressure mechanism
Before you start fixing something, you need to know if it needs fixing. We close the window and use a lighter to reveal the presence of "see-through" areas. If the flame flutters, we get down to business. If you look at the window sash from the end, you can see three oval (most often) eccentrics. Try to twist the window handle and you will see that ex. So, they need to be twisted, but quite a bit, often a couple of millimeters is enough. Plus, there will be a reserve for a few more twists: do not forget that the seal also wears out. And, most importantly, do it so that the eccentrics are strictly in one position. To work with them, you will need either pliers or a hexagon. It is very useful that the eccentrics themselves have certain marks: if you see that they are "looking" at the street - you need to press harder, if the lines are directed into the house, the clamp is very good.
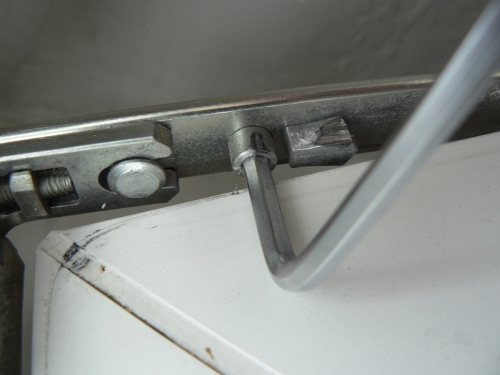

Setting the pressure mechanism
Now let's look at different types of adjustments that have their own significant differences. In order to move the frame to some extent or get rid of the bevel, it is precisely the horizontal adjustment that is necessary.
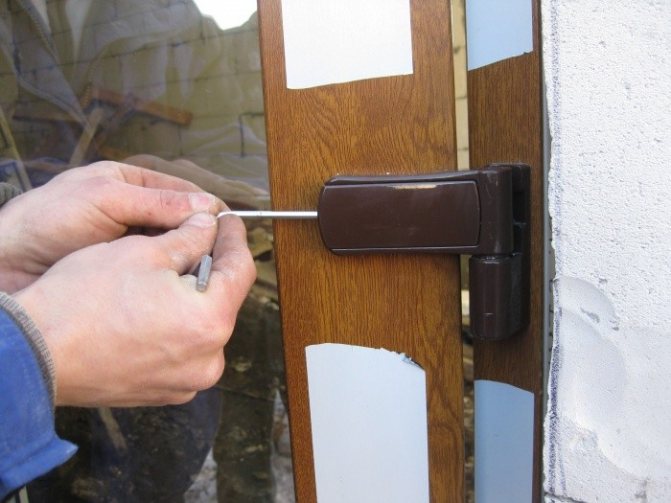
It is carried out as follows: a hexagon is alternately inserted into the upper and lower loop (there are special holes there). When you start to rotate the hexagon clockwise, the window will rise noticeably. When you rotate in the opposite direction, that is, counterclockwise, you will see that the window, on the contrary, is lowered. This procedure must be done strictly with an open window and move the sash no more than 2 mm, so as not to "overtighten" the mechanism and not damage it.
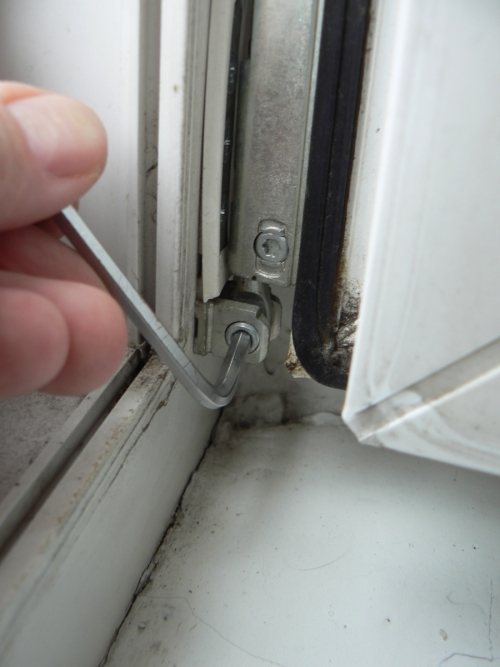

Adjustment
Windows made of metal-plastic can be adjusted using the lower hinge. In this case, vertical adjustment is used. It is necessary to remove the plug and open access for the hexagon, then turn it clockwise. As you can see, there are no difficulties here either.
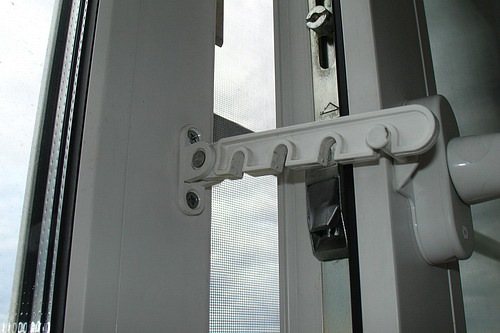

Ventilation of PVC windows
I would like to briefly describe the principle of ventilation at plastic windows. 90% of such windows do not provide for the good old vents, but they have a ventilation mode that everyone loves. For three seasons, this mode pleases, and on the fourth - frosty - a person finds himself in a difficult situation: either freezing or not airing at all. If you are not a happy owner of a plastic window with self-ventilation, you can use a comb, which will one hundred percent perform the function of a ventilation regulator (and it costs a penny). Such a simple device is suitable for almost every plastic window and has 4 modes (or rather, 4 "arches" for adjusting the flow of air into the room).
What it is?
Glazing bead is an integral part of a window (and not only plastic, but also glass, old-fashioned), which the window owner often does not even know about. It is impossible to see it from the outside, since it is attached from the inside to avoid unwanted penetration into the apartment through the window (by removing the glazing bead, you can easily remove the glass unit itself). But even indoors, it merges with the plastic frame and is not particularly noticeable. Thanks to this, it gives the window the appearance of completeness, integrity and aesthetics.
And yet, the main function of this inconspicuous part is to secure the glass unit in the frame. Thanks to the glazing bead, the tightness of the glass unit is achieved.With poor-quality installation of glazing beads, windows lose their sound and heat insulation qualities, fog up, lose their attractive appearance.
Glazing bead is an elongated wide or narrow strip made of expanded polyvinyl chloride (PVC) reinforced with a rubber gasket. More recently, glass composite beads have been used - a plastic material made of fiberglass and polyester resins as a binder. In terms of strength, such a material can be compared with steel.
Glazing beads differ in their shape:
Curly ones have a somewhat complex shape and are more expensive than ordinary square ones. They also differ in size. There are narrow and wide glazing beads. Wide ones are installed in windows with single-chamber packages, narrow ones in windows with three-chamber ones, reinforced glazing is suitable for a four-chamber window.
Solving other problems
One of the less common but occurring problems is the need to replace the glass unit. Here you need to clearly understand what you have to do, and, accordingly, be aware of what mistakes will lead to. If you are not sure, contact the experts on the issue.
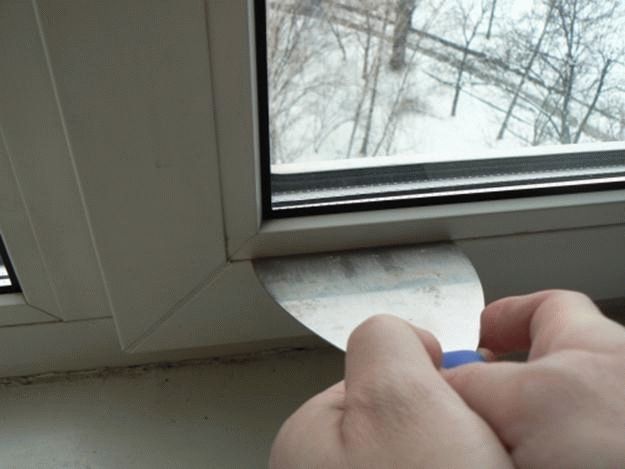

Changing a glass unit requires skills
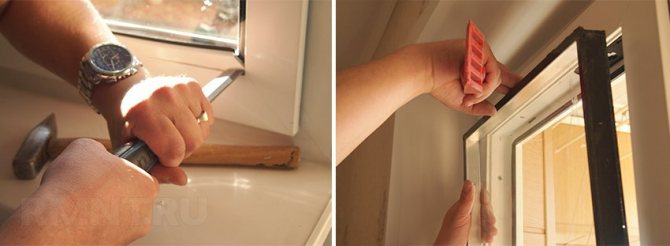
So, we take an ordinary metal spatula and a rubber mallet. We remove all the glazing beads (insert a spatula into the gap between the glass unit and the frame, lightly hit it, repeat the procedure). Having freed the glass in such a way, we take it out. You only need to do this together, because it is much heavier than it seems. Next, we measure the dimensions of the glass, order, meet with a courier. The next step is to install straightening plates (it is important to remember that if the sash of the window is hinged, we indent at the corners of 10 cm.) We fix the new glass in its rightful place, see that it is in a geometrically correct (even) position and fix it with glazing beads. If you strictly follow all the instructions, everything should go without a hitch.
And the last - not uncommon - phenomenon: the sash opens simultaneously in two directions: immediately in the swing and in the tilt mode. Almost everyone has encountered this. It is necessary to make sure that the top flap is firmly pressed. To do this, we put it vertically (naturally, leaving it open). The handle at this moment should be in the "open" position, that is, in a horizontal position.
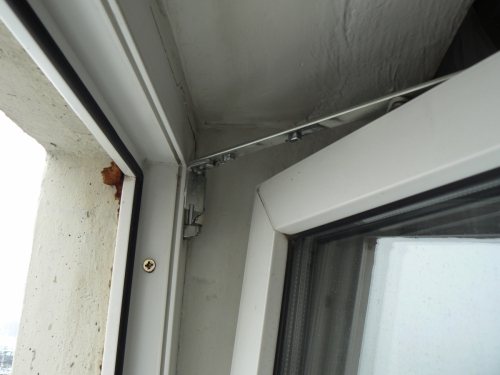

The sash opens simultaneously in two directions
Close the window and carefully turn the handle down. Gently and slowly "try" the handle: turn it up and down. If everything is in order, it means that everything worked in the same mode and the problem is solved.
So, PVC windows are a level of comfort that is already familiar to many, but manufacturers of plastic windows often do not tell users about the possibilities of self-repair and adjustment. The reason for this is quite understandable: in 2-3 years, or even less, the user will come to choose and install a new PVC window. But in essence, repairing pvc windows with your own hands is an intuitive and quite simple mission, the main thing is not to overdo it, not to overdo it and make sure that the repair is carried out exactly where it is needed, that is, go away from the problem.
In case you are not confident in your abilities, just contact the company where the windows were installed, perhaps the specialists will help you at a reasonable price and with knowledge of the matter, and maybe even under a guarantee (if its term has not expired).
Can you replace the hardware yourself?
If you can and even need to adjust the fittings yourself, then we do not recommend carrying out major work. There are several reasons for this:
- Installation of non-native fittings... For each type and brand of windows, special types of fittings are suitable, non-native ones may simply not fit. Even if you install them, it is the new elements that will lead to the early breakdown of the old ones.
- Installation subtleties... It only looks easy and simple from the outside, in fact, even to replace the window handle correctly, you need to know how to “approach” it.
- Loss of warranty... Third-party interference is usually the main reason for window manufacturers to deny warranty obligations.
How to make a swing-out window tilt-and-turn
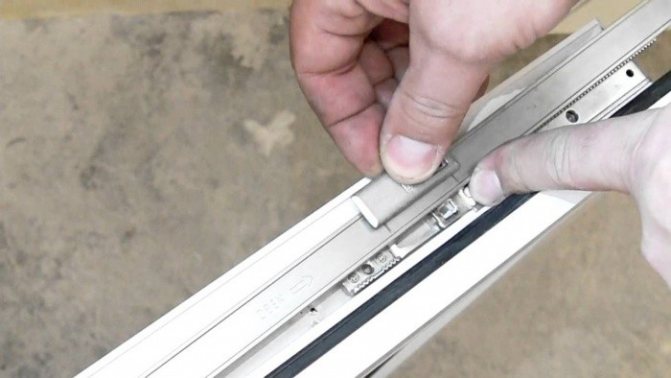
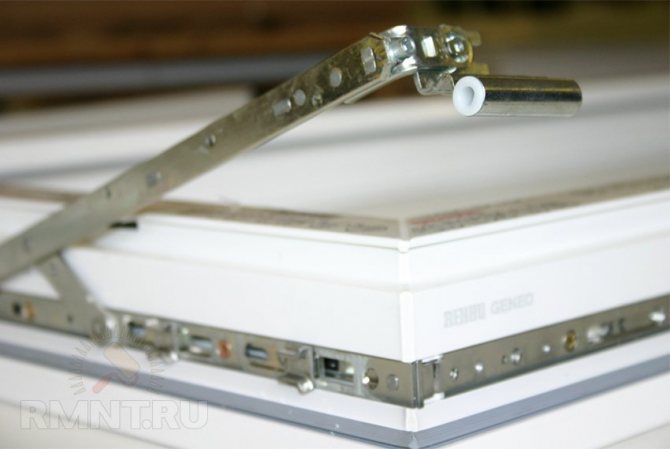
You can also independently make a swing-out window from a pivot window. Often, in order to save money, windows are ordered in the most minimal configuration. And then, during operation, the question arises that it is not very convenient. To convert a pivot window into a swing-out window, you need to buy the necessary accessories.
Measure the exact dimensions of the swing sash, or better bring the documents left by the window installers to the company where you are going to buy the fittings. All measurements are accurate. Order a new mechanism.
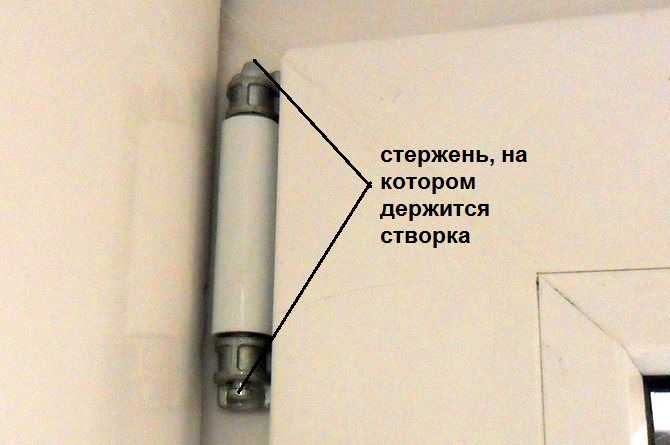
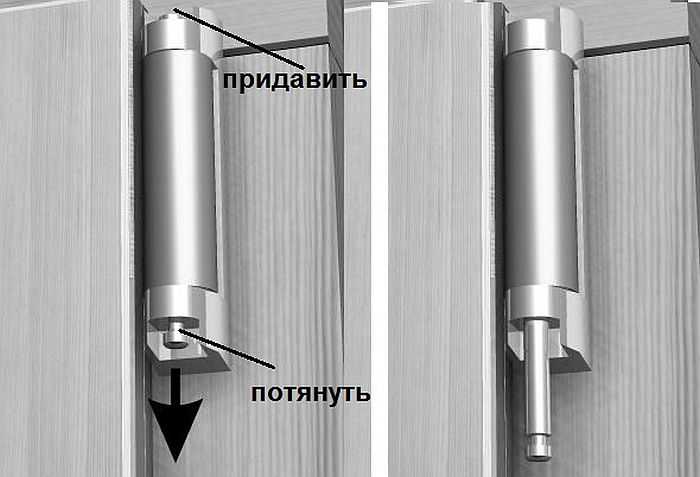
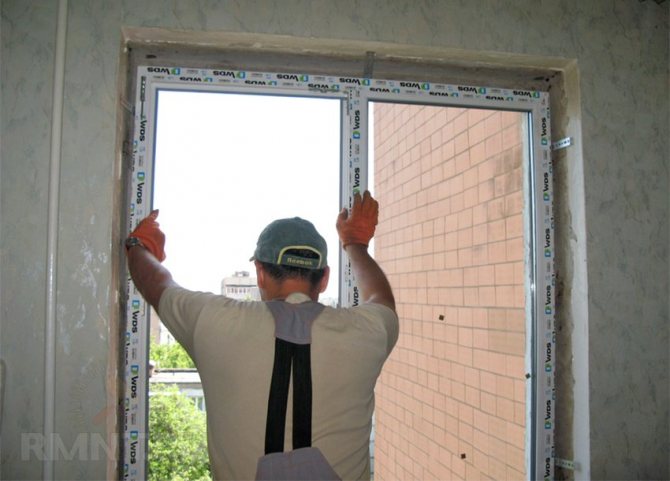
Remove the decorative plastic cover from the upper hinge, unscrew the hinge with a screwdriver and lower the axle down. It's not hard.
Move the flap to the side.
Now proceed to the bottom loop. Remove the plug. Lift the frame up. You do not need to unscrew anything on the lower loop. Remove the sash and lean against the wall so that it stands firmly, and it is convenient for you to continue working with it.
Use a drill or screwdriver to remove the clips on the frame. The new clips will be installed in a different location, so the holes need to be sealed with liquid plastic.
Unscrew the clamps from the window sash. Seal the hole with liquid plastic.
Unscrew all screws from the sash to remove the hinges. They can be removed easily.
Next, unscrew the remaining fittings so that the sash remains "bare".
Remove the old hinges from the window.
Install the new mounts that you purchased. If the holes are not aligned, seal them with liquid plastic. When the sash is installed, this place will not be conspicuous.
Set the middle constipation. There will be no problems with installation, since the new one is put exactly in the place of the old one.
Cut off the flap of the scissors with a grinder to the desired size, if this was not done at the time of purchase.
Screw into the groove. If everything is done correctly, the sash will fit perfectly into the same place.
Now fix the frame part of the scissors to the sash. This is also easy to do, since all mounts are made for a specific position.
Attach the swing-out ledge securely to the frame. The load on this element is colossal, so turn it all the way.
Secure the strikers.
Replace the sash. Place the loop over the lower pin first, then align the upper loop and insert the retainer. Close the hinges with plugs and adjust the swing-out mechanism.
In order not to repair, engage in prevention!
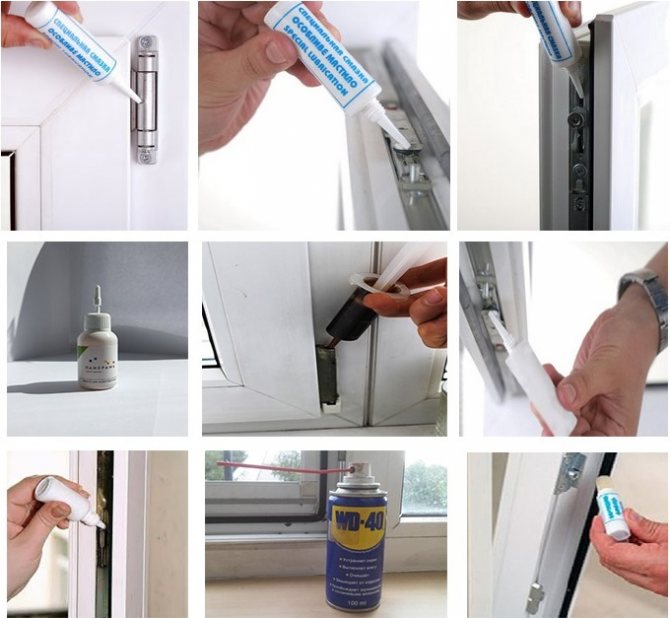
Any repair of double-glazed windows with your own hands is troublesome, and it is not a fact that the idea will be crowned with success. In order not to carry out the restoration of fittings, take preventive measures. One of them is the lubrication of all structural parts. System manufacturers assure that factory lubrication will last for 5 years of continuous use. In fact, this period is much shorter. You can start processing as early as 2 years after the structure has been installed.
If you live in an area where strong winds blow, there are heavy snowfalls, heavy showers, the air temperature makes sharp jumps up and down - prevention will be required in a year.
In order not to get to the repair of window fittings with your own hands, you should follow simple recommendations:
- if the house is located far from the road, does not experience constant stress, the window block is rarely opened and closed, there are no vibrations and other aggression, then once a year there will be enough lubrication. It is advisable to carry out the procedure in the spring, after a cold winter, when the structure suffers the most;
- if the operating conditions are far from ideal, then process 2-3 times a year - in spring, autumn and winter. Then the question of why the plastic window does not close will not be relevant to you;
- parts can be lubricated with machine oil from an auto shop.One drawback - the product has a pungent smell, which not everyone likes. If you don't like it either, get a special window lubricant. It costs 100-200 rubles more expensive than oil, but it does not have a pungent smell. Experts recommend choosing products "WD-40", "NanoProtech", "Akfix", "Motip". These are professional lubricants for processing parts, the quality of which is guaranteed to be high;
- Do not use petroleum jelly, medicated gels, vegetable oil, or butter for lubrication. These substances will destroy rubber seals, metal parts will quickly become unusable;
- only clean parts of the structure need to be treated with grease; they should not be dirty or dusty. A damp cloth or glass cleaning solution will help to remove them. Old grease must be disposed of. In order to remove it from hard-to-reach places, use a toothbrush;
- apply grease gently with a spray bottle or bottle. Turn the knob several times with no load, let the liquid get inside the element;
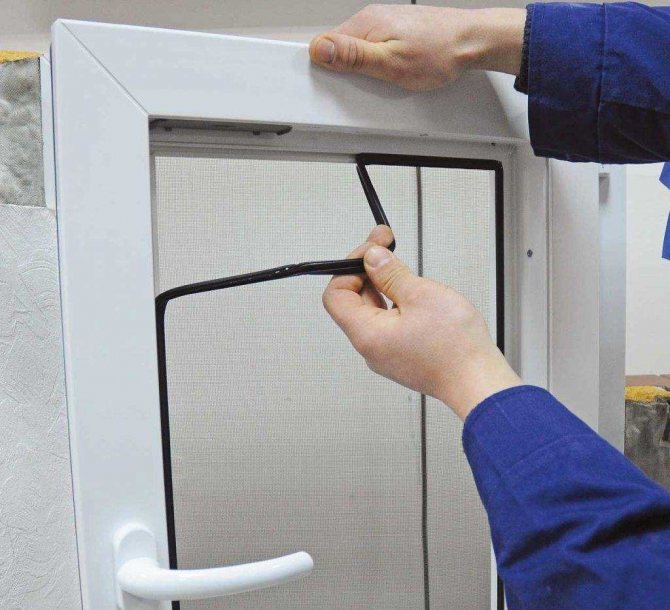
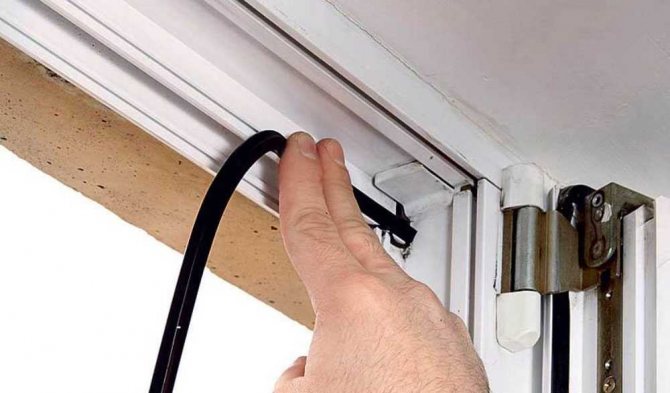
- apply grease to the rubber seal, often it is its drying that does not allow making the plastic windows close more tightly.
How to independently adjust the swing-out mechanism of a plastic window
First of all, decide which tool is needed for the adjustment. Usually you need a 4mm hexagon or a sprocket of the same size. Depends on the manufacturer. You will see a screw in the scissors of the upper sash at the very top. It adjusts the position of the upper corner. When unscrewing or tightening the screw, the element moves left and right.
Now proceed to adjust the pressure to the frame. Open the sash so that the window is wide open. Turn the knob to the “ventilate” position. After these manipulations, the upper corner of the frame will fall through, revealing the lower part of the scissors. Take a close look at the photo. The arrow shows the screw, tightening which you can raise and lower the frame.
We turn to the adjustment of the sash with the lower hinge. Remove the cover from the hinge, use a screwdriver to tighten or unscrew the screw in the lower part, adjusting the pressure of the lower corner to the frame.
To raise or lower the sash, turn the upper screw of the lower hinge.
The lower screw of the upper hinge regulates the raising and lowering of the sash.
To adjust the degree of pressure of the sash to the frame, open the window. An eccentric is located on the side, it is he who is responsible for the density of pressing.
By unscrewing or twisting the eccentric, adjust the degree of pressing the sash to the frame.
Self-adjustment of plastic windows is a simple procedure. The main thing is to figure it out once.
