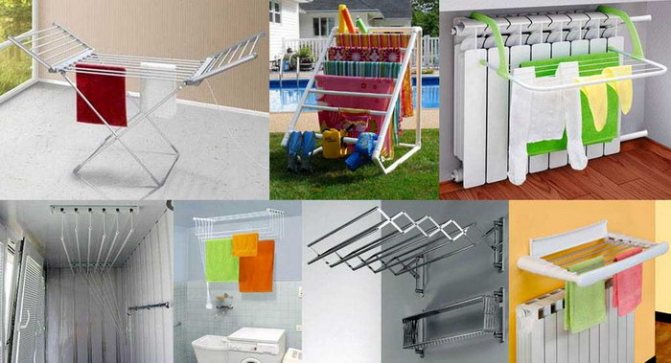
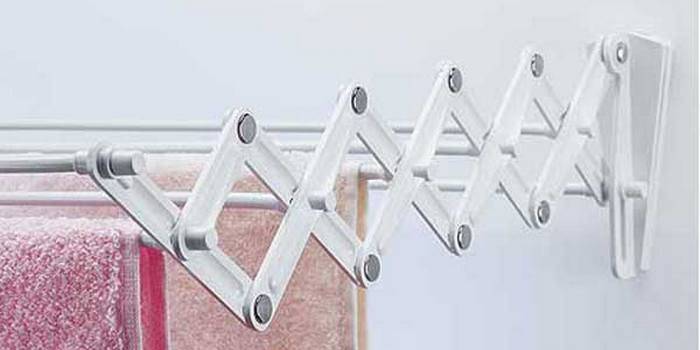
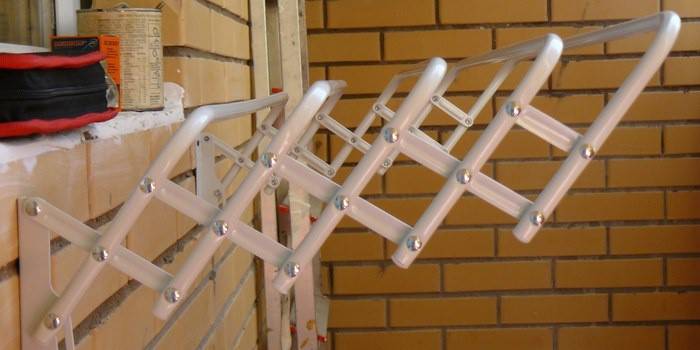
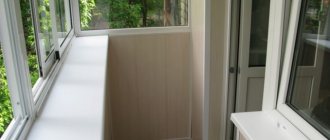
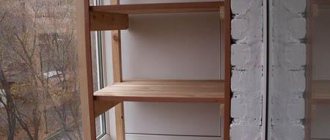
A ceiling mounted clothes dryer on a balcony is one of the most convenient ways to dry clothes in cities. In addition to ceiling mounted equipment, other types of dryers can be used. What kind of drying accessories can I use? How to install different types of dryers? How to make a tumble dryer yourself? Answers further.
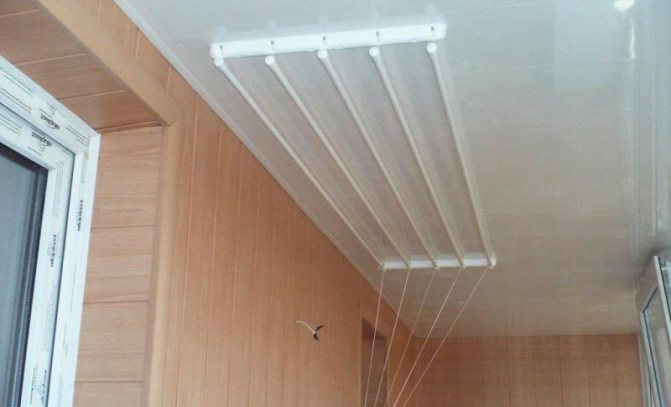
Ceiling dryer for balcony
The advantages of placing a tumble dryer on the balcony
The process of drying laundry on a glassed-in balcony or loggia has its advantages and disadvantages. On the positive side, protection from adverse conditions and foreign odors should be noted. Among the inconveniences is the limited movement around the balcony room while drying things. It is recommended to choose in advance a suitable option for drying clothes on the balcony.
Using cables designed for fastening on a closed loggia or a glassed-in balcony, you can safely go to work and not be afraid of rain, which will wet things. When the windows of the apartment overlook a busy roadway, when hanging clothes outside the premises, the clothes are saturated with exhaust gases and dust. For this reason, it is better to dry clothes even on small balconies.

Video
If you still have questions about how to choose the right floor dryer for clothes, we recommend watching a video on the topic with tips from a specialist:
Found a bug? Highlight it and press the buttons:
Ctrl + Enter
Interesting!
There is a "bachelor" washing machine. The laundry washed in this unit does not need to be ironed at all! The thing is that the device does not have a drum: some of the items can be placed inside the container directly on hangers (for example, jackets and shirts), and smaller items (for example, underwear and socks) - on special shelves.
Rope locations on the balcony
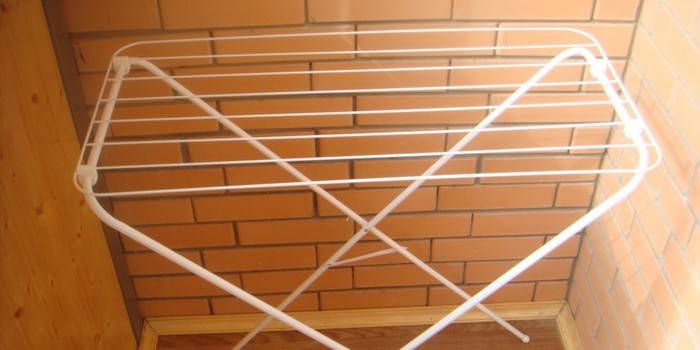
Before deciding on the installation site, you should choose the most suitable dryer model. They can be stationary or easily movable.
To use the lines for drying clothes on the balcony as efficiently as possible, they should be correctly installed. Traditional places for installing cables on the balcony:
- Remote structures. They are located outside the premises. The design principle is that two metal corners or pipes, in which holes are drilled, are installed opposite each other. The cables are pulled in parallel.
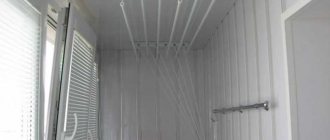
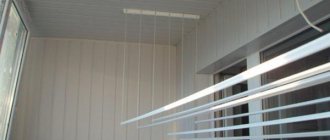
- The ropes stretched under the ceiling of the balcony will allow you not to expose your underwear to the public. The cable should be located along the room. The structure is mounted on the ceiling or walls.
Spare parts
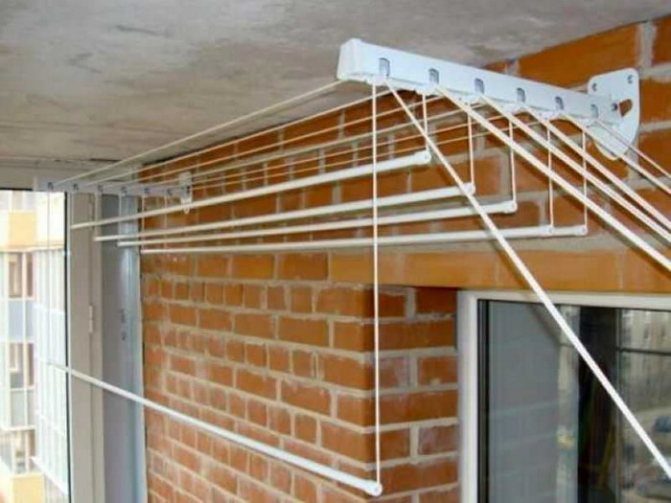
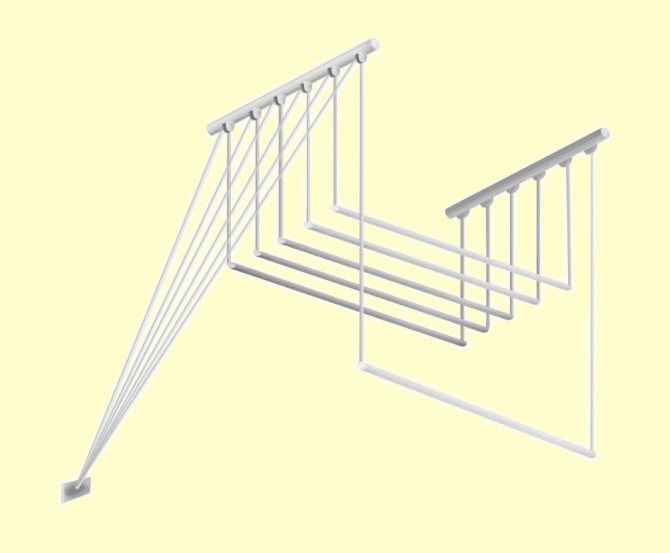
Dryer "Liana" is a wall or ceiling structure of small dimensions, which consists of a few simple parts.
The system includes the following elements:
- one pair of metal holders with rollers;
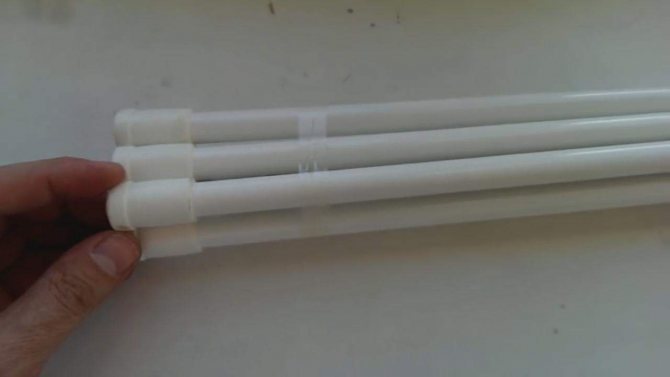
- pipes made of metal or plastic, which act as a hanger for wet clothes;
- mounting brackets;
- ceiling or wall consoles;
- ropes (strings);
- caps.
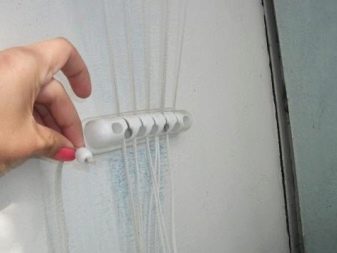

Plastic or metal cylinders can be from 0.5 to 3 meters in length. Their number may vary. Usually there are 4-5 strips in the kit. Each tube is equipped with two ropes of different lengths. The long string goes through one roller on a special holder. Both a long and a short cord are passed through the second roller.
The entire system is attached to wall or ceiling consoles, which are a kind of basis for the entire structure. At the ends of the ropes, special caps are fixed that allow you to raise and lower the tubes to the desired level
When installing the structure, it is important to observe the minimum permissible distance from the floor (1.2 meters), by which the cylinder can lower
Rope tensioning constructions
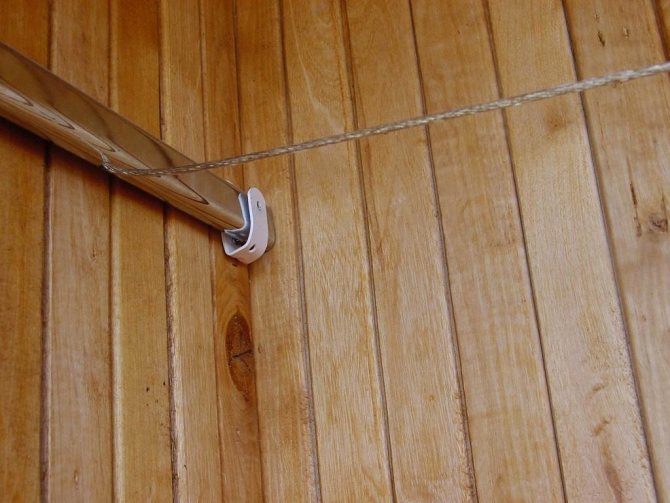
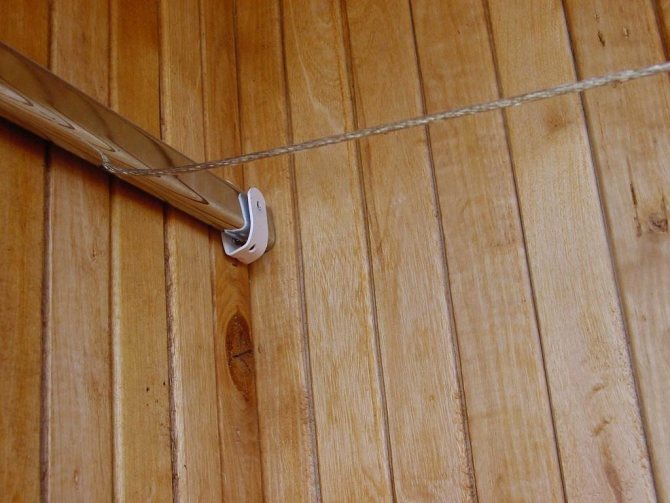
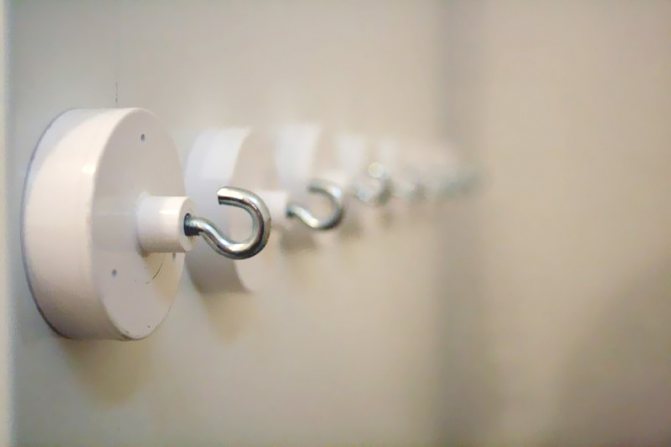
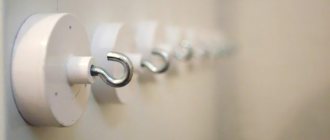
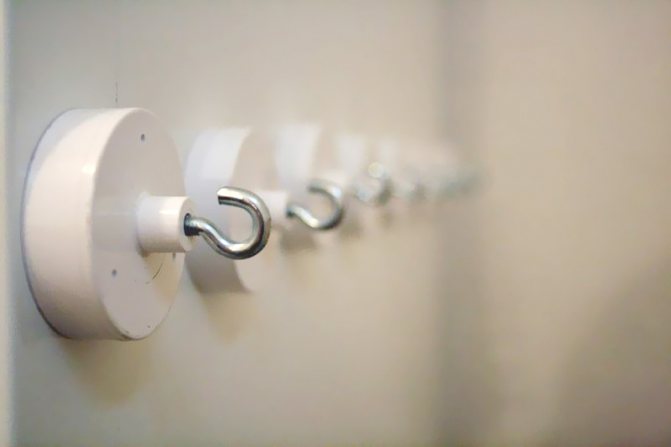
Everyone knows the method when the fastener for clotheslines on the balcony is bent nails stuffed onto a wooden plank. You can replace this simplest version with special hooks. They will have a more attractive appearance and will hold the rope securely.
The second option is to mount metal brackets with holes. In terms of reliability, these fasteners have no equal. When pulling the rope, they use not separate segments, but a whole piece. You will need to tie knots at the beginning, end and on each fastener. Thanks to this fastening technique, the likelihood of sagging under the weight of the laundry is minimized. The construction will be reliable.

Ceiling mount
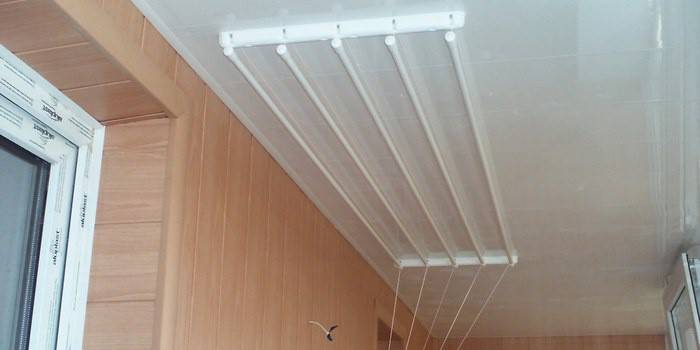
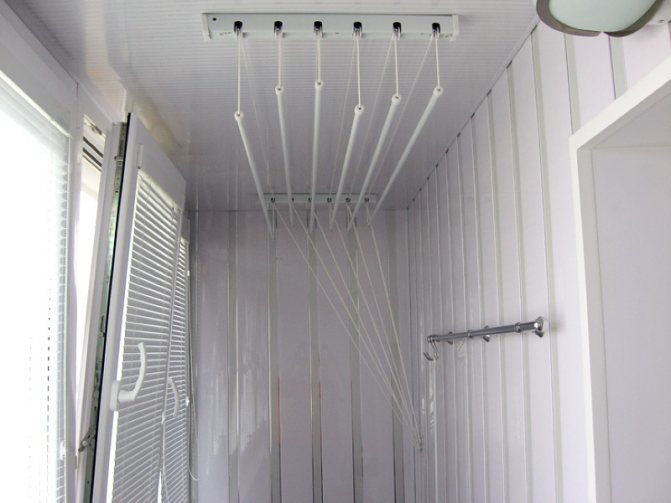
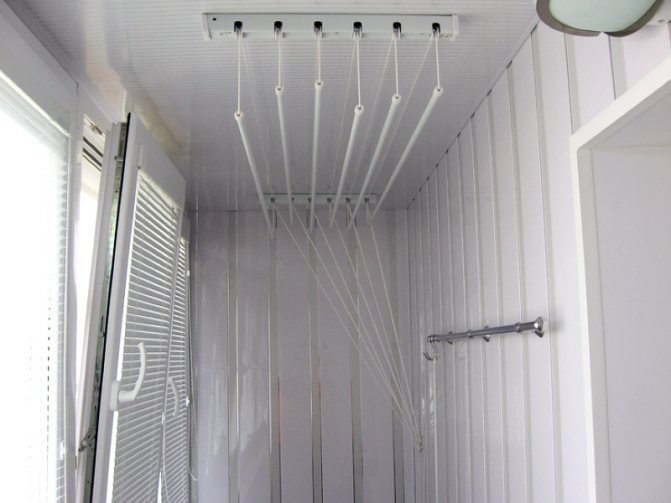
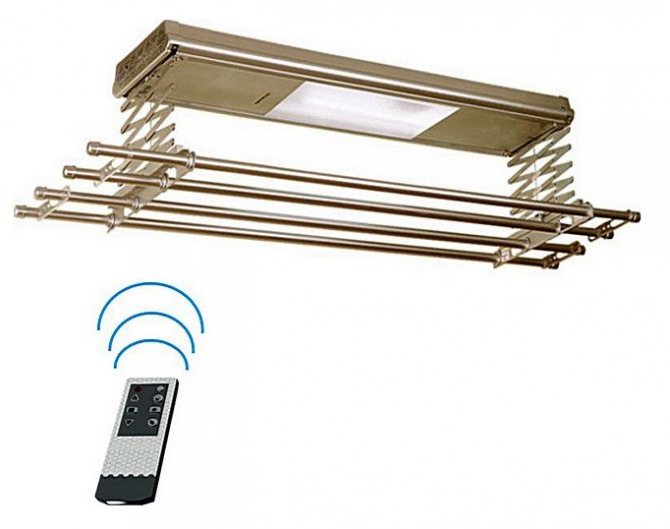
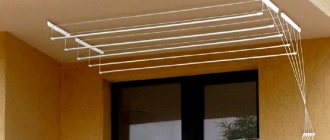
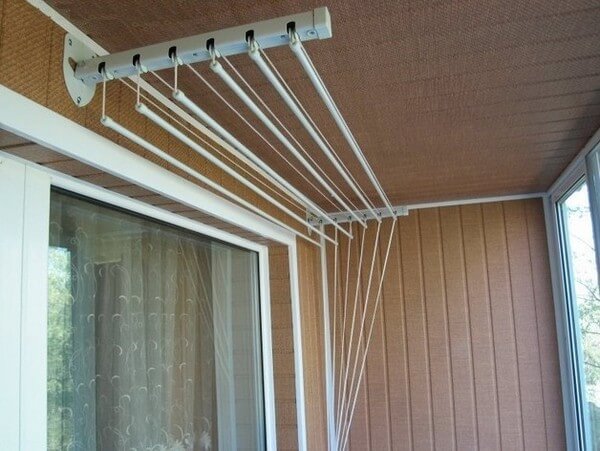
Ceiling mounted dryer is suitable for small or geometrically complex balconies. The height adjustment function allows you to free up useful space. On sale there is a convenient and easy-to-install rope device - the Liana dryer. The structure consists of two functional units. One is mounted on the wall and the other on the ceiling. A frame with rods is attached to the surface of the ceiling. The whole structure is connected with ropes, and the holder is fixed to the wall. The principle of operation is to raise and lower a boom with two parallel cantilever elements.
The wall fasteners must be able to support the weight of all the drying laundry, otherwise the bar cannot be fixed in the desired position. The fastening structure must be reliable.
Ceiling systems have many advantages:
- floor and wall zones remain free, you can move around the room without difficulty;
- almost invisible if not used;
- will not require large costs.
Balcony "liana": design features
On sale you can find ceiling dryers - "vines" for linen on the balcony and wall models of all sizes.

Wall mount option
The construction is simple and consists of a combination of horizontal bars and sturdy laces that control. The rungs are hollow rods made of anti-corrosion metal or plastic. Their length varies from 0.5 m to 2 m, but on the market there are more often models of sizes 1.5 m, 1.9 m, 2 m.
Plastic is good because it is lightweight, but its strength is not always confirmed. Over time, the rods can crack, deform and turn yellow. Aluminum beams are slightly heavier but more durable. The most reliable and wear-resistant rods are made of steel, but they put additional stress on the cords, which wear out faster.
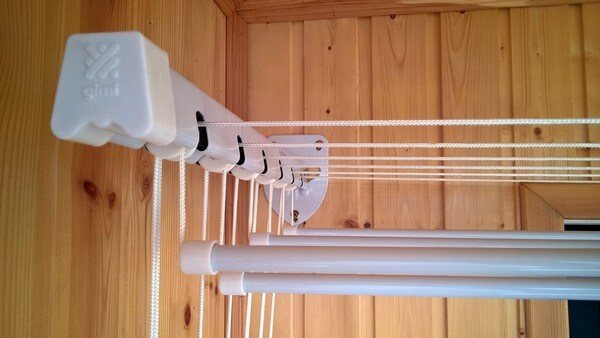

Photo of working units "vines" on the balcony
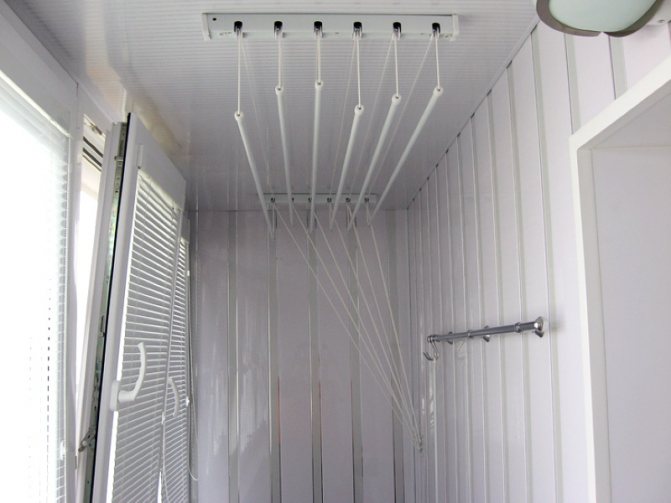
The main load falls on two steel brackets fixed with self-tapping screws on the ceiling or wall. The brackets are fitted with rollers for easy adjustment of the cords. Strong nylon laces, on which the rods are strung, are collected and fixed in one place - on the wall block ("comb").
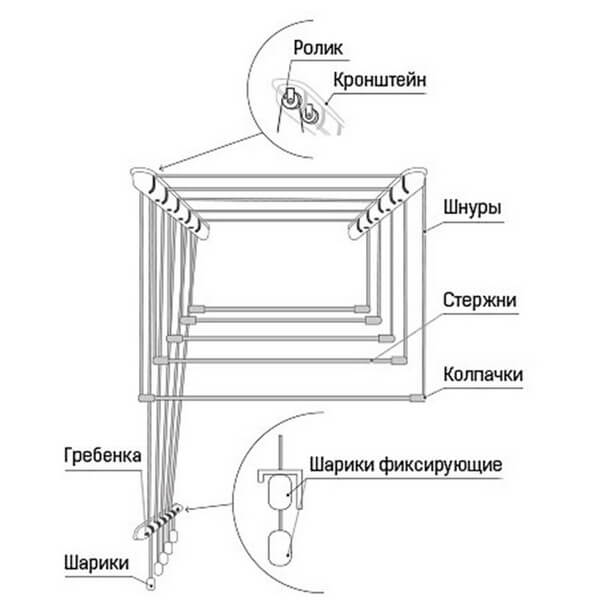

The scheme of "vines" with downward crossbars
Manual control. To lower the horizontal bar down, loosen the lock and lengthen the work cord. The rod is lowered to a height that is convenient for hanging laundry. Then the cord is pulled and fixed - the crossbar, together with the things, rises to the ceiling.As a result, items of clothing or sheets do not create obstacles to movement, as they are in a good, usually unused area.
Which ropes are better
For every household person, the question is important: what kind of drying rope to pick up so that it serves for a long time and does not lose its appearance. It is recommended to pay attention to such features as strength, durability. It shouldn't stretch. The most suitable clothesline options:
- The PVC sheathed metal rope will be strong and durable. The material is not subject to deformation, moisture resistant, does not stain things. The only caveat is the high cost.
- The plastic cord is moisture resistant and does not stain your laundry. Minus: after a while, the tension disappears, and the rope sags under the weight of the clothing.
- The polypropylene rope has good wear-resistant properties, does not deform. The product has a favorable price / quality ratio.
- Jute cords are durable, environmentally friendly, their surface is not electrified.
- Cotton rope is a durable and environmentally friendly product. From the influence of moisture, it quickly loses its appearance and dust spots appear on it, from which dark marks can remain on clothing.
Choosing a ceiling dryer
When buying, you need to pay attention to the maximum load indicators, check the reliability of the fastening
Before purchasing this type of dryer, measure the width and length of the balcony. This will help you select the optimum dryer size. The length of the ceiling dryer is usually between 1 and 2.5 meters. It is especially important to take into account the distance between the ceiling and the upper edge of the glazed balcony frame so that the window can open freely when the dryer is raised.
Each dryer model is designed for a specific weight, therefore pay attention to the indicators of the maximum load, check the reliability of the fastening.
It is advisable to choose stainless steel dryers, since they are stronger and more reliable than aluminum ones and do not leave black spots on things.
Round bar dryers are preferable to rope or line dryers to avoid creases in clothing. And the maximum load on one polystyrene rod is up to 2.5 kg.
When buying a dryer, be sure to check its completeness. Depending on the ceiling covering on your balcony, you can purchase self-tapping screws, dowels - nails or anchor bolts for more reliable fastening.
Our article will tell you how to repair balconies and loggias and turn them into a cozy place.
You can read everything about aluminum glazing of loggias here.
This instruction will help you make a swing garage door yourself.
Do-it-yourself dryer installation
It is not difficult to perform independent installation of the Liana dryer, for this they perform the following actions:
- At the installation site of the ceiling tumble dryer and brackets, markings are made.
- Holes are drilled using a perforator.
- The brackets are fixed with self-tapping screws.
- In the most convenient position for operation, the cord holder is attached to the wall.
- One rod is taken and fixed in the device. A longer cord is pulled through the left roller, then a long and short part through the right element.
- Special height clamps are put on the ends of the rope.
- After the installation work, they check the functioning of the rods, each separately.
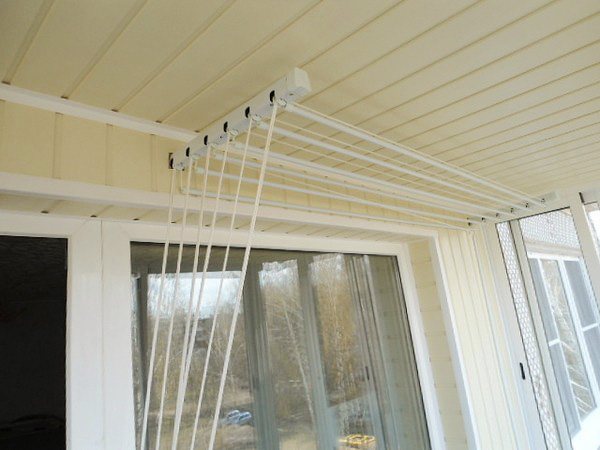

In practice, all types of ropes and various drying systems are used on balconies and loggias. The main thing is that as a result, the structure for drying clothes on the balcony is comfortable. It is not at all necessary to buy expensive products.
Did you manage to solve your problem according to the recommendations from the article?
Yes!
100%
Not. More answers required. Now I will ask in the comments.
0%
Partially. There are still questions.Now I will unsubscribe in the comments.
0%
Voted: 2
Recommendations for installing "vines"
Buyers usually do not have questions about how to hang a "vine" on the balcony or in the bathroom, since the installation kit is supplied with detailed instructions with a description of the actions and diagrams. But in order for the device to last a long time, and to use it was convenient, you must follow the rules, which are also recommended by the manufacturer or your own experience.
Choosing a convenient place
If the size of the bathroom permits, a clothes dryer can be installed there as well. However, indoor spaces often suffer from insufficient ventilation and the drying process will not be fast enough. In the bathrooms, the humidity level is already exceeded, the constant presence of wet linen can provoke the growth of mold.
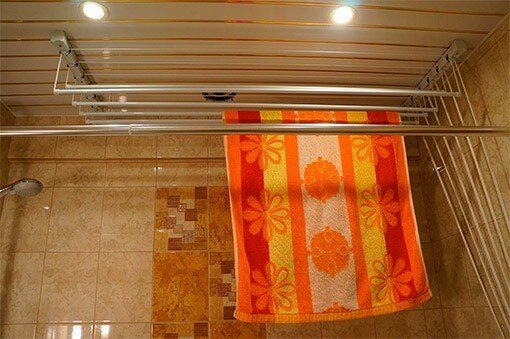

Popular, but not the best solution - "liana" over the bathroom
The traditional places for installing the Liana dryer are a balcony or loggia. Outside the city, they can be successfully replaced by a terrace, veranda or even a gazebo - places where linen is partially in the fresh air, but protected from rain.
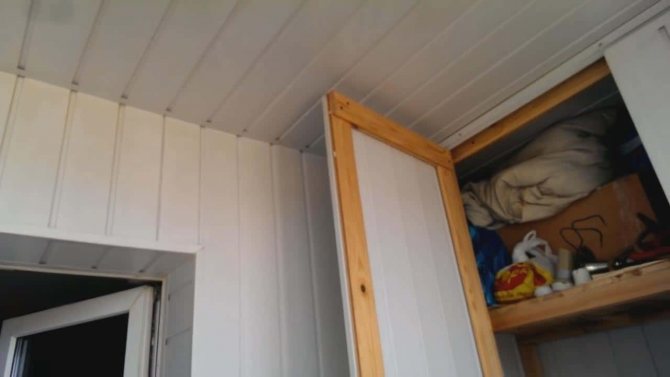
When choosing an installation site, it is necessary to check the reliability of the walls or ceiling - the surfaces where the brackets will be attached. If the ceiling is sheathed with plastic panels, then you will have to remove them and install mortgages from wooden bars. The wood finish can support the weight of the garment well with the laundry hanging, but it can also be reinforced if necessary.
Preparation of the product and tools
When choosing "vines" pay attention to the strength of the rods, cords, fasteners and rollers. It is better to give preference to manufacturers who have been making dryers for a long time and have several models in their arsenal.
Related article: Frost-tolerant plants for the balcony
It is better to refuse cheap Chinese offers. According to user reviews, the beams and “comb” made of low-quality plastic quickly deform, and the rollers fly out of the grooves.
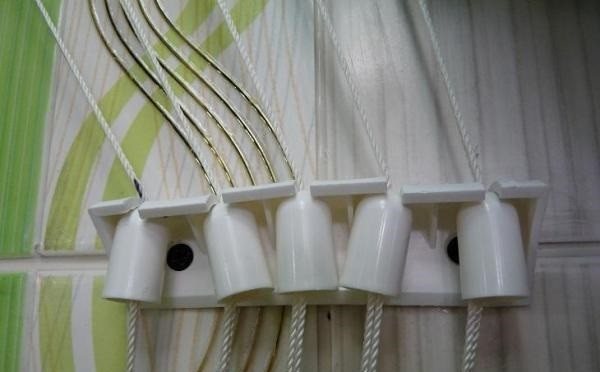

Bad purchase - holders are out of order quickly
In addition to the new product, tools are required. If the walls on the balcony are brick or concrete, a punch or drill will come in handy. The rest of the set is universal for all surfaces:
- screwdriver, screwdriver;
- tape measure, pencil, square for marking;
- construction knife or scissors;
- pliers, hammer.
You need a stepladder or a stable stool, as the brackets are mounted at a high height, on the ceiling or on the wall (just below the ceiling).
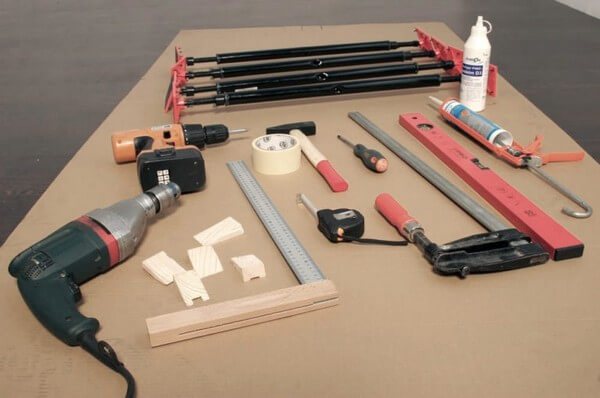

A set of handy tools from the owner's storerooms
Before installation, check the complete set of the dryer. If any items appear to be unreliable, they must be replaced immediately. Instead of short self-tapping screws, longer ones can be used if the holders will be fixed with dowels into concrete or brick.
Ceiling mounted dryer
Installation takes place in 5 stages:
- Preliminary markup. Using a tape measure and a pencil, mark the locations of the brackets, then make holes for the dowels.
- Installation of brackets. It is important to keep the distance between them, otherwise there will be problems with height adjustment.
- Fixing the “comb” holder on the wall. This is a "control point", so it should be in an accessible place, but at a distance from the brackets specified in the instructions.
- Cutting the nylon cord (rope) into the required number of segments (from 5 to 7).
- Installation of rods, pulling and blocking of cords, fastening of accessories.
Installation instructions may differ from model to model, so follow the instructions strictly, observing the intervals between the individual parts.
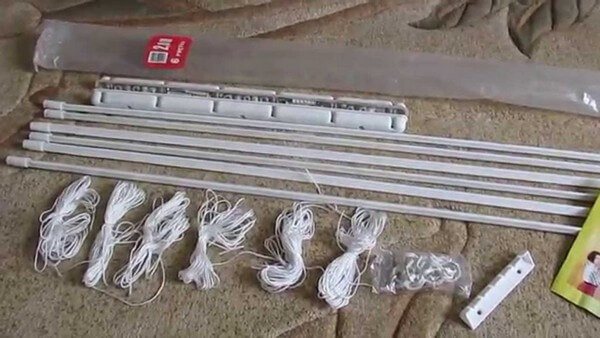

Dryer ready to install
Do not install the ceiling dryer on a spot with spotlights or in the immediate vicinity of a swing-open sash.
Possible installation errors
Consider the installation flaws that may arise as a result of the work of an inexperienced master.For example, beginners often take the easy route, using nails instead of self-tapping screws. If it is necessary to replace parts, the nails are pulled out with difficulty, and the product can be damaged, and the screws are easily unscrewed with a screwdriver.
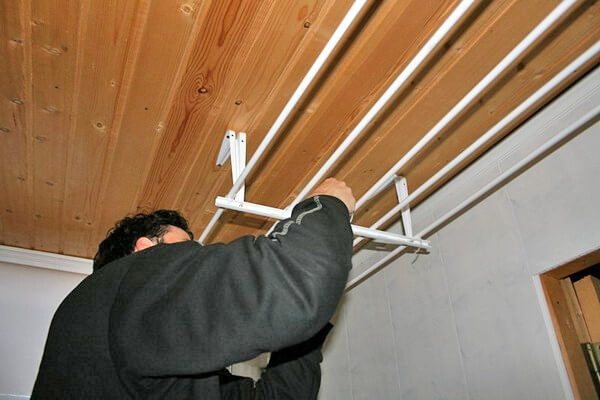

Installation at the door is not a good idea, linen will interfere with movement
Inaccurate marking threatens that after testing the dryer it will be necessary to dismantle, and then reinstall the brackets and holder. Insufficient tension in the cords will lead to sagging of the crossbars, and excessive tension will make it impossible to lower them down.
An ill-conceived place for installation also threatens with reinstallation. The holes made will spoil the appearance of the walls or ceiling, and masking them is an additional waste of time and effort.
