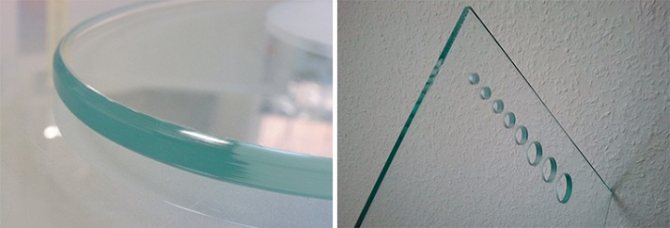
Drilling holes in glass is difficult, time consuming and unsafe. For quality work, you should have the appropriate competencies - knowledge, skills and abilities. This is the reason for the frequent appeal to specialists when there is a need for jewelry work with glass, mirror, etc.
In fact, with enough time and basic initial skills, the process of drilling glass can be mastered at home. The main thing is to have the desire, time, patience and specialized tools.
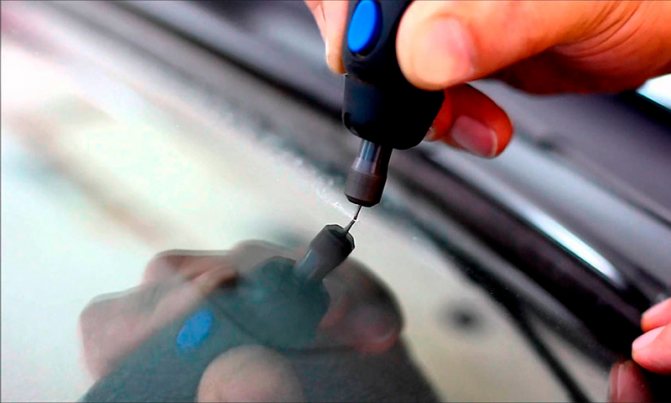
Preparation of the workplace and tools
- The workplace for drilling glass should be comfortable and safe:
- special room (preferably non-residential);
- a stable and level table (or workbench) with a non-slip surface;
- the presence of free space around the table (or workbench).
- Ensuring the safety of the employee:
- special safety glasses;
- gloves made of dense fabric.
- Tools and consumables:
- classic drills for metal and ceramics of the required length;
- drill (can be replaced with a screwdriver, but not recommended);
- liquid soap (or equivalent);
- hot water;
- foam sponge;
- turpentine for degreasing or other similar chemicals (alcohol, solvent, acetone, etc.);
- a piece of soft, dry flannel cloth.
Material preparation and testing of glass drilling
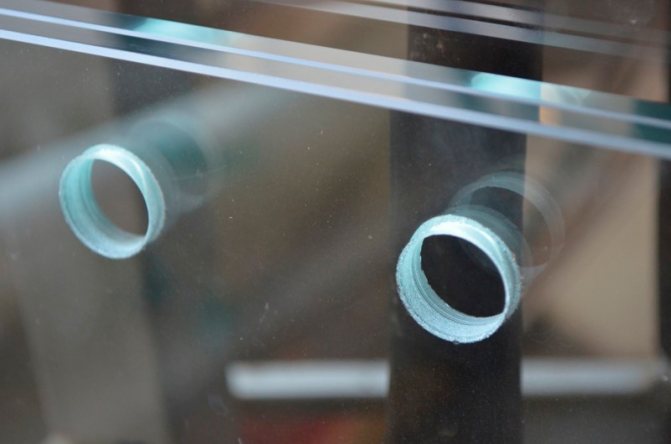

Glass cleaning and degreasing.
In order to properly drill the glass, it must be carefully prepared for the upcoming procedure. To this end, wash the workpiece with liquid soap, a sponge and hot water, removing dust, dirt, grease stains and other substances from it. Then using 96% alcohol, turpentine, gasoline for lighters, white spirit, acetone, solvent, etc. degrease glass surfaces, and then wipe dry with soft flannel, bringing to a shine.
The location of the workpiece.
When drilling, the glass sheet must be positioned on a flat and non-slip surface (to avoid shifting under the pressure of the drill). Therefore, you will need to take care of this too. Do not put a soft cloth (especially thick) under the glass. This will lead to deformation of the material when pressed and an unpleasant prospect of glass cracking. Let chipboard, OSB, etc. lie on a workbench or table. To avoid slipping glass on the table surface, the edges of the workpiece can be fixed with glazing beads or masking tape.
Markup.
Before drilling, mark the intended hole with a marker and select the working area for drilling.
Testing of the drilling technique.
If the employee does not have sufficient experience in drilling particularly hard objects, it will be correct to practice on small pieces of glass in order to avoid the risk of irrevocably ruining large volumes of material.
Glass Drilling Basics
- The drilling process in hard and - at the same time - brittle material, which is glass, will not be fast. You need to prepare for this in advance and avoid haste when performing the procedure.
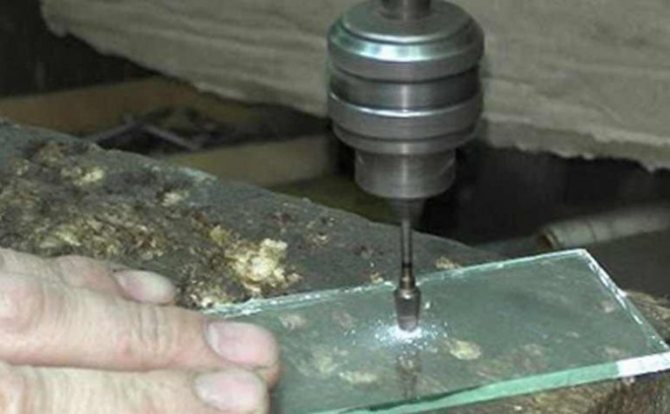
- When drilling a hole, do not put excessive pressure on the tool, drill and the material itself, in an effort to reduce the working time. This can lead to displacement of the cutting edges of the drill, the appearance of chips and microcracks, and even complete cracking of the glass.
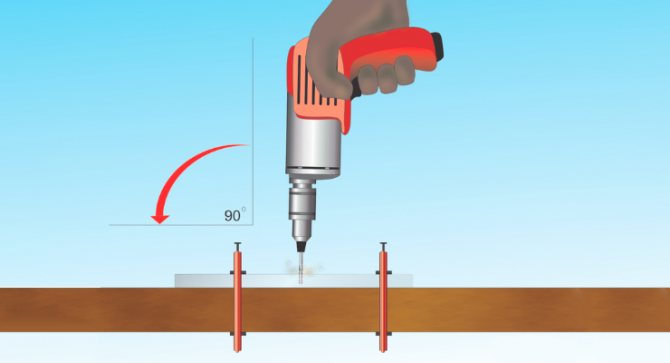
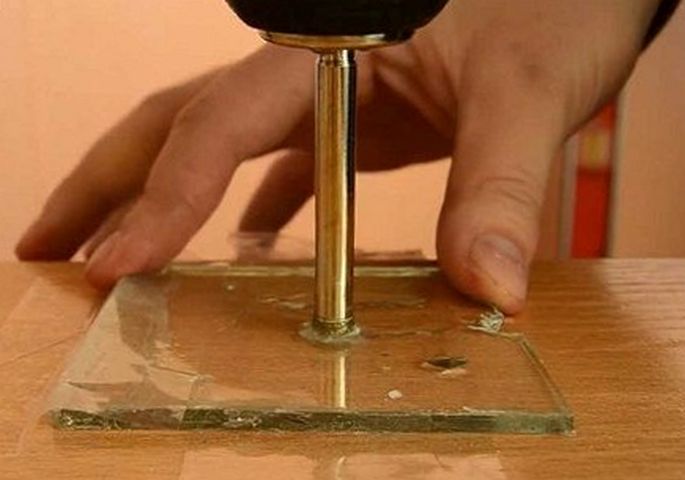
- The tool (most often a drill) should be kept strictly perpendicular to the surface to be drilled. Otherwise, chips and cracks may appear again, which will exclude further use of the material.
- The drilling process must be divided into stages, between which there must be a time interval of at least 2-3 minutes. This is done to allow the glass to cool down. Do not use water to lower the temperature. And the drill, on the contrary, will be correctly immersed in water for cooling (so that there is no overheating and melting).
- You should immediately abandon the simultaneous drilling of a through hole in the glass. It is necessary to drill a bit more than half of the total thickness of the material and turn it 180 degrees in order to continue the procedure on a head-on course. This will make it possible to make the edges and edges of the hole even and relatively smooth.
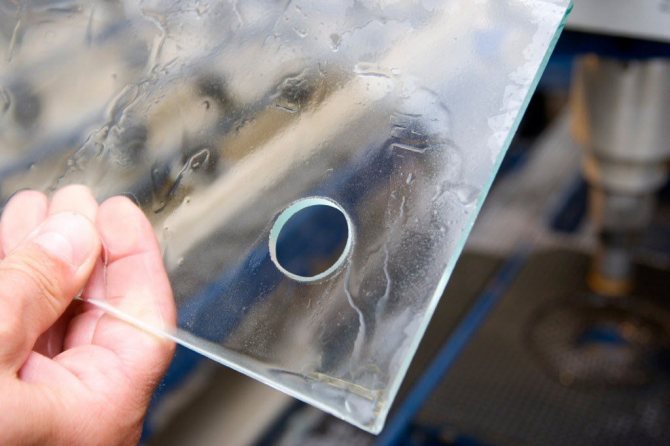
- To get rid of chips, scratches, irregularities resulting from drilling, you can use a fine abrasive paper and chamfer, sharpening existing or formed sharp edges.
Tips & Tricks
Even minor mistakes can lead to serious defects in the workpiece. Here are tips on how to make a hole in your glass without damaging it:
- The pressure that is applied to the tool from above should be minimal.
- To reduce the likelihood of cracks and chips, the surface is treated with honey and turpentine.
- All work can be divided into several approaches. Each approach is given about 5-10 seconds, after which the cutting edge should cool down.
- Do not position the tool at an angle relative to the surface to be machined.
- There must be at least 1.5 cm from the center of the hole to the edge. Otherwise, cracks and chips may appear.
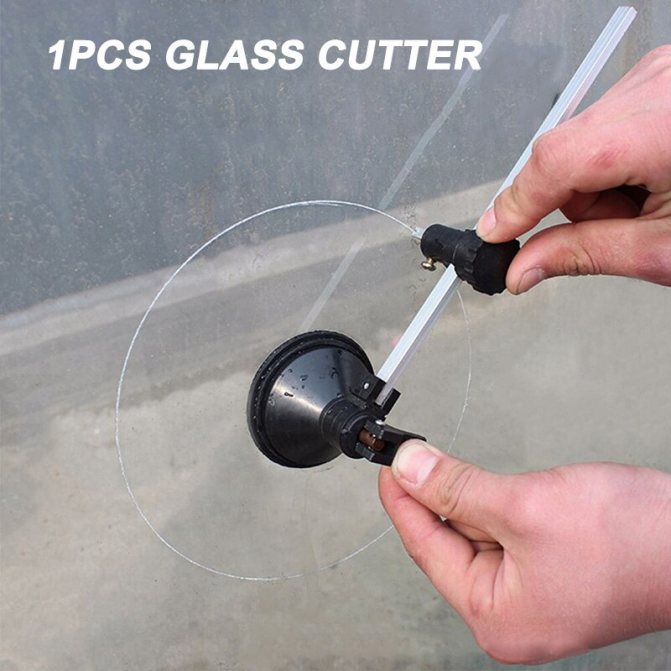
The same methods are also suitable for those who are going to drill a mirror at home. To make large holes, use a special tool called a glass cutter. The design features make it possible to obtain quality holes in the shortest possible time.
Drilling glass with a classic drill
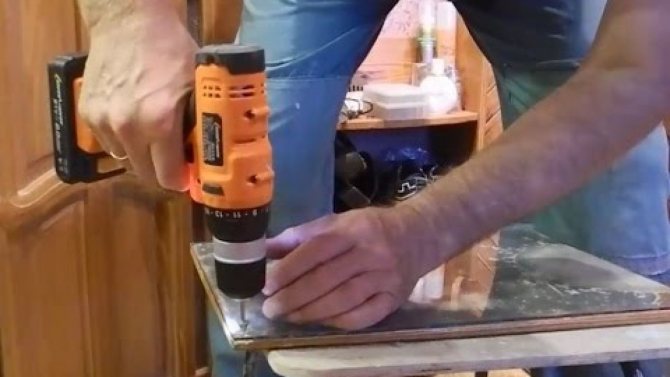
When drilling a hole with a conventional - classic - drill, you will need:
- drill (or screwdriver; drill is preferable);
- classic drills for metal or ceramics;
- turpentine;
- raw rubber, putty, plasticine (any elastic material subject to deformation).
To drill glass with a conventional drill, the following sequence of actions must be strictly observed.
- Check the drill and drill for run-out moments, which must be avoided so that the glass does not crack.
- Set the minimum possible rotational speed of the drill chuck.
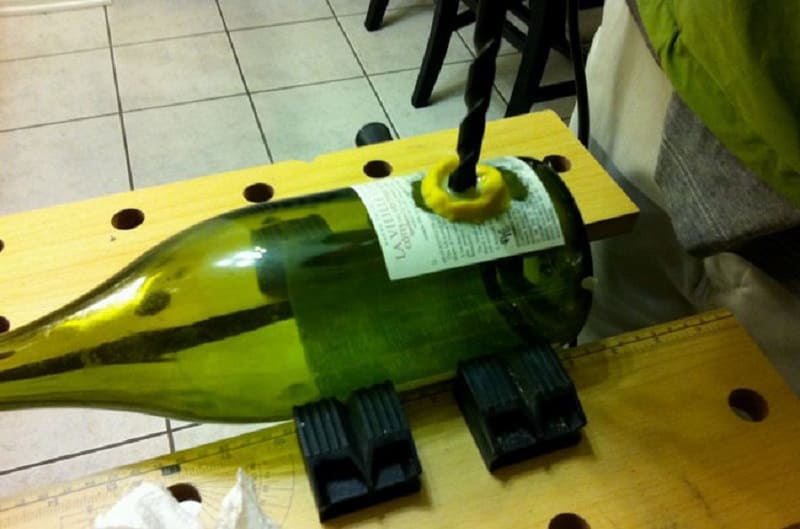
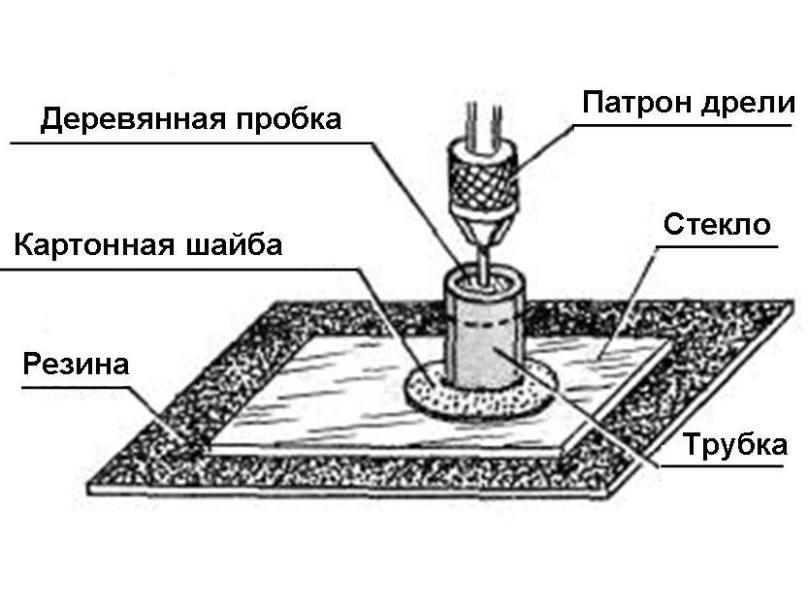
- Form a funnel with a flat bottom (a kind of crucible) from an elastic material and place it in the place of the intended drilling of the hole.
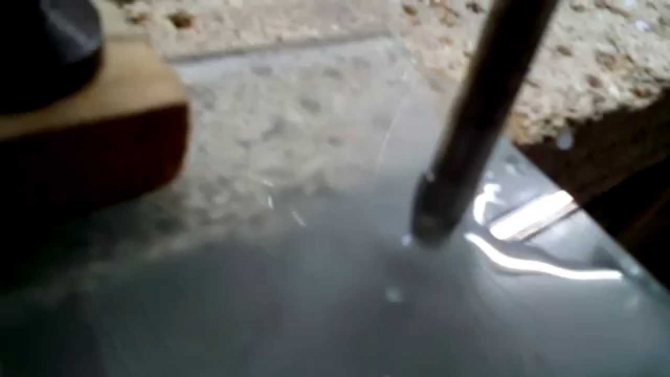
- Pour a small amount of turpentine into the formed funnel to lubricate the surfaces of the drill and glass at the point of contact (friction).
- Start drilling without applying high pressure to the workpiece with the drill and drill.
- After passing through the middle of the glass thickness, turn the workpiece over and repeat the above steps from the reverse side.
With what is the glass drilled?
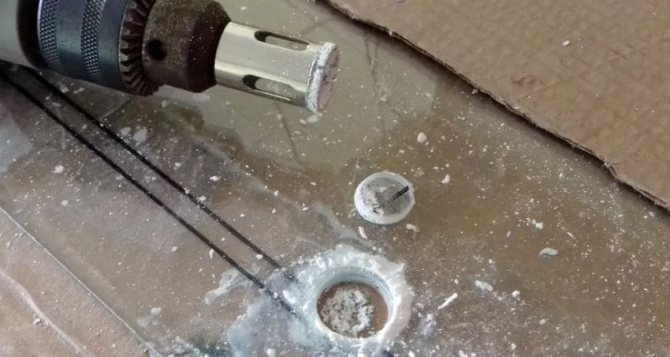

A conventional drill bit for drilling glass will not work; you need to use special tools.
It is necessary to select a drill with specific parameters:
- its diameter should correspond to the diameter of the hole to be made;
- the length should correspond to the thickness of the glass to be drilled;
- the shank should be round (if you plan to use a drill) or hex (if you want to use a screwdriver).
What types of glass drills exist:
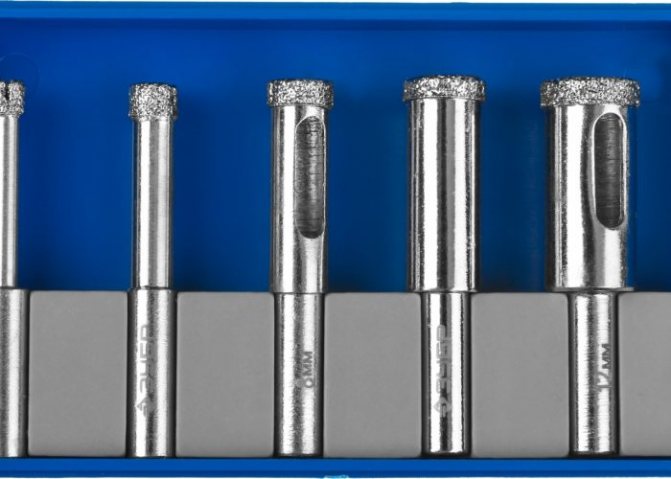
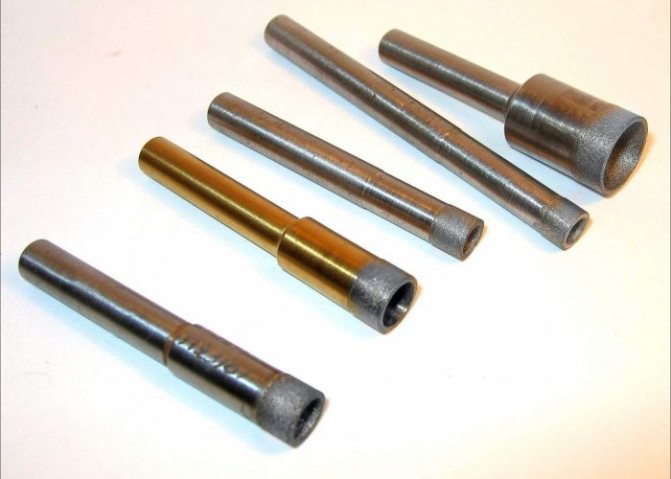
- "Pen". The working part of this drill is made in the form of a feather and made of carbide. Perhaps this is the most budgetary tool that can be used to drill glass (as well as ceramics and tiles).This type of drill should be chosen if the diameter of the hole to be made is from 3 to 12 millimeters.
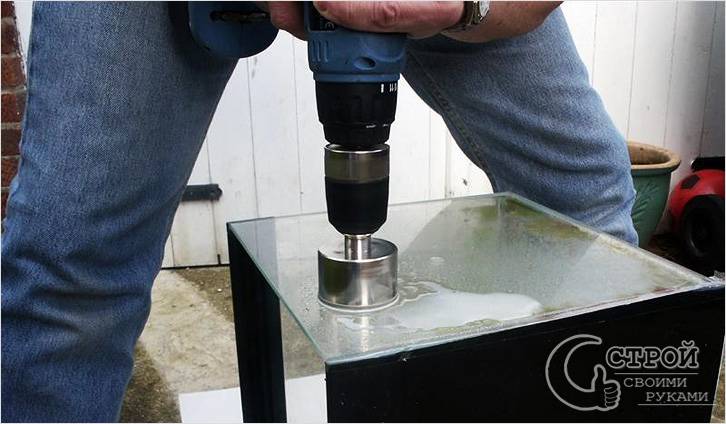
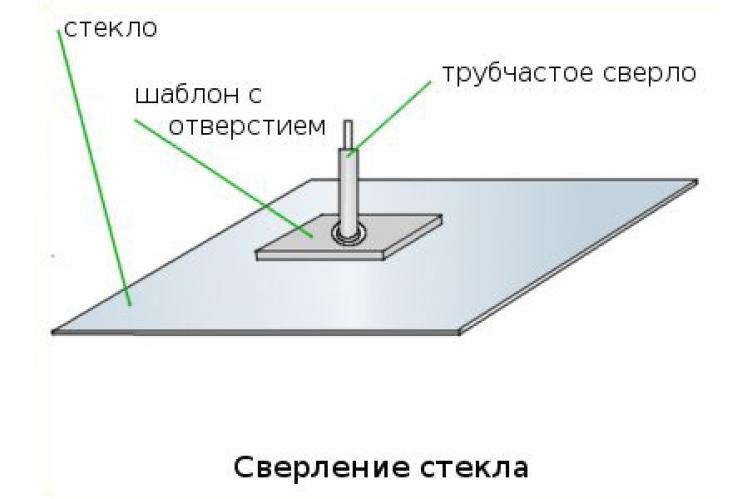
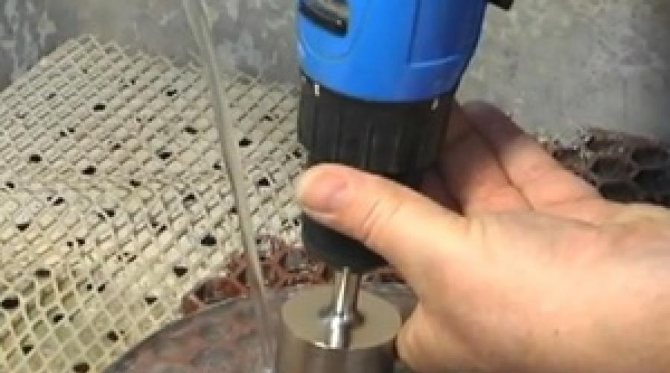
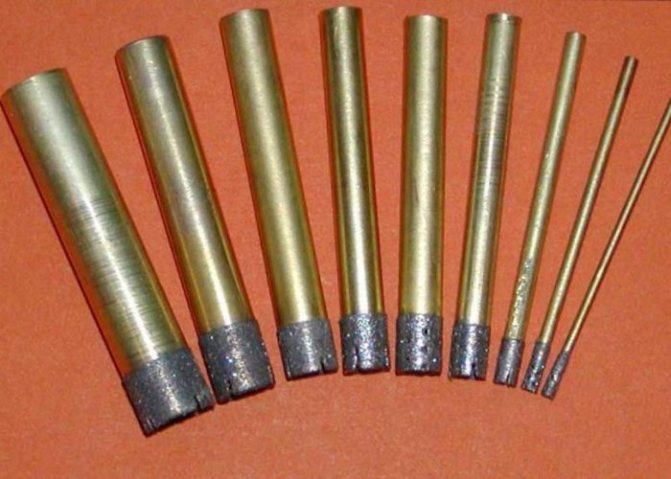
- "Crown" (tubular drill). It is designed for drilling larger holes (12-80 millimeters).
- Perforated cutting drill. It is designed to make a hole with an even larger diameter. Its peculiarity lies in the fact that the working surface has a central point for the primary recess and teeth around the circumference.
- "Cylinder". In fact, this is an ordinary cylinder, one cutting edge of which is diamond-coated. They are used only with forced cooling.
Drilling holes with a homemade drill


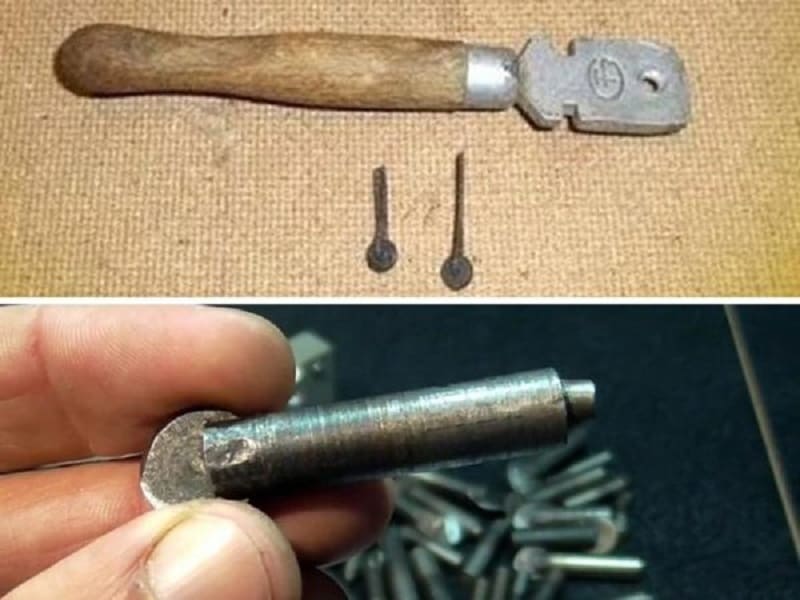
To make the drilling process more efficient and less time-consuming, it is recommended to pre-make a homemade drill based on a "diamond" (cutting roller) taken from a standard glass cutter.
To make a homemade glass drill you will need:
- cutting roller ("diamond");
- drill blank (metal rod);
- vice;
- hacksaw for metal or "grinder" with a thin disc for metal;
- calipers.
Using a vernier caliper, it is necessary to calculate the width of the cut in the metal rod so that its dimensions are 0.1 mm less than the width of the "diamond". After the bar has been cut, the cutting disc is driven into it.
After the homemade drill is ready, it is necessary to repeat exactly the procedure for drilling a hole with a classic drill (see above).
Benefits of using sand
When using a cutting tool, there is a high probability of surface damage. The use of sand will help to avoid this. You will need:
- Fine sand.
- Petrol.
- Gas-burner.
- A small amount of tin.
- A vessel made of metal.
- The surface is degreased. To do this, you can use a solution of alcohol.
- In the area where you need to get the required hole, a pile of sand is poured. It is slightly moistened.
- Use a sharp object to create a small depression.
- Molten tin is poured into the created depression, after which you need to wait a little.
- A pile of sand is removed from the surface. After that, the tin is melted with a gas burner.
It should be borne in mind that it is quite difficult to obtain a high-quality hole in this way, therefore, additional machining of the hole with a drill is necessary.
Burning holes in glass
A hole in the glass can not only be drilled out, but also burned out. This procedure requires longer preparation, and therefore time.
To burn holes in glass you will need:
- a small piece of tin or lead;
- a crucible for melting metal (or a container that replaces it);
- open heat source (for metal melting);
- wet sand without clay (river or quarry).
The burning procedure is not particularly complicated, based on physical and chemical processes.
- It is necessary to melt the metal (lead or tin) in the crucible.
- Form a "slide" of sand at the site of the proposed hole.
- Make a funnel-shaped recess, the bottom of which will be located in the place of the hole.
- Pour molten metal into the recess.
- After 10 minutes, when the metal cools and hardens, remove sand, metal and the hardened part of the glass removed from the hole.
This method has two significant drawbacks: 1) the procedure is time-consuming and resource-intensive; 2) it is difficult to predict in advance the size of the resulting hole in the glass.
The "plus" of this technique is the absence of the need for further processing of glass, the edges of the hole of which will not have chamfers and cutting edges. The edges of the hole created by overheating of the glass will be smooth and even.
How to Drill Tempered Glass
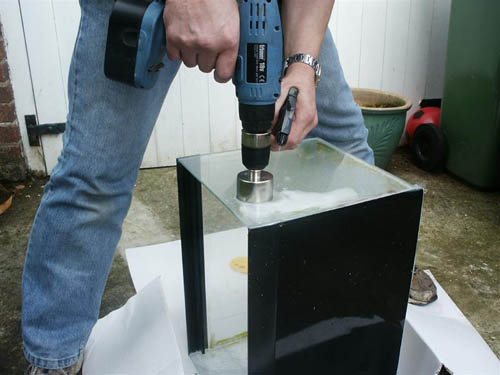

There is no single answer to the question of whether it is possible to make a hole in tempered glass.Theoretically, this is possible, however, it is very difficult to implement it with your own hands. The problem lies not only in the fact that it is usually quite thick, but also in the presence of a large number of defects in the sheet itself, which are visible to the naked eye. Heat makes the material harder and more brittle. In addition, the internal stress of the leaf increases, which, as a result of external influence, simply bursts or crumbles into small pieces.
Related articles:
Glass cutting equipment
In everyday life, we are often surrounded by products made from popular materials such as mirrors and glass. Therefore, there is nothing ...
Interior solutions for showers and saunas
Comfort and safety - perhaps these are the concepts that are decisive when choosing interior solutions for both bathrooms ...
Advantages of polycarbonate greenhouses
Modern technologies in the field of construction are developing at a rapid pace. At the same time, not only the well-known building materials are being improved, but ...
What is the correct way to drill holes in glass?
The most correct way to drill holes in glass is to purchase and use an expensive set of specialized glass drills. However, if you are not professionally engaged in drilling holes in glass (you provide such services and work with glass every day), then you should not spend fabulous amounts on a purchase. They will not justify themselves.
The best way is drilling with a classic drill in compliance with the basic rules, techniques and work technology described above.
How to choose a drill bit for tiles and glass?
Quality tools for drilling tiles and glass are made by Italian companies (Zauber and others). According to the manufacturing technology, the drill for tiles and glass can be different - steel, electroplated, brass, and so on. The best results are provided by tubular drills made of high-strength diamond-coated steel. For use in machines, conical countersink drills are taken, also with diamond dusting. To work with such a tool, no abrasive is required, and the drill provides an ideal appearance of the holes and the absence of possible chips or cracks.
