Preparatory stage
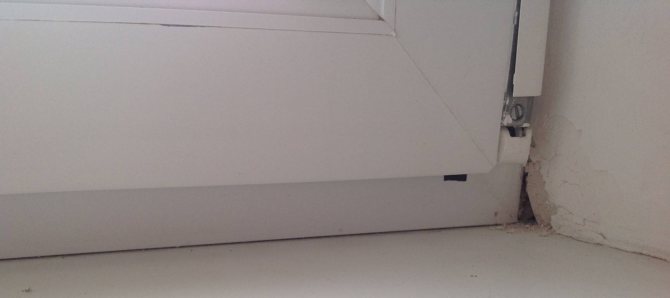
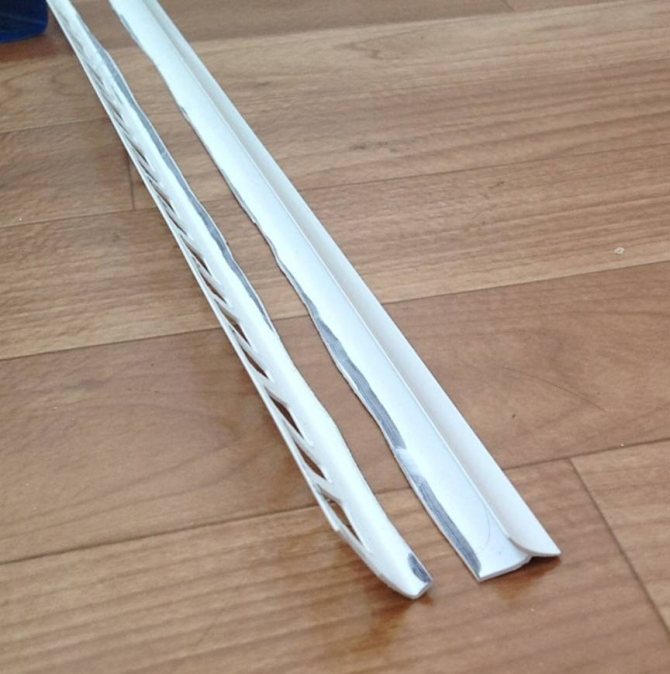
Having got everything we need, we get to work. We start with preparation, namely, we eliminate the old foam. To do this, do the following:
- We unscrew 2 - 3 self-tapping screws at low tide, if any.
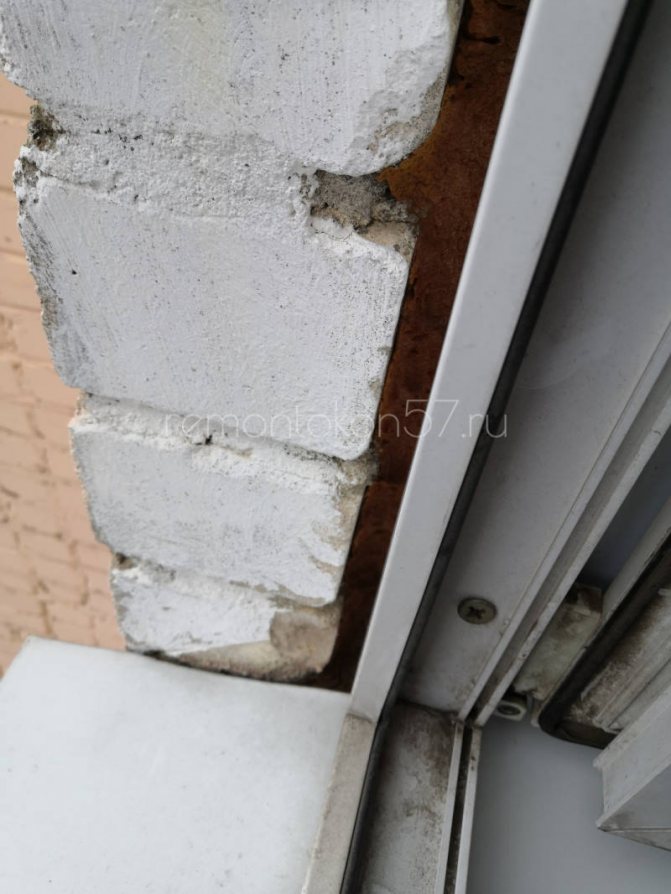
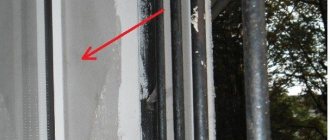
- We begin to clean the gutter and the substitute profile. We take a screwdriver and pick out the old brown foam. It is quite easy to crumble, and the remains are blown out.
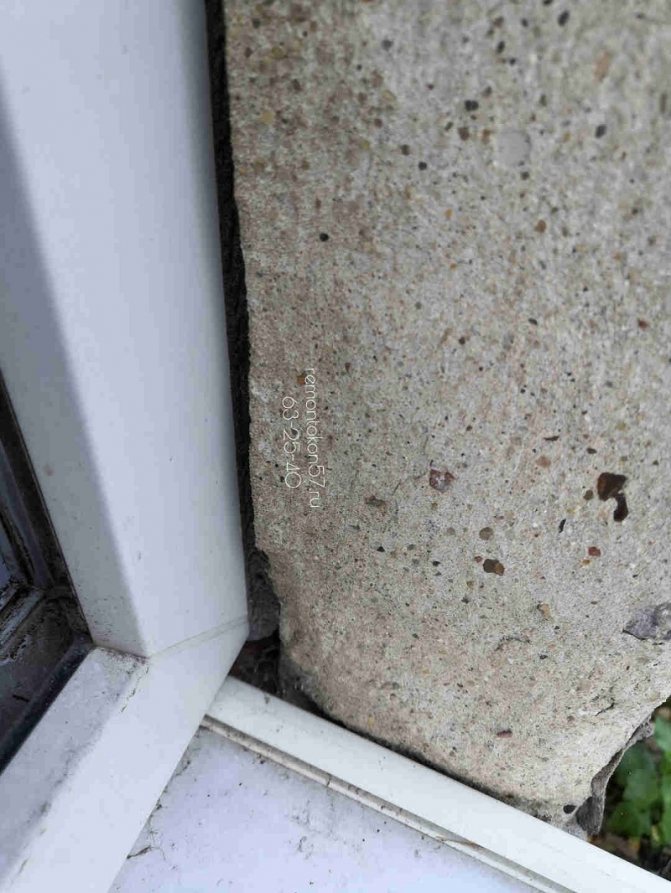
- With the same screwdriver, we clean out the foam at the joints of the walls and the window profile. For reliability, you can walk with a brush to remove its remnants.
Important! At this stage, you will need another person for safety net so that you do not accidentally fall out of the window.
What are slopes and why are they needed
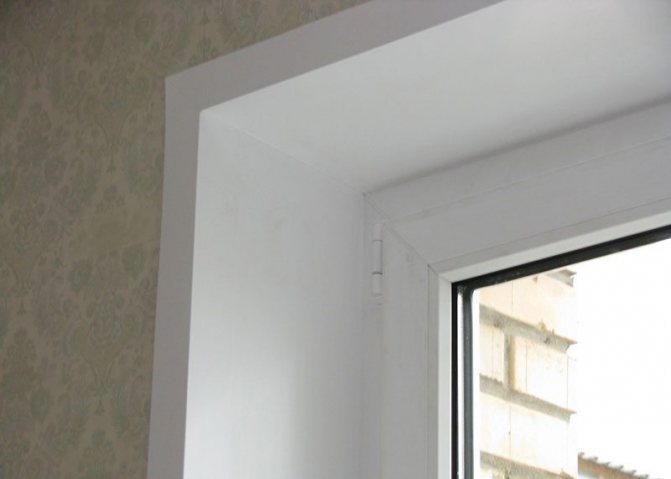
Slopes are the sides of the window opening to which the window frame is attached. The width of the slopes is determined by the thickness of the outer wall of the room in which the window opening is made. The part of the opening that remained in the room is called the inner slopes, from the side of the street, respectively, external.
External and internal slopes perform the same functions - sealing the window structure and giving it an aesthetic appearance. Slopes make a smooth transition from the window to the wall of the room.
Installation of window slopes is carried out after installation or during the operation of the window. There are several types of slopes, their main difference is the material of manufacture. There are plastic, panel, plasterboard, cement and metal slopes.
How to choose metal-plastic windows: how to choose a profile, a double-glazed window and a sash opening mechanism. What plastic windows to put in a nursery and what characteristics such windows should have, you will find out here.
The harm of plastic windows: is it true or not, read the link.
Directly filling gaps
Having finished with the preparation, we proceed directly to the sealing of the cracks. To do this, you need to do the following:
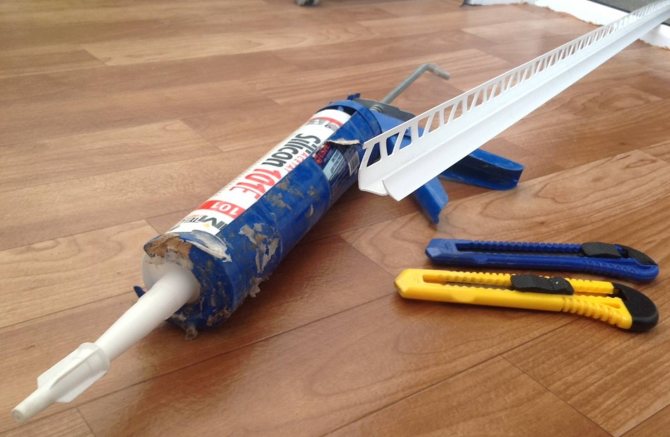
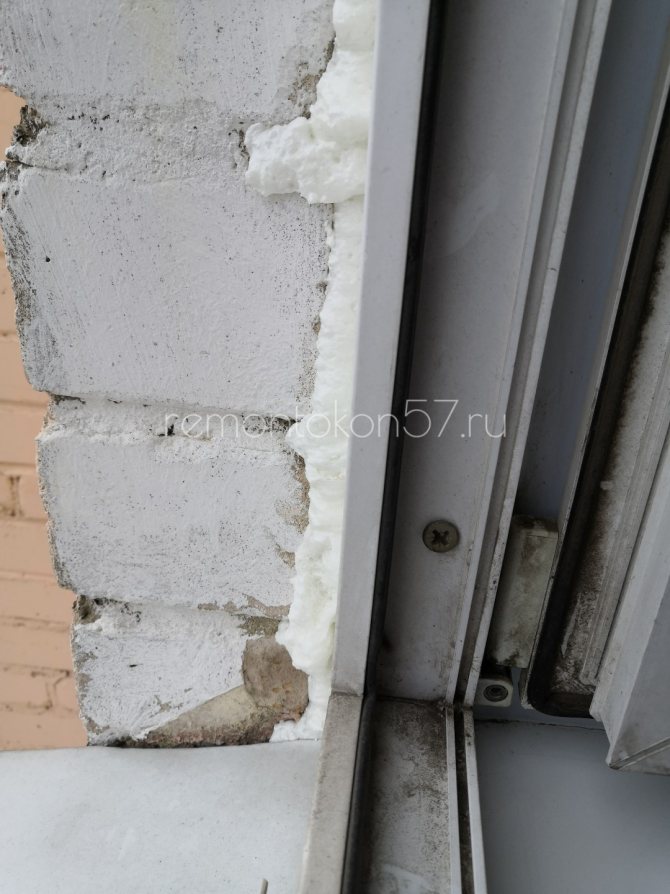
- Foam up the cracks in the windows. We take a balloon with foam and blow it out all the joints and cracks. For narrow, hard-to-reach slots, the nose of the feed tube can be flattened.
- Install the low tide. Without waiting for the foam to dry completely, we fix the ebb.
- Leave the foam to dry for 24 hours. Using an ordinary clerical knife, cut off the excess foam.
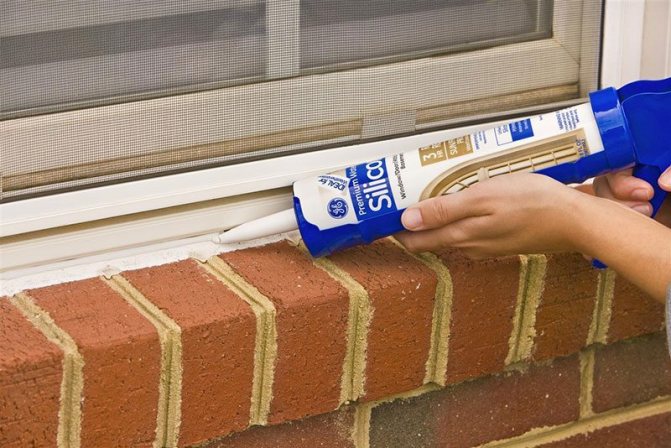
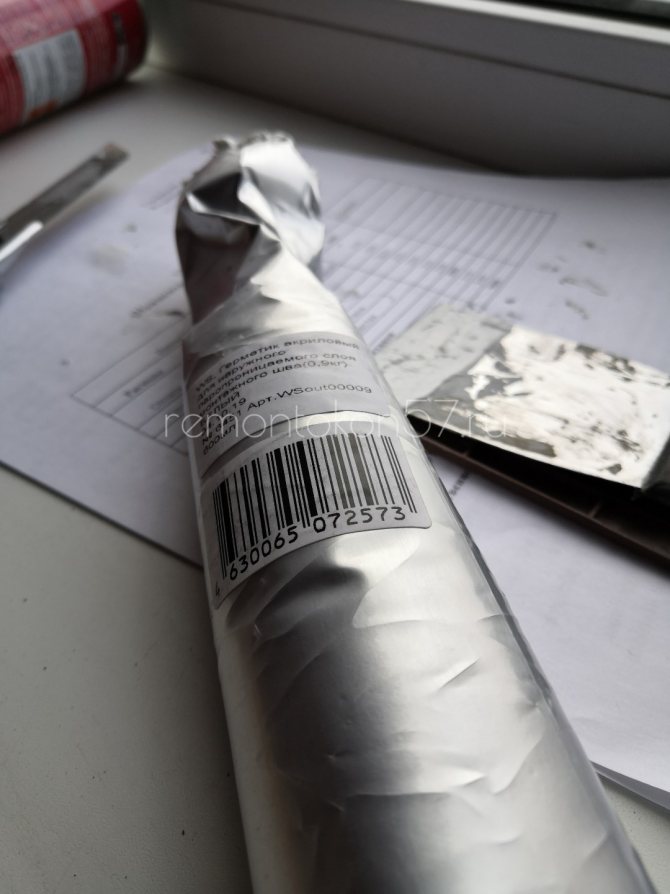
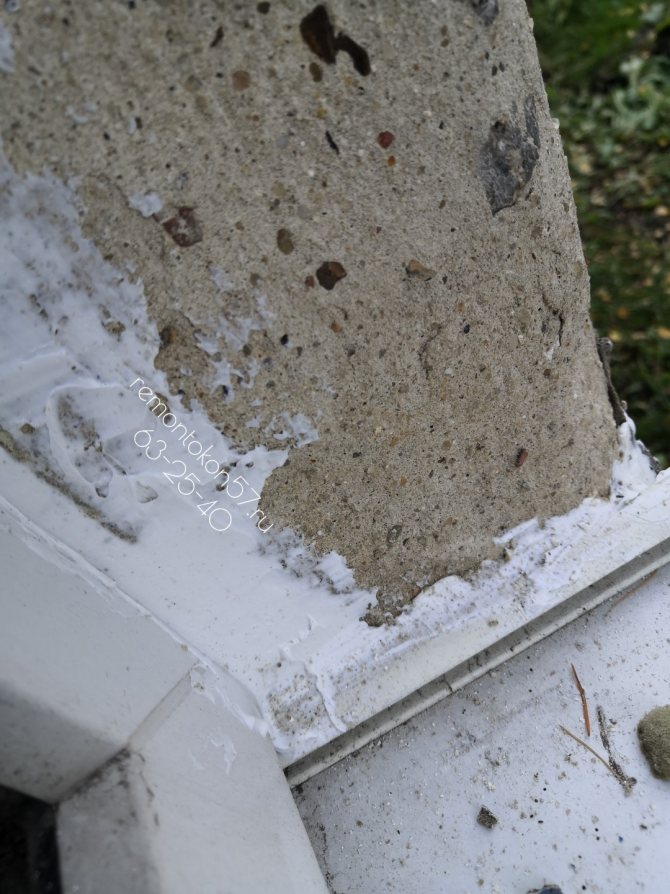
- We seal the cracks in the windows with sealant. We take a bottle of sealant and cut off its nose at an angle so that it is more convenient to fill the seams with it at different angles. Squeezing out the sealant gradually, apply it over the foam. Important! At this stage, you will need another person for safety net so that you do not accidentally fall out of the window. Remove excess sealant on the spout with a cloth soaked in white spirit. The same cloth can be used to remove the sealant residues from the frame.
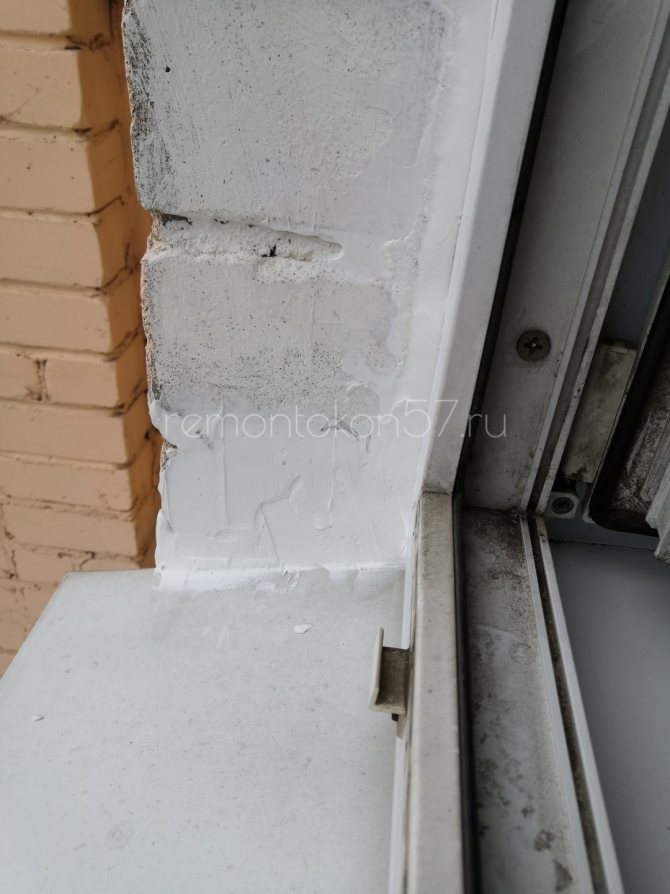
- We seal the cracks with a flush sealant. Using a narrow spatula, level the sealant flush from the window towards the street and leave to dry. After the sealant has dried, it should be painted with regular alkyd paint to protect it from external influences.
Particular attention should be paid to the area at low tide. This is the most inconvenient place, so a certain skill is required. But if everything is done correctly, then the gap between the window and the sill will be eliminated once and for all.
Elimination of gaps between the wall and the window frame
Before the start of the mass installation of plastic windows, wooden frames had to be prepared for each winter - they had to be painted, insulated, and gaps closed to prevent drafts. Modern double-glazed windows do not need this.However, they also have a weak spot that sometimes requires increased attention. The window profiles themselves and their joints with glass are assembled hermetically and remain so for many years. Problems can arise at the junction of the frame and the wall - cracks lead to the appearance of all the same drafts and must be removed.
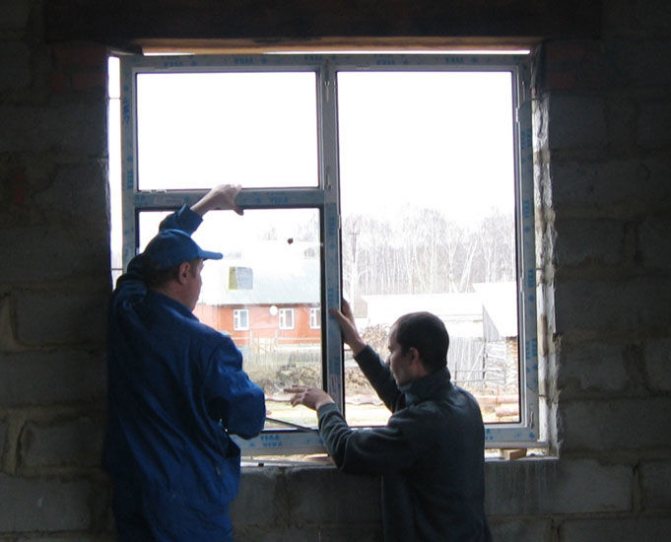
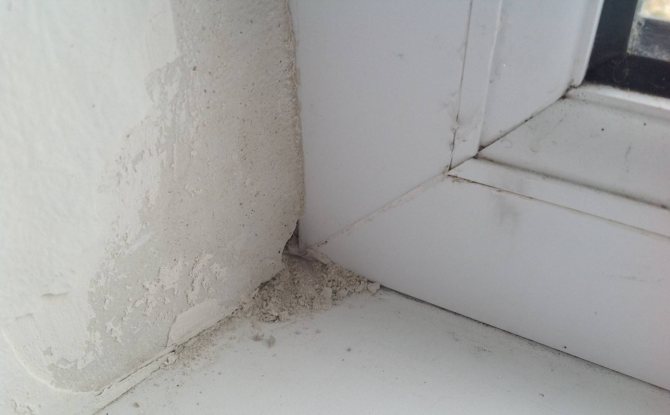
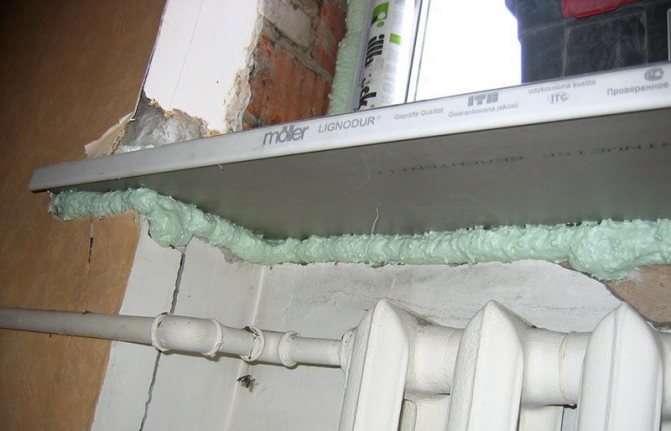
The space between the PVC frame and the opening is filled with polyurethane foam. This procedure is not always performed efficiently, usually due to the fault of the installers, but sometimes for objective reasons, for example, due to the complexity of the design. The resulting cracks and voids become a source of drafts, moisture accumulates in them, mold appears, and in some cases insects begin to live. If such defects are found, they must be eliminated immediately.
At the preparatory stage, the slots are cleaned of trapped debris and dirt. Some of the foam that has lost its quality is also removed from them, so that the new filling compound gets better adhesion to the old one. Its structure must be monolithic.
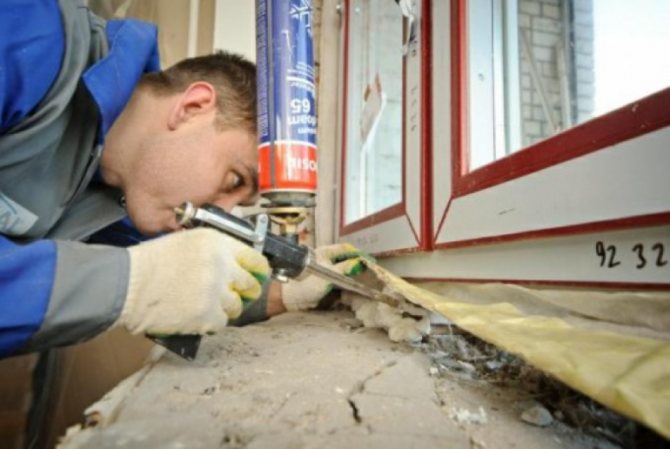

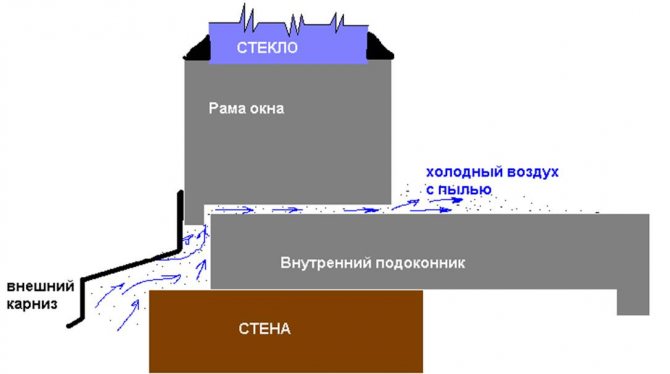
Most often, the draft enters under the windowsill. In this case, the outflow located outside is removed, the space is cleared of foam residues and again filled with the same assembly compound in a better quality. After the foam dries, its excess is cut off.
With the seeming simplicity of the described works, you should carefully prepare for them. First of all, you need to understand the properties of the foam and learn how to work with this material. When installing plastic windows, only professional filling compounds are used, and their application is carried out with a construction gun.
Everyone knows that the foam expands after being squeezed out of the tube, but not everyone knows how much. In order not to be mistaken in this moment, you must first make a test. For him, a little foam is applied to a sheet of paper and watch how it behaves when it cures.
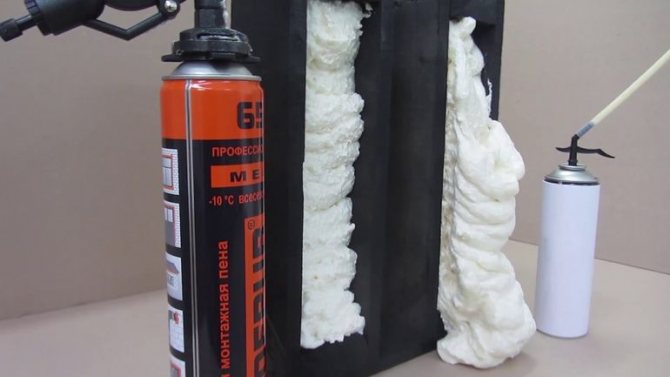

The mounting foam holds the elements of the window structure, seals and insulates it. However, it is not a sealant, as it is capable of passing moisture, especially at the cut points. For this reason, after cutting, the damaged areas are treated with paint. So the filling composition is protected from moisture penetration and destructive sun rays acting on it.
Outside, in the places where the frame adjoins the wall of the house, after installation, there are often visible cracks that are not closed by slopes. They also need to be eliminated so that moisture and dust do not penetrate inside and damage the foam seal. This work should be done in a preventive manner, even if no drafts are observed.
The cracks on the street side are covered with the usual acrylic sealant (its frost-resistant version is chosen). You can use compounds based on bitumen, but they are black, while white is preferable for working with window openings.
The sealant is also applied with a gun and, after filling the gaps, is leveled with a spatula.
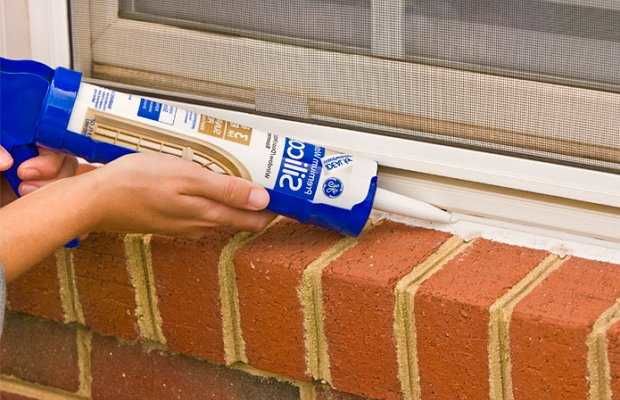

If the slopes not closed by the slopes are too large, then first they should be filled with the same foam, after removing the old sealant. In this case, the sealant is applied after drying, cutting and processing of the hardened foam composition.
Subject to the described rules, the protective layer will perfectly cope with its tasks. However, over time, it collapses, and the procedure will have to be repeated. To get rid of this need and create more reliable protection, it is worth installing slopes around the entire outer perimeter of the window. If you have some experience, you can do this, including on your own.
Sealing a hole in the ceiling
When cleaning ceiling joints, you can accidentally stumble upon a defect in the slab. A large hole will appear in front of you. The process of eliminating such a defect is similar to repairing a crack.
The first stage will also be preparatory work.It is necessary to clean the hole from internal dirt inside and the nearest circumference of the ceiling from putty and paint. Next, the hole must be treated with a primer. After applying and drying the first layer, apply the second.
The next steps of the main stage of filling the hole will depend directly on its size. The first method is suitable for small to medium sized holes.
Polyurethane foam is poured into the hole. When it dries and expands, excess residues are cut off. Then a cone with a depth of 4-5 cm is cut out in the hole. Cement mortar is poured into the resulting hole. Align with a spatula along the border of the ceiling and wait for complete drying. Further, the actions are performed, as in the case of sealing ordinary cracks. Putty is applied to the place of the repaired hole and around it at a distance of 7-8 cm. A reinforcing mesh is attached to it, which is pressed into the solution. After complete drying of the solution, the mesh is putty. Non-woven material is glued to the putty, then a finishing layer of putty is applied. Then, after complete drying of this layer, prime it on top. If necessary, it can be smoothed with sandpaper, but usually when using non-woven material, this step becomes unnecessary. You can also apply paint to the ceiling further, if desired.
In cases where a large hole has formed in the ceiling, the void must be closed with a piece of plywood or laminate. It should be about 10 cm larger than the hole itself. Next, we attach a lattice into the hole, which can be built from wire. And we close the hole with cement mortar. Thus, the wire will be a kind of reinforcement for the concrete size, which will give the reliability of the constructed structure. Stages of sealing a large void in the ceiling:
- a concrete solution is laid on a piece of plywood or laminate cut to the required dimensions. Requirements for the consistency of the solution - moderately thick and necessarily homogeneous.
The prepared structure is pressed against the hole and held to completely dry the solution. As a holding device, you can use a wooden support, a stepladder, or a furniture cabinet.
When the solution dries, the actions to level the ceiling begin:
- Putty;
- Mesh reinforcement;
- Putty;
- Primer;
- Sanding with sandpaper.
Performing step by step all the necessary actions, it is quite possible, without the help of specialists, to independently repair a crack in the ceiling of a panel house.
Expert advice
Summing up, we will highlight useful tips from professionals:
- It is necessary to use in work only high-quality materials that have the best indicators of endurance and stability.
- When applying a layer of plaster when leveling the level of the joint with the ceiling, one should try to deepen it into the joint and only then level it into a common layer.
- By using interfacing before the finishing layer of plaster, a perfectly smooth surface can be achieved.
- When sealing the joint with polyurethane foam, sometimes glue is added for gluing ceramic tiles. It holds firmly and connects well.
- For sealing narrow and shallow joints, it is recommended to use a simple construction putty.
- Be sure to dry each layer of liquid material until completely dry.
- Reinforcement mesh is used when the differences between the level of the slabs are more than 1 cm. It is putty and due to this, a high-quality leveling is achieved at the same height.

Ceiling seams in panel houses are a daily problem faced by all residents of such houses. But it will not be difficult to eliminate such a defect on your own with your own hands, knowing the technique and using the advice of professionals.
The final stage of sealing the seam
It is recommended to apply several layers of filler to create the most even ceiling. Finishing works include:
- applying the last layer of putty;
- drying putty;
- sanding of irregularities.
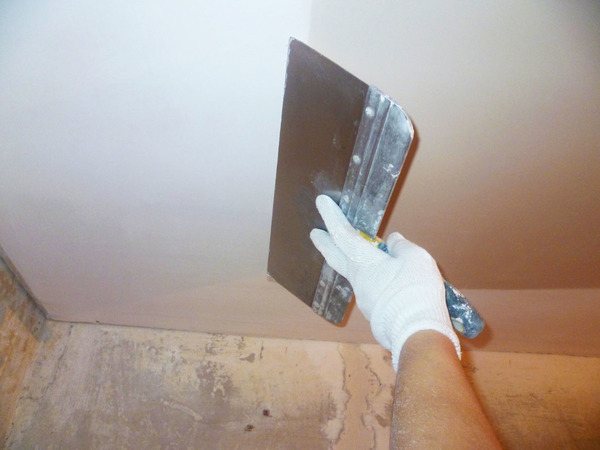

When the seam is closed, the final step is to use abrasive mixtures.
If you use non-woven fabric, you can achieve a perfectly smooth ceiling surface. It must be glued to the ceiling before applying the final coat of putty.
Next, apply the putty with a wide spatula. Be sure to dry it and then go to the primer. The primer is applied with a roller. Further, if desired, paint of any color can be applied to the ceiling using a spray gun.
Primer types
To do all the work better, you also need to understand the materials used. There is a wide selection of primers in hardware stores, which differ in terms of manufactured firms, quality, type and form of use.
Let's take a closer look at which primer is suitable for sealing cracks in the ceiling.
Primer types:
- Acrylic - used for surfaces such as concrete, wood, brick, cement, chipboard and fiberboard, fiberglass, plaster. This primer is ideal for priming gaps from the inside.
- Water based primer - used for final surface treatment. In our case, this version of the primer is suitable for diluting the water-based paint when finishing painting the ceiling.
- Alkyd primer - one of the most durable types. Used for tiles, fiberglass, glass and galvanized steel.
- Mineral based primer - used when working with bricks, concrete, gas silicate and expanded clay concrete blocks. It is made on the basis of lime, cement and gypsum.
Also, the primer is divided by types based on the purposes of its application:
- Priming paint - made of drying oils and resins, used for painting highly absorbent surfaces: wood, metal.
- Moisture resistant primer - used on surfaces that are susceptible to moisture penetration.
- Anti-corrosion primer - used on metal surfaces to protect against corrosion.
- Deep penetration primer - it is used in cases when it is necessary to strengthen the base, it is suitable in our case for sealing cracks. And it also penetrates deeply into the material, so it is great for sealing holes.
- Antiseptic primer - it contains special additives to combat and prevent mold and mildew.
- Quartz primer - used for decorative purposes, it contains sand, which, after application, creates an ideal beautiful rough layer on the surface.
The primer can be used in combination with various additives. For example, some people mix it with PVA glue, this is just one of the ways to seal cracks in the ceiling. And also in the future they add it to the paint and paint the ceiling. Based on this, the primer can still be classified as follows:
- under the enamel;
- under water paints;
- universal;
- special.
Primers for enamel and for water-based paints are used specifically before applying enamel or paint to them. Due to the special composition, the applied material adheres more reliably to the primer.
Universal primers are used for almost all ceilings and materials. With the help of it, you can achieve a reliable and durable repair, as well as its universal consumption will help to save money.
Special primers include:
- emulsion primers with acrylic copolymer. It is used for priming old loose surfaces.
- latex hardening primers are also good for old porous surfaces. It works well with cement. It is also used for the subsequent laying of tiles.
In residential buildings, acrylic, mineral, water and alkyd primers are used, while other types are used for other purposes.
How to remove cracks between a window and a plasterboard or plastered slope.
This method can be used to remove cracks before and after painting the slopes.To do this, you need a damp cloth, masking tape, a cartridge gun, and acrylic sealant.
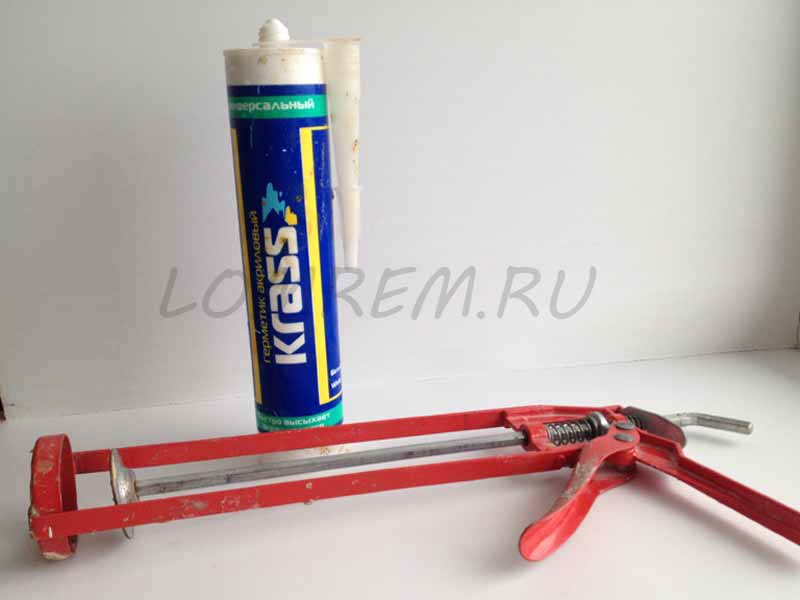

Silicone is ordinary, sanitary is not suitable for us, since it does not stain, and sooner or later the slopes will have to be repainted. Acrylic sealant comes in a variety of colors. This is good for those whose slopes are painted to match the color of the walls. However, the color palette is limited to a few basic colors.
Why should the cracks be covered with acrylic sealant?
Acrylic can be painted with any paints. It is plastic, it can stretch a little, shrink when materials move. Convenient to apply. So let's get to work.
We glue the masking tape to the slope and the window along the abutment.
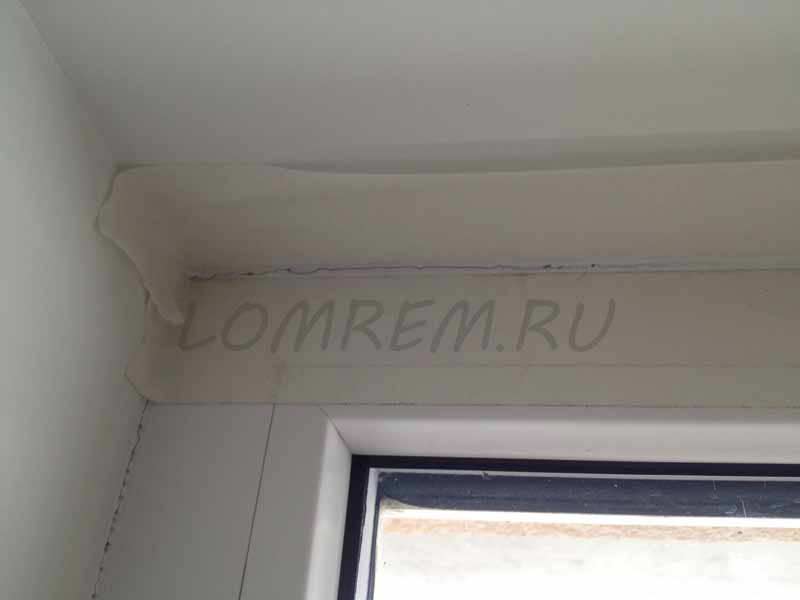

Let us step back two to three millimeters from the corner to the masking tape. If the slopes are painted, masking tape can only be glued to the window. At the same time we drive the cartridge gun and squeeze out the acrylic sealant, filling the junction of the window with the slope.
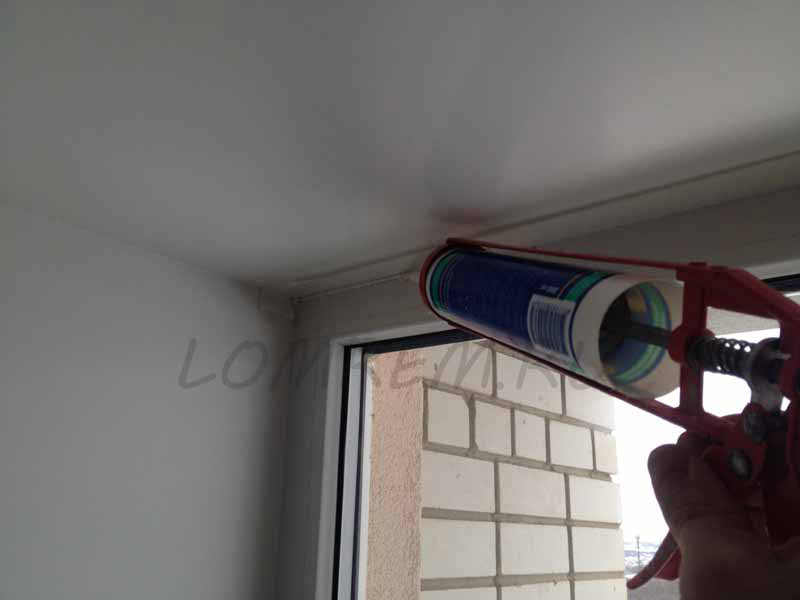

Then press the lever of the cartridge pistol to relieve the pressure, the acrylic stops coming out of the cylinder. The acrylic line should be 4 to 6 millimeters in diameter. Fill in the breaks, gaps of the acrylic line immediately. Then we run along the corner with our finger, removing the excess acrylic, leaving a layer of one to two millimeters.
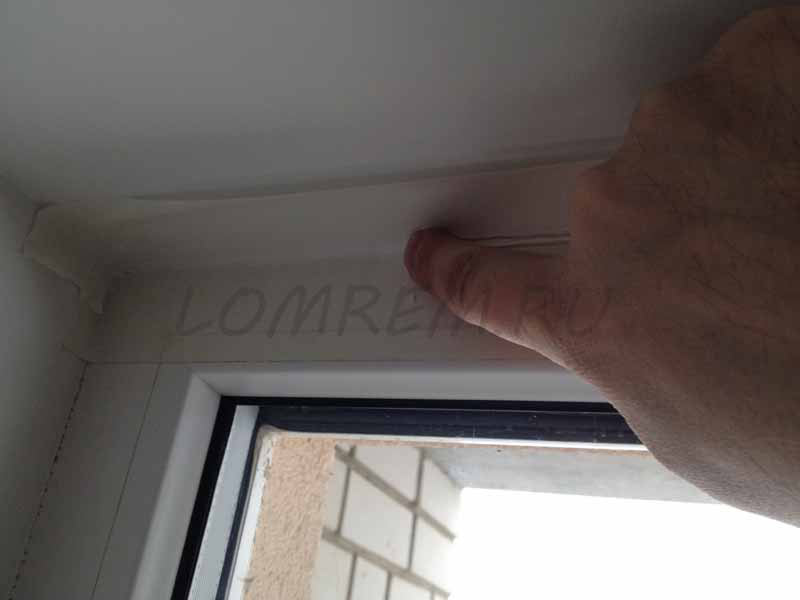

Wipe off excess sealant from a finger with a damp cloth. We tear off the masking tape without waiting for the sealant to dry!
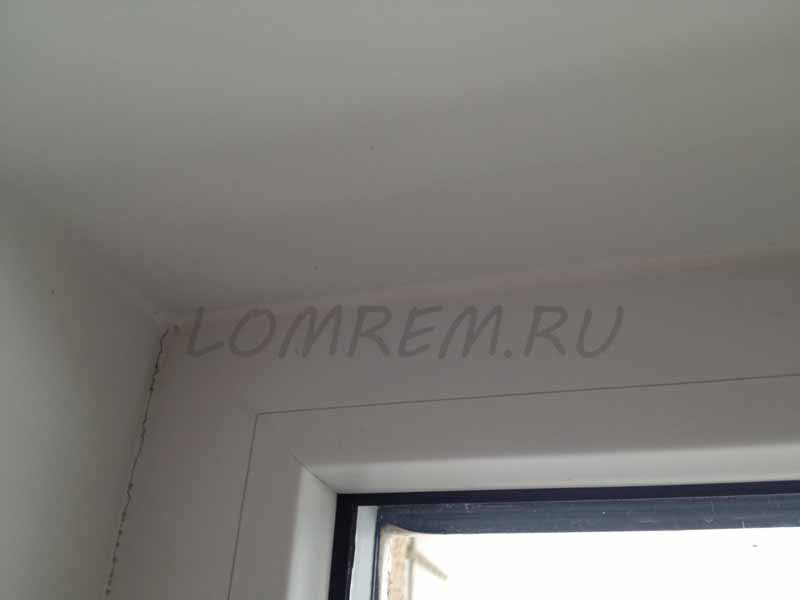

If necessary, you can smoothen the sealant again with a clean finger!
Drywall
If the cause of the cracks is not the foundation and not the installation of the window, then you can repair the defects yourself. Small cracks in the drywall are protected with a coarse abrasive cloth to plaster, after which the surface:
- Primed
- Close up with two layers of putty,
- Grind with fine abrasive,
- Re-primer and paint.
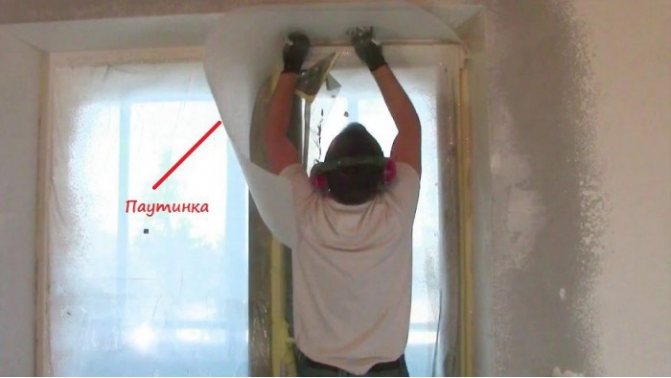
If there are many cracks, but they are small, then you will have to glue the fiberglass, which will take over the functions of reinforcement. For this, the base is cleaned, primed, glued to the Bostic glue or an analogue for fiberglass, a spider web, re-putty, polished and painted over. The work is time consuming, but there will be no defects for years.
Large cracks can be caused by delamination of the gypsum board from the base. They fix it by completely dismantling the drywall and installing the gypsum board again with a full range of subsequent finishing. Do not forget about the fiberglass, if time does not wait, but it is not at hand, then glue the seams of the gypsum board with reinforcing tape - this is a must.

Non-standard situation with the installation of windows
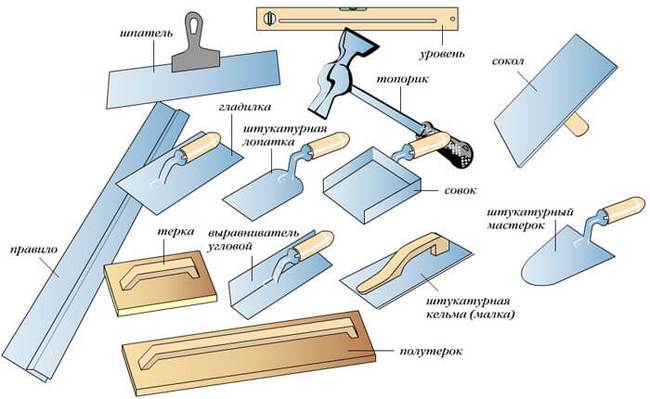
Sometimes, when installing metal-plastic windows on old houses, it is not possible to use levels and plumb lines, because a window installed strictly according to the level will look very unaesthetic and very conspicuous. In this regard, the plastering of the slopes will also be carried out not according to the level, but based on the installed window. Therefore, using standard construction tools can be inconvenient.
Plaster templates are usually cut from materials at hand (a piece of plastic or a thin board) so that they can work in the most difficult to reach places. When installing metal-plastic windows, these are the sides of the slope closer to the window frame, where the use of a large metal spatula will be prevented by the opening sash of the window, which protrudes. A correctly cut template will be able to reach this place and in one motion, along with the entire area of work, align it.
Templates are usually applied without using a level and plumb lines, that is, plastering is done by eye in connection with the above method of installing windows.

Repair materials
For gluing fiberglass, we recommend the classic - Bostik glue or Cover acrylic compound for fiberglass. An alternative to Oscar adhesive, which is sold ready-to-use.
For indoor slopes, there is no need to buy a facade putty - Acryl Putts, Typhoon Master or Ceresit putty mixture is suitable for interior work. Better to buy sweep "start + finish", as they are used for the first and second layers. Dry putty is cheaper, so buy it. For drywall, 1-1.5 kg of dry mix is enough for one window, for plaster the consumption is more - up to 3 kg per window.
They buy any plaster for the slope, except for gypsum, as for the paint, there are no comrades for taste and color. More expensive, but will not burn out for 10 years, the Finnish Tikkurilla, a simpler version of Alpina, Condor or banal Snowball.
A little cobweb is needed, but it will perfectly protect the slope from cracks in the future. When buying fiberglass, give preference to a cobweb with a higher density. A density of 50-65 g / m2 is just right.
Cracks resulting from slamming shutters


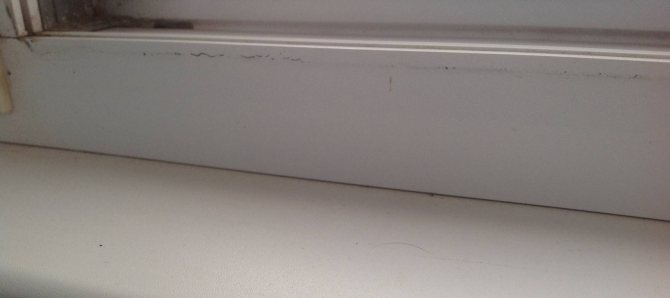
Sometimes, if a foreign object hits the window frame, closing the sash with force can cause the plastic profile to crack. To prevent cracks on the profile surface from growing, it is necessary to remove the object that interferes with the normal functioning of the window from the path of the sash movement. Sealing the resulting defect is carried out, again, using white or transparent silicone sealant.
Cracked windows due to cold weather


This defect is not typical for structures installed in the middle lane and in the southern regions of Russia, since there is no severe cold snap in these regions in winter.
Little-known firms producing economy-class windows often do not include in their products the ability to withstand low outdoor temperatures. Therefore, among their products, you can often find specimens that, when used in the northern part of our country, simply crack. Often the plastic profile or frame suffers.
Expert commentary
Vladislav Dobronravov
Leading technical specialist of Okna-Media company
This problem of a plastic window is solved only by completely replacing it.
In order to prevent cracking of the PVC construction components, the fault of which is severe frost (from -25 C and below), it is necessary to choose a window model from a well-known manufacturer: Rehau, KBE, Kaleva, etc. Moreover, it is desirable that it has a triple glass unit and a five-chamber profile. Only then can we say with confidence that such a structure will not crack at low temperatures.
Preparation for work and collection of tools
Tools and materials that you will need in the process of carrying out the work:
- construction trowel; marker; drill and construction mixer; sharp knife; construction brush; container for water and solution; plumb line; square; metal and rubber spatulas of different sizes; plaster mix; water; painting, plaster or metal mesh and fastening materials to it (staples, screws, dowels, the solution itself will do).

Cracks at the welding points of the profile parts
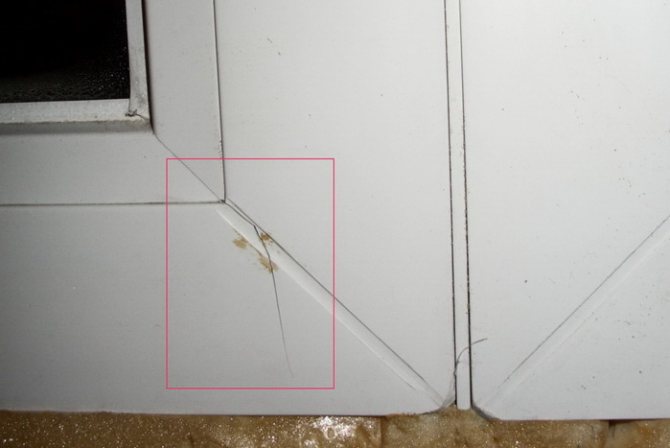

The defect, as a rule, does not manifest itself in the products of well-known manufacturers. As a temporary measure, the crack can be treated with a joint sealant. This step will extend the life of the plastic window for some time. In this case, the owner must be ready at any time to spend money on the purchase of a new PVC structure.
Slots in plastic windows: why do they appear and how are they sealed?
About 25% of the heat goes through plastic windows in the house. Have you thought about this? It is impossible to refuse them, so you need to minimize losses. Slots in plastic windows are an unacceptable luxury. Why do they appear and how can they be repaired? We will talk about this in this article.
If you do not have time to independently study the issue, then you can always turn to the specialists of the Teplo Dom company for help. We are engaged in the repair and maintenance of windows and are ready to solve your problem. Contact a consultant.
